Basic Nail Art Techniques for Beginners
Nail art offers a creative outlet for self-expression and style. Whether you’re a beginner or looking to refine your skills, mastering basic techniques can elevate your nail art game. This guide covers essential steps and simple designs to get you started, ensuring your nails look professionally done right from home.
Critical Takeaways For Nail Art Techniques For Beginners
- Smooth Base: Essential for polish adherence and a flawless finish.
- Two Thin Coats: Prevents smudging and ensures even application.
- Dotting Tool Designs: Perfect for creating simple yet elegant patterns.
- Striping Tape for Lines: Achieves clean, precise lines and geometric shapes.
Nail Polish Application
Starting with a Smooth Base

A clean, smooth base is crucial for any nail art. Begin by removing old polish and thoroughly cleaning your nails. Soak your nails in warm, soapy water to soften the cuticles, then gently push them back. Buff your nails lightly to create a smooth surface, which helps in even polish application.
Perfecting Your Polish Application
Achieving a flawless manicure begins long before nail art comes into play. The application of your polish is foundational to the success of your designs. Here’s how to ensure your nails are prepped and polished to perfection:
Base Coat Application: The First Line of Defense
The base coat is more than just an extra step; it’s a protective layer that serves multiple purposes:
- Shield Against Stains: Dark polishes can leave a tint on your nails. A base coat is a barrier preventing direct contact between the pigment and your nail.
- Enhance Polish Adherence: Think of the base coat as a primer for your nails. It gives the colour coat something to adhere to, improving the longevity of your manicure.
- Smooth Foundation: Some base coats are formulated to fill ridges, creating a smooth surface that ensures an even application of the colour coat.
Application Tip: Apply a thin, even layer of the base coat to each nail. Ensure it’s completely dry before moving on to the colour. This prevents any mixing of the base and colour coats, which can affect the polish’s durability and finish.
Colour Application: The Art of Thin Coats
The key to a smooth, even application lies in the thickness of your polish layers:
- Avoid Thick Coats: While it might be tempting to apply your polish thickly to quickly achieve the desired colour intensity, thick coats are prone to smudging and take much longer to dry.
- Two Thin Coats Rule: Applying two thin coats rather than one thick coat allows quicker drying times and more even coverage. Thin coats are less likely to bubble, streak, or smudge.
- Drying Time Is Crucial: After applying the first thin coat, give it enough time to dry completely. This time can vary depending on the polish formula, typically between 2 and 5 minutes. A thoroughly dried first coat prevents dragging and unevenness when you apply the second coat.
Technique Tip: When applying polish, start with a stroke down the centre of the nail, followed by a stroke on either side to cover the whole nail bed. This technique helps ensure complete coverage without excess polish pooling at the edges of the nail.
By starting with a protective base coat and mastering the art of applying thin colour coats, you set the stage for various nail art designs. Whether you’re adding intricate patterns or simple accents, the quality of your polish application will enhance the overall look of your manicure.
Simple Nail Art Designs
Once you’ve mastered the basics of polish application, it’s time to add some artistry. Here are a couple of beginner-friendly techniques:
Mastering Dotting Tool Designs in Nail Art
 Mastering Dotting Tool Designs in Nail Art
The dotting tool is a cornerstone in nail art, known for its simplicity and versatility. It opens up a realm of possibilities for beginners and seasoned artists alike. Here’s how to leverage this tool for stunning, intricate designs.
The Basics of Creating Dots
- Choosing Your Dotting Tool: Dotting tools come in various sizes, allowing for different dot sizes. For starters, a medium-sized tip is versatile enough for multiple designs.
- Dip and Dot Technique: Lightly dip the tip of your dotting tool into the nail polish. Aim for a small amount of polish; too much can lead to blobs rather than clean dots. Gently touch the dotting tool to the nail’s surface where you want the dot to appear.
- Pattern Creation: Begin with simple patterns. Arrange dots in straight lines, curves, or floral patterns. As you gain confidence, experiment with more complex arrangements, such as creating a flower’s petals or a butterfly’s elements.
Crafting Intricate Patterns
- Mix and Match Dot Sizes: Utilize dotting tools of different sizes to add depth and detail to your designs. Smaller dots can fill in gaps or add detail to larger elements, while larger dots can serve as focal points or the basis of a design.
- Creating Lace Patterns: To create a lace effect, start with a series of dots that form a curve or circle. Use smaller dots to embellish around these base points, mimicking the delicate work of lace. Overlapping dots in varying sizes can mimic the intricate details found in lace fabrics.
- Designing Mandala Patterns: Mandalas require symmetry and precision. Start from the centre of your nail, working your way out in concentric circles. Alternate dot sizes and colours to add complexity and vibrancy to your mandala designs. The key to a successful mandala is patience and a steady hand.
Tips for Perfecting Dotting Tool Techniques
- Practice Makes Perfect. Practice on paper or a nail practice wheel before applying designs to your nails. This helps you develop a steady hand and understand how much pressure to apply.
- Keep Your Tool Clean: After each dot, wipe your dotting tool on a piece of paper or cloth to prevent colour mixing and ensure clean, crisp dots.
- Layer Colours for Depth: Apply dots on top of dried dots in contrasting colours for a 3D effect. This technique adds depth and interest to your designs.
Mastering dotting tools can transform your nails into miniature canvases, showcasing your creativity and skill. Whether you opt for simple dotted patterns or more elaborate lace and mandala designs, the dotting tool becomes indispensable in nail decoration.
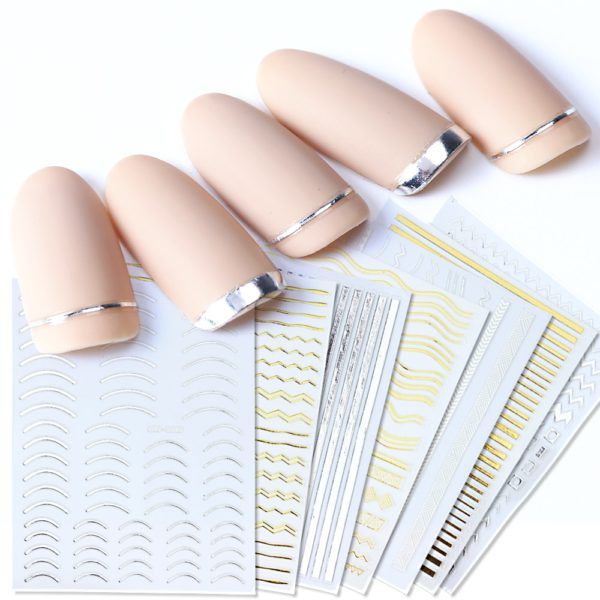
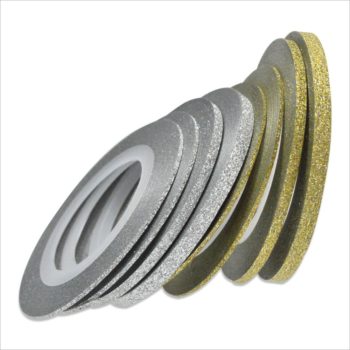
Striping Tape for Lines

Striping tape helps create straight, clean lines, making it ideal for geometric designs or French manicures.
- Applying Tape: After completely drying the base colour, place striping tape on your nails. Use tweezers for precision.
- Painting Over Tape: Apply a different-coloured polish to the tape. Once the polish is slightly dry, gently remove the tape to reveal your design.
- Seal Your Design: Apply a top coat to seal your design. This will add a glossy finish and prolong the life of your nail art.
Additional Tips for Nail Art Techniques For Beginners
- Practice Patience: Nail art requires patience, especially as you’re learning. Allow each layer to dry completely before adding new elements.
- Experiment with Tools: Beyond dotting tools and striping tape, explore using sponges, brushes, and stencils for varied effects.
- Keep Clean-Up Tools Handy: A small brush dipped in nail polish remover helps clean up any edges or mistakes, ensuring a professional-looking finish.
Conclusion For Nail Art Techniques for Beginners
Nail art for beginners is about exploring creativity while mastering basic techniques. Starting with a smooth base, applying thin coats of polish, and experimenting with simple designs like dotting and striping are foundational skills. You can venture into more complex designs and techniques as you become more comfortable. Remember, practice makes perfect, and the world of nail art is vast and full of possibilities. Enjoy the process, and watch your skills flourish!
Visualize Your Nail Art Skills
Consider creating a visual diary of your nail art journey. Photograph each design you attempt, noting the techniques and colours used. This will not only track your progress but also inspire new ideas.
Some Inspirational Sites
Ultimate Guide to Nail Art Techniques
Further reading

Cultural and Traditional Nail Art


Leave a comment