Mastering Nail Stamping: A Step-by-Step Guide to Perfect Stamped Nails
Introduction:
Welcome to the enchanting world of nail art, where creativity meets elegance. Mastering nail stamping stands out as a game-changer among the myriad techniques gracing fashionistas’ fingertips.
This innovative method allows for intricate designs previously achievable by seasoned professionals to be at the fingertips of every nail art enthusiast.
Today, we’re looking into the art of nail stamping, guiding you through each step to achieve stunning, salon-quality nails right at home.
What is Nail Stamping?
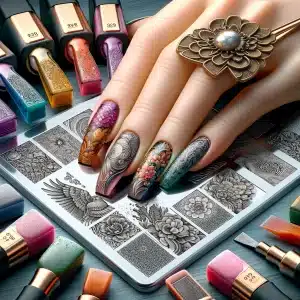
Nail stamping is a technique that involves transferring designs from a metal stamping plate onto your nails using a unique polish and stamper.
It’s a quick, fun, and affordable way to create intricate nail art that would otherwise require steady hands and hours of work.
The Evolution of Nail Stamping
Stamping has evolved significantly from its humble beginnings to becoming a staple in nail art.
What started as simple patterns have expanded into complex and artistic designs, making it a favourite among nail art enthusiasts.
Essential Tools for Mastering Nail Stamping
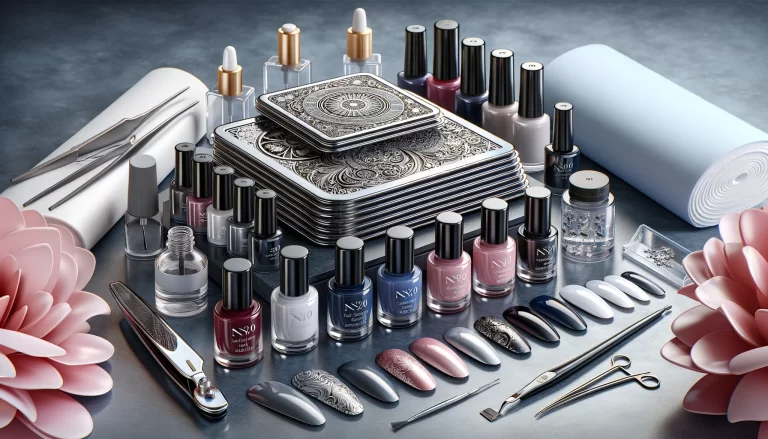
To embark on your nail stamping journey, you’ll need a few essential tools:
- Stamping Plates: These are the heart of nail stamping. Nail’d it in style offers a variety of stamping plates with diverse designs.
- Stamping Polish: Special polish ensures clear, crisp designs. Check out our nail polish collection.
- Nail Stamper and Scraper: These tools transfer the design from the plate to your nails. We recommend our easy-to-use stamper.
Choosing the Right Stamping Plates
Stamping plates are the cornerstone of nail stamping; selecting the right one can make all the difference. Here are the types you should consider:
- Basic Patterns: Ideal for beginners, these plates feature simple designs like dots, stripes, and basic shapes. They’re a great starting point for those new to stamping. Check out our Basic Pattern Plates.
- Themed Plates: From floral to geometric, themed plates offer a variety of designs under a specific style. Perfect for creating a cohesive look. Explore our Themed Stamping Plates.
- Seasonal Designs: These plates are perfect for creating nail art that matches the season, be it Christmas, Halloween, or summer vibes. Get seasonal with our Seasonal Stamping Plates.
- Intricate Artwork: For the more experienced, these plates feature detailed and complex designs. They require a bit more skill, but the results are stunning. Challenge yourself with our Intricate Design Plates.
The Best Stamping Polishes
A good stamping polish is critical to clear and vibrant designs. Here’s what to look for:
- Opacity: Stamping polishes should be highly pigmented for a bold and opaque finish.
- Consistency: Look for a thicker consistency, which is ideal for stamping.
- Drying Time: A slightly slower drying time is preferable, giving you a window to transfer the design without smudging.
Discover our range of high-quality Stamping Polishes that tick all these boxes.
Stamping Kits: What to Look For
A good stamping kit is a convenient way to get started. Here’s what a comprehensive kit should include:
- Multiple Stamping Plates: Various designs to suit different styles and occasions.
- Quality Stamper and Scraper: These tools should easily handle and effectively transfer designs.
- A Range of Stamping Polishes: Kits should include a few primary colours to get you started.
- Instructions or Guidelines: Handy for beginners, instructions can help you get the best out of your kit.
Look at our Complete Stamping Kits, which provides everything you need for stunning nail art.
Step-by-Step Guide to Mastering Nail Stamping
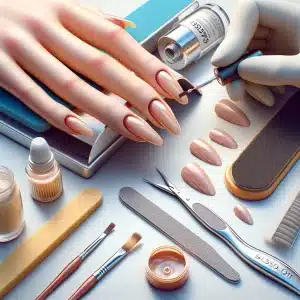
Proper Prior Planning Prevents P..s Poor Performance
Now, let’s get to the fun part – stamping your nails!
- Preparing Your Nails: Start with clean, dry nails. Apply a base coat and let it dry completely.
- The Stamping Process:
- Apply stamping polish over the design on your plate.
- Use the scraper to remove excess polish.
- Press the stamper onto the design, then stamp it onto your nail.
- Apply a top coat to seal the design.
- Tips and Tricks for Perfect Stamping:
- Work quickly to prevent the polish from drying.
- Practice makes perfect – don’t get discouraged if it takes a few tries.
Advanced Techniques in Mastering Nail Stamping
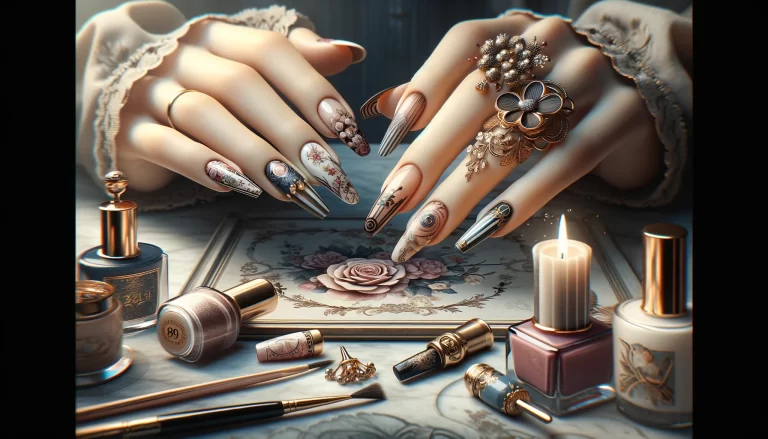
Once you’ve mastered the basics, experiment with layering different designs and using multiple colours. The possibilities are endless!
Using Different Colours and Textures
Creating complex designs often involves playing with a variety of colours and textures. Here’s how you can do it effectively:
- Layering Colours: Start with a lighter colour as a base and gradually add darker shades. This technique adds depth to your designs. For a range of colours, check out our Multi-Color Polish Sets.
- Mixing Textures: Combine matte and glossy finishes or incorporate metallic and glitter polishes for a dynamic look. Experiment with our Textured Polishes for unique effects.
- Gradient Effects: Sponges blend colours on the stamping plate before transferring them to the nail. This creates a stunning gradient effect.
- Reverse Stamping: Paint directly onto the design on the stamper, then transfer it to the nail. This allows for multi-coloured designs and is perfect for intricate artwork.
Prolonging the Life of Your Stamped Nails
To ensure your stamped designs last as long as possible, follow these tips:
- Use a Good Base Coat: This protects your nails and provides a smooth canvas for stamping. Our Long-Lasting Base Coats are a great choice.
- Seal with a Top Coat: A high-quality top coat protects your design and prevents chipping. Explore our range of Durable Top Coats.
- Avoid Water and Chemicals: After applying your nail art, keep your hands dry and protected for at least a couple of hours.
- Regular Touch-Ups: If you notice any wear, a quick touch-up with a top coat can extend the life of your design.
Removing Stamped Designs Safely
When it’s time to change your nail art, it’s essential to remove the design safely:
- Gentle Nail Polish Remover: Opt for an acetone-free remover that’s gentle on your nails. Our Gentle Removers are perfect for this.
- Soak, Don’t Rub: Apply the remover with a cotton pad and let it sit on the nail for a few seconds to soften the polish before gently wiping it away.
- Moisturize Afterward: After removing the polish, apply a nourishing hand cream and cuticle oil to keep your nails healthy. Try our Nourishing Hand Creams.
Maintenance and Aftercare
To ensure your stamped nails last, avoid using your nails as tools and wear gloves when doing household chores. When it’s time to change your design, use a gentle nail polish remover.
Inspiration and Ideas
Are you looking for inspiration? Check out our Instagram page for our community’s stunning seasonal designs and creative ideas.
Seasonal and Thematic Designs
Seasonal and thematic designs are a fantastic way to keep your nail art fresh and exciting. Here are some ideas:
- Spring Florals: Think of pastel colours and delicate floral patterns. Incorporate light pinks, greens, and yellows to capture the essence of spring. Our Spring Collection offers the perfect palette.
- Summer Vibes: Bold and bright is the way to go. Think tropical patterns, ocean blues, and sunny yellows. Try our Summer Brights for vibrant hues.
- Autumn Elegance: Embrace the warmth of autumn with rich oranges, deep reds, and golden yellows. Our Autumn Shades are ideal for this season.
- Winter Wonderland: Cool blues, silvers, whites, and snowflake designs can create a magical winter theme. Check out our Winter Collection for inspiration.
- Holiday Themes: From spooky Halloween designs to festive Christmas patterns, holiday-themed nail art is always a hit. Explore our Holiday Themes for more.
Community Creations
Celebrating the creativity of our community can be a great source of inspiration:
- User-Generated Galleries: Post your creations on our gallery. Join our community, share your products in the gallery, and explain how to create your style.
- Contests: We host nail art contests with different themes. Winners will be featured on your website and social media, as well as winning a prize.
- Tutorial Features: Share tutorials from your community members on how they achieved their designs using your products. This can provide real-world tips and tricks to other customers.
- Social Media Shoutouts: Regularly feature customer creations on your social media channels. This shows how much I appreciate their effort and inspires others to try new designs.
Conclusion:
Nail stamping is an exciting way to express creativity and add flair to your look. You can achieve professional-looking nail art at home with the right tools and practice. So why wait? Explore the world of nail stamping and let your nails be your canvas!
Your Next Steps in Nail Artistry
Ready to start your nail stamping adventure? Visit Nail’d It In Style for all your stamping needs and join our community of nail art lovers.

Leave a comment