Introduction
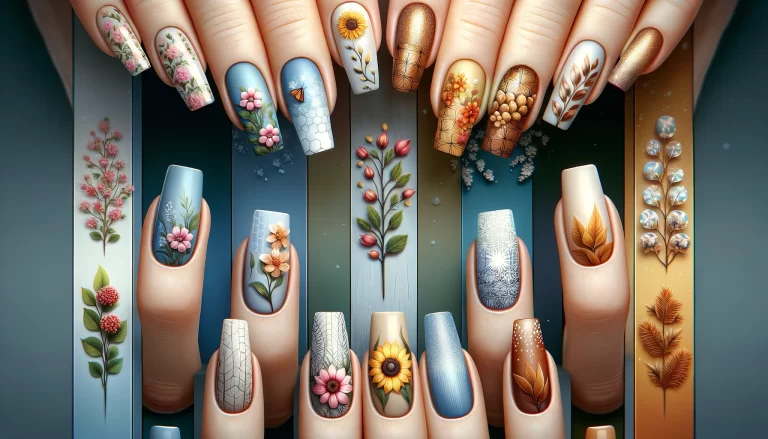
Welcome to the vibrant world of nail art, where creativity meets precision and style.
Whether you’re a seasoned nail artist or a beginner looking to explore, understanding the essential tools of the trade is the first step towards mastering this form of expression.
In this comprehensive guide, we’ll delve into the must-have items for your nail art kit, offering tips and techniques to elevate your nail design game.
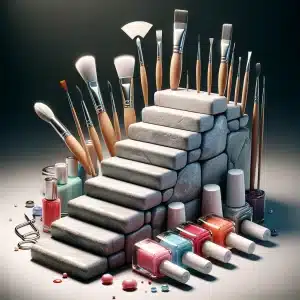
These are the Nail Art Essential Tools you need.
Understanding Nail Art
Nail art is more than just a beauty routine; it’s a form of self-expression embraced across cultures and eras.
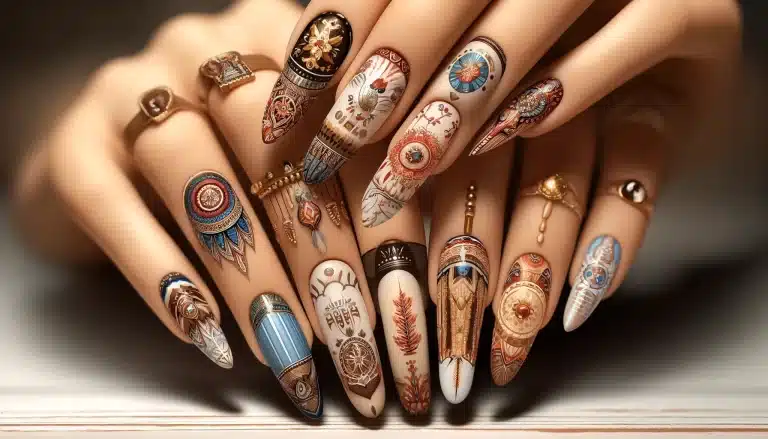
From the intricate designs of ancient civilisations to the modern trends that adorn the runways, nail art has always been a way to make a statement.
It’s an art form that allows for endless creativity. Each nail serves as a tiny canvas waiting to be transformed.
Nail Art Essential Tools Overview
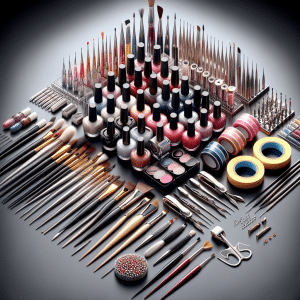
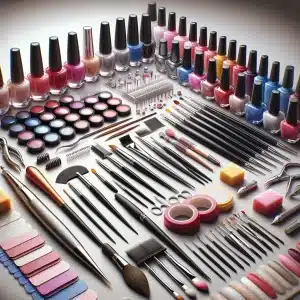
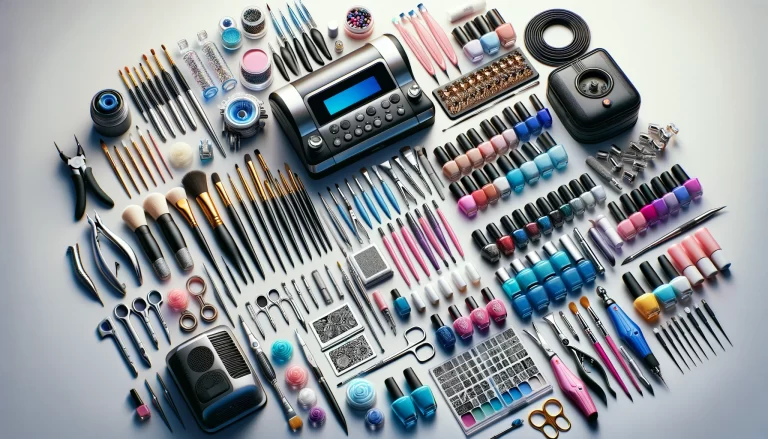
Before we dive into the specifics, let’s glance at the arsenal every nail artist should possess.
These tools form the foundation of nail art and enable you to bring your visions to life with precision and flair.
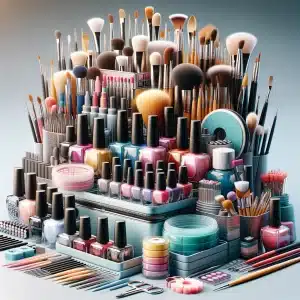
- Nail Polish Set: This set includes a variety of colours and finishes (matte, glossy, glitter) to create diverse designs.
- Base Coat and Top Coat: Essential for preparing the nail and sealing the design for longevity.
- Nail Polish Remover and Cotton Pads: Correct mistakes and remove old polish.
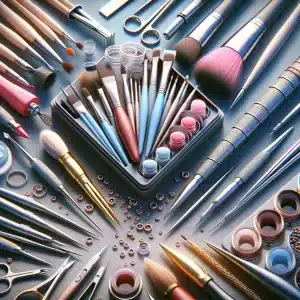
- Fine Tip Brushes: For detailed painting and intricate designs.
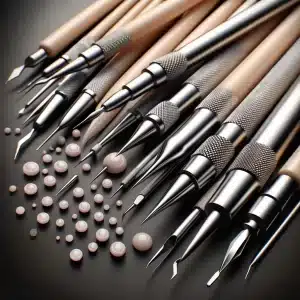
- Dotting Tools: To create dots of various sizes and perfect circles.
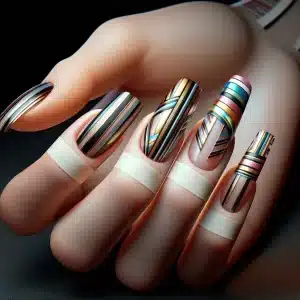
- Striping Tape: Thin tape creates straight lines and geometric patterns.
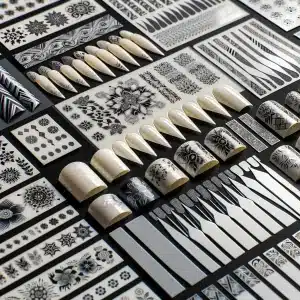
- Stencils and Decals: For precise patterns and designs that are difficult to freehand.
- Tweezers: To handle and place small decorations like rhinestones or decals.
- Scissors: For cutting tape, decals, and other materials.
- Nail Files and Buffers: To shape and smooth the nail surface.
- Cuticle Pusher and Nippers: To maintain clean nail beds and edges.
- Nail Art Pens: These are for drawing and adding fine details.
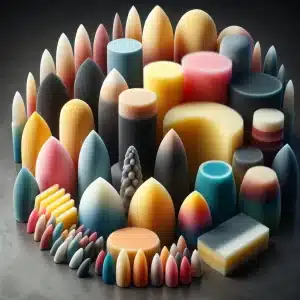
- Sponges: For gradient and ombre effects.
- Nail Art Foils: These are used to add metallic and holographic effects.
- UV Lamp and Gel Polishes (for gel nail art): Essential for curing gel polish and extensions.
- Acrylic Paints (optional): For those who prefer them over regular nail polish for detailed work.
- Nail Art Glue: This is used to secure larger decorations like gems or 3D art.
- Nail Strengthener: To keep natural nails healthy under art designs.
- Hand Cream and Cuticle Oil: This keeps hands and cuticles moisturised.
- Latex Barrier or Tape: To protect the skin around the nails during messy designs.
This comprehensive list covers the basics and a bit more, ensuring you’re well-equipped for a wide range of nail art projects.
Each tool plays a specific role in creating and maintaining nail art, making it indispensable for beginners and seasoned artists.
Nail Polish Varieties
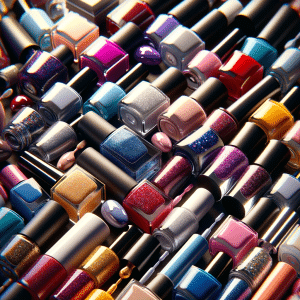
The cornerstone of any nail art toolkit is a diverse selection of nail polishes.
Each type of polish can set the stage for a masterpiece, from glossy finishes to matte textures and solid colours to glittery shimmers.
Experimenting with different hues and effects can create unique nail art designs that stand out.
Here’s a list of the most popular colours, considering their versatility and popularity in nail art:
- Classic Red: A timeless choice that exudes elegance and style.
- Deep Black: Perfect for bold designs and contrasting many patterns.
- Crisp White: Essential for base layers and intricate designs.
- Nude Shades: Ranging from light beige to deeper tones, matching various skin tones.
- Navy Blue: A sophisticated alternative to black.
- Metallic Gold: Adds a touch of glamour and works well for accents.
- Metallic Silver: Ideal for futuristic designs and embellishments.
- Bright Pink: A fun, vibrant colour that stands out.
- Glittery Shades: Adds sparkle and can transform a simple design into something festive.
- Pastel Colours: Soft and subtle, perfect for spring and understated designs.
- Neon Colours: For eye-catching, vivid designs.
- Burgundy: A rich, deep colour for more elegant, mature designs.
- Mint Green: A fresh, trendy colour that’s particularly popular in the spring and summer.
- Sunshine Yellow: A cheerful, bright colour that adds a playful touch.
- Coral: A blend of pink and orange, perfect for summer and beach-themed designs.
- Shimmery Blues and Greens: Reflective of the ocean, great for mermaid or aquatic themes.
- Matte Finishes: In various colours for a modern, sophisticated look.
- Holographic Polishes: For a futuristic, multi-dimensional effect.
- Pearlescent Whites: For a subtle, iridescent look.
- Dark Purple: A royal, luxurious colour versatile for many designs.
Each colour can be used in many ways, from being the star of a design to supporting more complex patterns.
The variety of finishes, from matte to glittery, opens up endless possibilities for creative expression in nail art.
Top and Base Coats
Top and Base Coats: The Pillars of Perfect Nail Art
Base Coats: The Foundation
- Purpose: A base coat is the first step in the nail art process. It acts as a protective layer between the natural nail and the polish, preventing any staining that dark or highly pigmented colours might cause.
- Benefits:
- Smooth Surface: It fills in any ridges or imperfections on the nail, creating a smooth, even surface to which the polish can adhere.
- Better Adhesion: A sticky, slightly tacky layer helps the nail polish stick to the nail more effectively, reducing the likelihood of chipping.
- Nail Health: Some base coats have added nutrients or hardening agents that strengthen and nourish the nails, promoting overall nail health.
Top Coats: The Seal of Perfection
- Purpose: A top coat is applied after the nail art is complete. It acts as a sealing shield, locking in the colour and design.
- Benefits:
- Longevity: It significantly extends the life of your nail art by protecting it from chipping, peeling, and fading.
- Enhanced Appearance: Depending on the desired look, top coats can provide a glossy, matte, or even textured finish. A glossy top coat, for instance, can make colours appear more vibrant and add a professional touch to the final look.
- Quick Drying: Many top coats have quick-drying properties, reducing the waiting time and the risk of smudging freshly done nail art.
- UV Protection: Some top coats offer UV protection, preventing yellowing and fading caused by sunlight.
Types of Top and Base Coats
- Regular vs. Gel: Regular top and base coats are used with traditional nail polishes, while gel versions are designed for UV or LED-cured gel polishes.
- Specialised Formulas: Base coats are formulated to provide extra care for brittle, weak, or damaged nails. Similarly, some top coats have unique features like extra gloss, crackle effects, or holographic finishes.
Application Tips
- Thin Layers: Apply thin, even layers of both base and top coats to avoid bubbling and ensure a smooth finish.
- Edge Sealing: When applying the top coat, gently brush it across the tip of the nail. This technique, called ‘capping the free edge,’ helps prevent premature chipping.
- Regular Reapplication: For extended wear, reapply a top coat every few days to maintain gloss and protection.
In conclusion, top and base coats are indispensable in nail art.
They enhance the appearance and longevity of the design and play a crucial role in maintaining the health of natural nails.
By choosing the right type and applying them correctly, you can significantly elevate the quality and durability of your nail art creations.
Detailing Brushes
Detailing Brushes: The Artists’ Tools for Nail Art Precision
The Importance of Detailing Brushes
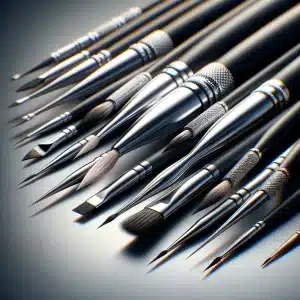
- Precision and Control: Detailing brushes are essential for achieving intricate designs and fine lines in nail art. They offer the precision and control necessary to create detailed patterns, textures, and images.
- Versatility: These brushes can be used with various mediums, including regular nail polish, gel polish, and acrylic paints, making them versatile tools in a nail artist’s kit.
Types of Detailing Brushes
- Liner Brushes: Long, thin bristles perfect for creating long, fluid lines and intricate details. It is ideal for designs like swirls and filigree.
- Striper Brushes are similar to liner brushes but with even longer bristles. They are excellent for creating straight, long lines and are often used for French manicures or stripe designs.
- Round Brushes: These have rounded tips and are versatile for creating thin and thick lines. They are great for dotting, floral designs, and filling in larger areas.
- Flat Brushes: These brushes have a square, flat tip and are used for shading and blending colours, especially in gradient or ombre designs.
- Angular Brushes: These brushes have angled bristles, which make them ideal for precise strokes and particularly useful for creating geometric designs or clean edges.
- Fan Brushes: These brushes have bristles spread out in a fan shape. They are used to create gradient effects, colour fades, or to gently sweep away excess glitter.
- Detailing Brushes: These are very fine-tipped brushes for highly intricate work, such as tiny lettering, detailed petal work, or any design requiring minute detail.
- Dotting Tools: While not brushes, dotting tools are essential for creating perfect dots and small circular patterns. They come in various sizes for different dot sizes.
Choosing and Caring for Detailing Brushes
- Quality Matters: Look for brushes with fine, synthetic bristles that hold their shape well. A good brush should have a comfortable grip and a well-balanced handle.
- Cleaning: Regular cleaning is crucial to maintain the precision of the brushes. Use a gentle brush cleaner, mild soap, and warm water, and reshape the bristles while wet.
- Storage: Store brushes horizontally or with bristles facing upwards to prevent damage to the bristles.
In conclusion, detailing brushes are a fundamental component in the toolkit of a nail artist.
Various shapes and sizes allow for endless creativity in nail art designs.
Selecting the right brushes and maintaining them properly can help you achieve professional-level detail and precision in your nail art creations.
Dotting Tools
Dotting Tools: The Key to Perfect Dots and Intricate Details in Nail Art
The Role of Dotting Tools in Nail Art
- Versatility: Dotting tools are incredibly versatile and can be used for more than just polka dots. They are excellent for creating small details patterns and even marble effects or swirling colours.
- Precision: These tools offer a level of control and uniformity that is difficult to achieve with a regular brush, making them ideal for intricate nail art designs.
Types and Sizes of Dotting Tools
- Single-Ended Dotting Tools: These have a single metal ball at one end and come in various sizes. Each size creates a different dot size, from very small to larger circles.
- Double-Ended Dotting Tools: These tools have metal balls of different sizes on each end, offering more versatility. They are great for creating multi-sized dot patterns without needing to switch tools.
- Brush and Dotter Combo: Some tools come with a brush on one end and a dotter on the other, combining the functions of painting and dotting in one tool.
- DIY Dotting Tools: In a pinch, makeshift dotting tools can be made from everyday items like bobby pins, toothpicks, or the back of a paintbrush.
Using Dotting Tools
- Technique: Dip the tool into the nail polish and gently press it onto it. The amount of polish and the pressure applied will determine the size of the dot.
- Patterns and Designs: Dotting tools can create flower petals, hearts, animal prints, and abstract designs. They are also perfect for adding finishing touches or small accents to a design.
- Gradient Dots: Gradually changing the size of the dots can create a gradient or fading effect, adding depth and interest to the design.
Caring for Dotting Tools
- Cleaning: Clean the metal tips with nail polish remover after each use to prevent polish buildup.
- Storage: Store them in a dry place to prevent rusting or damage to the tips.
In conclusion, dotting tools are a simple yet essential element in nail art.
Their ability to create perfect dots and intricate details opens up a world of possibilities for nail designs.
Whether you’re a beginner or a seasoned nail artist, mastering the use of dotting tools can elevate your nail art to new levels of creativity and professionalism.
Striping Tape Techniques
Striping Tape Techniques: Elevating Nail Art with Precision and Style
Understanding Striping Tape
- What It Is: Striping tape is a thin, adhesive tape specifically designed for nail art. It’s available in various colours and finishes, including metallic and holographic.
- Purpose: It serves two primary purposes in nail art: a guide for creating precise, straight lines and a decorative element to enhance the design.
Techniques for Using Striping Tape
- As a Guide for Painting Lines:
- Apply the tape to the nail in the desired pattern.
- Paint over it with nail polish.
- Carefully remove the tape while the polish is still slightly wet to reveal clean, crisp lines.
- This technique is perfect for creating geometric designs, French tips, or any design requiring straight lines.
- As a Design Element:
- Paint your base colour and let it dry completely.
- Apply the striping tape in patterns like stripes, chevrons, or grids directly onto the nail.
- Seal the design with a top coat to keep the tape in place.
- This method adds a unique, metallic or colourful accent to your nail art.
- Creating Negative Space Designs:
- Place the tape on bare nails in the desired pattern.
- Paint over the entire nail and tape.
- Once dry, gently peel off the tape to reveal the negative space design.
- This technique is great for modern, sophisticated nail art looks.
Tips for Working with Striping Tape
- Precision: Use tweezers for precise placement and removal of the tape.
- Sealing: Always apply a top coat over the tape to prevent it from peeling off.
- Cutting: Use small scissors or a nail clipper to clean the tape.
- Experimentation: Don’t be afraid to experiment with different tape widths, colours, and patterns.
Creative Ideas with Striping Tape
- Mixed Finishes: Combine matte and glossy finishes using striping tape to section off parts of the nail before applying a top coat.
- Colour Blocking: Use the tape to create sharp lines for colour-blocking designs.
- Metallic Accents: Use metallic tapes as accents in combination with solid colours for a chic, modern look.
In conclusion, striping tape is a versatile and essential tool in nail art.
It allows for creating precise, clean lines and adds a unique element to designs.
Mastering striping tape techniques can significantly enhance the complexity and beauty of your nail art creations, whether used as a guide or as part of the artwork itself.
Stencils and Stickers
Stencils and Stickers: Simplifying Nail Art with Style and Ease
Stencils in Nail Art
- Purpose: Stencils act as templates for painting designs onto the nails. They come in various shapes and patterns, from simple geometric shapes to intricate floral or abstract designs.
- Usage:
- Apply a base coat and let it dry.
- Place the stencil on the nail.
- Paint over the stencil with a contrasting colour.
- Carefully remove the stencil to reveal the design.
- Benefits: They are perfect for creating precise and uniform designs, especially for those who may not have a steady hand for freehand painting.
Stickers in Nail Art
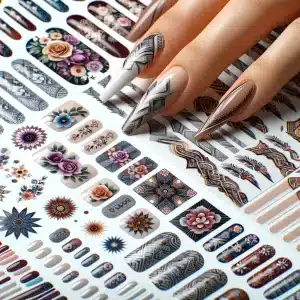
- Variety: Nail stickers come in various designs, including flowers, stars, hearts, and abstract shapes. They can be flat or slightly raised for a 3D effect.
- Application:
- Paint your nails with a base colour and let them dry completely.
- Peel off the sticker and place it on the nail in the desired position.
- Press down firmly and seal with a top coat.
- Advantages: Stickers are a quick and easy way to add intricate designs to your nails without needing advanced art skills. They are also great for accenting more complex nail art.
Tips for Using Stencils and Stickers
- Smooth Surface: Ensure your base coat is smooth and completely dry before applying stencils or stickers.
- Sealing: Always apply a top coat over stickers to prevent them from peeling off and prolong the life of the design.
- Tweezers: Use tweezers for precise placement and to avoid damaging the stickers or stencils.
- Customisation: Mix and match different stickers or use parts of stencils to create unique designs.
In conclusion, stencils and stickers are excellent tools for anyone looking to create professional-looking nail art easily.
They offer many design possibilities and are particularly useful for beginners or those looking to save time while achieving stunning results.
We specialise in stencils and stickers, so browse our shop for a vast selection.
Sponges
Sponges: The Secret to Flawless Gradient and Ombre Nail Art
Role of Sponges in Nail Art
- Primary Use: Sponges are primarily used for creating gradient or ombre effects, a popular trend in nail art. They help in blending multiple colours smoothly on the nail.
Technique
- Application:
- Apply a base coat and let it dry.
- Apply different colours in stripes on the sponge.
- Dab the sponge gently onto the nail until you achieve the desired blend and intensity.
- Effect: This technique creates a soft, seamless transition between colours, perfect for various designs.
Types of Sponges
- Cosmetic Sponges: These are most commonly used due to their delicate texture, which allows for a smoother gradient.
- Kitchen Sponges: These can be used for a more textured look.
Tips for Using Sponges in Nail Art
- Light Dabbing: Apply the polish to the sponge and dab lightly to avoid heavy application.
- Clean Up: Use a brush dipped in nail polish remover to remove any excess polish from the nails.
- Top Coat: Finish with a top coat to smooth out the texture and seal the design.
In conclusion, sponges are simple yet effective tools for creating beautiful gradient and ombre effects in nail art. With practice, they can help achieve a professional and sophisticated look.
Nail Art Pens
Nail Art Pens: Precision and Creativity at Your Fingertips
The functionality of Nail Art Pens
- Combination of Pen and Polish: Nail art pens combine a pen’s precision with applying nail polish. They are designed to be held and used like pens, offering an intuitive and controlled way to apply nail polish.
- Ideal for Detailing: These pens are perfect for intricate work, such as drawing fine lines, detailed patterns, or writing small text on nails.
Usage and Benefits
- Ease of Use: The pen-like design makes it easier to hold and manoeuvre, especially for those accustomed to drawing or writing with pens.
- Versatility: Nail art pens are great for outlining designs, creating accents, or adding fine details to more complex nail art.
- Precision: The fine tip of the pen allows for a high level of accuracy, making it possible to achieve detailed and delicate designs that might be challenging with traditional brushes.
Tips for Using Nail Art Pens
- Practice: Getting used to the flow and pressure needed for optimal use may take some practice.
- Shaking: Shake the pen well before use to ensure evenly distributed polish.
- Cleaning: Keep the tip clean to prevent clogging and ensure smooth application.
In conclusion, nail art pens are a valuable tool for anyone looking to add detailed and precise designs to their nail art repertoire.
They offer a level of control that traditional brushes cannot achieve, making them ideal for intricate and personalised nail designs.
Creating Your Nail Art Kit
- Foundation: Begin with a high-quality base and top coats. They are crucial for protecting your nails and ensuring the longevity of your art.
- Polish Variety: Include a range of nail polishes in various colours and finishes. Start with primary colours and neutrals, then expand to include your favourite shades and textures.
Essential Tools
- Detailing Brushes: A set of fine brushes for intricate designs.
- Dotting Tools: For perfect dots and tiny details.
- Striping Tape: For clean lines and geometric patterns.
- Sponges: For gradient and ombre effects.
- Nail Art Pens: For precise drawing and detailing.
- Stencils and Stickers: For quick and easy designs.
- Tweezers and Scissors: For precise placement and cutting.
Advanced Additions
- As you gain more skill, consider adding specialised tools, such as UV lamps for gel nails, nail art decals, and advanced brushes.
Quality Over Quantity
- Invest in Quality: Choose tools and polishes that are durable and high-performing. Quality tools can make a significant difference in the ease of application and the final look of your nail art.
- Maintenance: Take care of your tools. Clean brushes regularly and store them properly to extend their life.
Personalisation
- Your Style: Tailor your kit to your style and the designs you enjoy creating. If you love intricate work, invest more in detailing tools. If you prefer bold and simple designs, focus on various polishes and basic tools.
- Experimentation: Don’t be afraid to try new tools or techniques. Nail art is a creative process, and your kit should evolve with your skills and interests.
In conclusion, creating your nail art kit is a personal and evolving process.
Start with the essentials and build up your collection based on your preferences and the complexity of the designs you wish to create.
Quality tools and various polishes will set the foundation for endless creativity in your nail art journey.
Maintaining Your Tools
Maintaining Your Nail Art Tools: Ensuring Longevity and Precision
Cleaning Brushes
- Post-Use Cleaning: Clean your brushes immediately to prevent polish from hardening on the bristles.
- Method: Use a gentle nail polish remover or brush cleaner and rinse with warm water. Reshape the bristles and let them dry horizontally.
Caring for Dotting Tools
- Regular Cleaning: Wipe off excess polish with a cloth soaked in nail polish remover.
- Storage: Store them in a dry place to prevent rusting or damage to the tips.
Striping Tape Maintenance
- Storage: Keep striping tape in a cool, dry place to prevent the adhesive from degrading.
- Handling: Use tweezers to keep the tape free from oils and debris.
Polish Preservation
- Tight Sealing: Ensure the lids of your nail polishes are tightly sealed after use to prevent them from drying out.
- Storage: Polishes should be stored in a cool, dark place away from direct sunlight to maintain consistency and colour.
General Tips
- Organisation: Keep your tools organised in a clean, dry place. This will prolong their life and make your nail art process more efficient.
- Regular Check-ups: Periodically check your tools for wear and tear. Replace any that are damaged or no longer perform well.
In conclusion, regular and proper maintenance of your nail art tools is essential. It extends the life of your tools and ensures that they remain effective and easy to use, allowing you to create beautiful nail art with precision and ease.
Conclusion and Call to Action
Conclusion and Call to Action: Unleash Your Creativity with Nail Art
Embracing the Art of Nails
- A World of Possibilities: Nail art is not just a beauty routine; it’s a form of self-expression. With the right tools and creativity, you can transform your nails into miniature canvases that reflect your style and mood.
Tools as Stepping Stones
- Beginner to Pro: Whether you are just dipping your toes into the world of nail art or are on your way to becoming a seasoned artist, each tool and technique we’ve discussed serves as a building block in your creative journey.
- Experimentation is Key: The beauty of nail art lies in experimentation. Each brush stroke, dot, and line allows you to explore new designs and express your artistic flair.
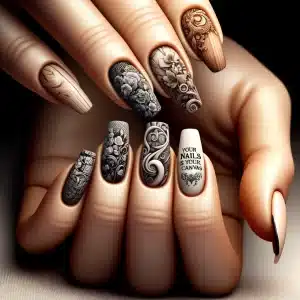
Your Nails, Your Canvas
- Personal Expression: Let your nails be a reflection of your personality. From subtle and elegant designs to bold and avant-garde creations, your nails can be a testament to your creativity.
- Share Your Art: Don’t keep your art a secret! Share your designs on social media with friends, or even consider starting a blog to document your nail art journey.
Call to Action: Start Your Nail Art Adventure
- Gather Your Tools: Revisit our list of essential tools and start assembling your kit.
- Practice and Share: Practice the discussed techniques, experiment with new ideas, and share your creations.
- Join the Community: Join the vibrant nail art community online. Follow nail art blogs, join forums, and connect with other enthusiasts.
- Keep Learning: Nail art is an ever-evolving art form. Stay curious, keep learning new techniques, and watch your skills flourish.
Final Thoughts
- Remember, every great artist started as a beginner. Your nail art journey is unique to you, filled with endless possibilities and opportunities for creativity. So, pick up your brushes, unleash your imagination, and let your nails showcase your artistic flair. The world of nail art awaits!
- Reddit r/Nails is a great place to get ideas and help. Of course, you can ask for advice in the comments section. We answer all queries.
- I love reading Nails Mag, a source of inspiration and guidance on trends.
Ready to take your nail art to the next level? Check out our latest collection of nail art supplies and get inspired!



Leave a comment