Nail Art for Beginners: A Step-by-Step Guide
Introduction to Nail Art for Beginners
This is nail art for beginners, nail art is a fantastic way to express your creativity and style. Whether you’re a complete novice or someone looking to improve their nail art skills, this step-by-step guide will help you get started on your nail art journey.
Are you ready to dive into the world of nail art? Nail art is a fun and creative way to express yourself and a fantastic form of self-care. In this guide, we’ll take you through the basics of nail art, from gathering the necessary supplies to creating stunning designs. Let’s embark on this colourful adventure.
Getting Your Nail Art Kit Ready
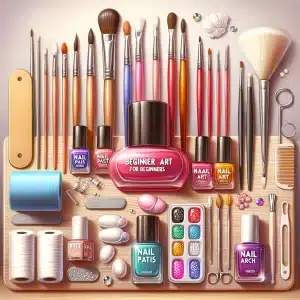
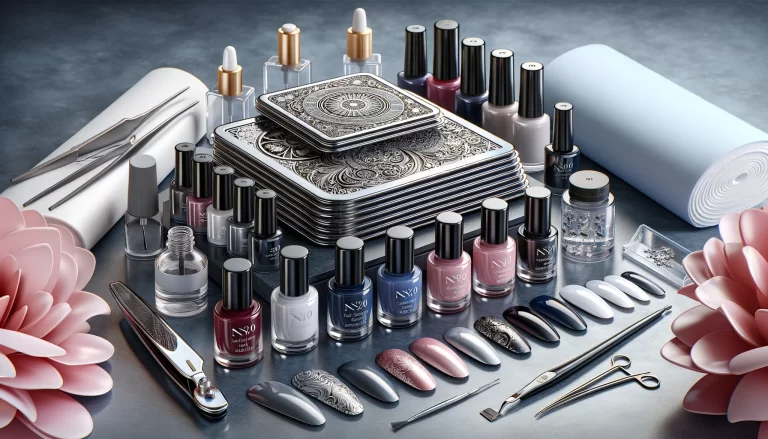
1. Nail Polish:
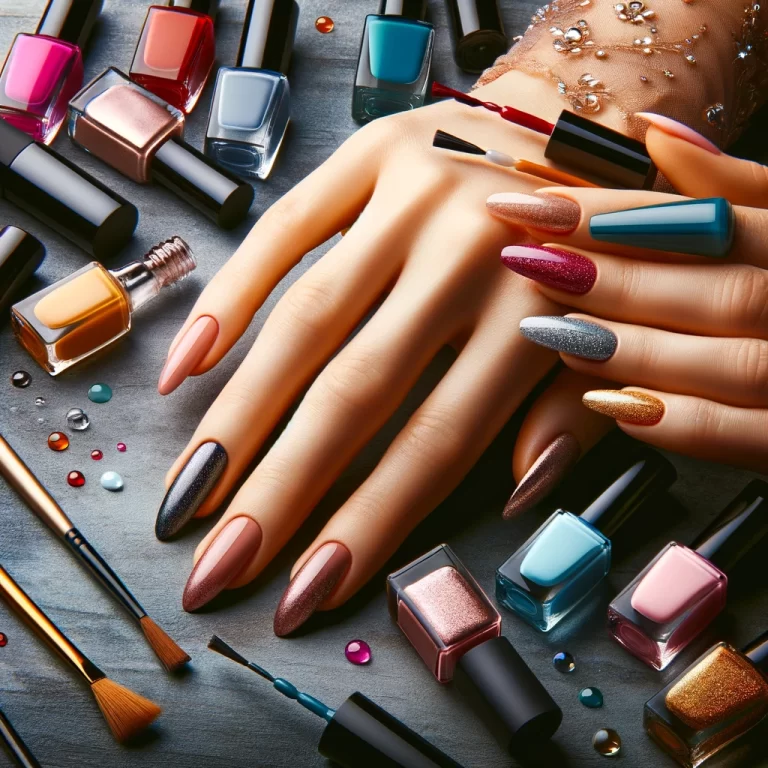
Nail polish is the heart and soul of your nail art endeavours. When choosing your nail polish, think about the colours and styles you love. You can go for bold and vibrant hues, subtle pastels, or classic nudes. The options are endless, so feel free to express your personality through your nail polish choices.
2. Nail Art Brushes:
Nail art brushes are your artistic tools. They come in various sizes and shapes, each designed for specific tasks. Thin brushes are perfect for intricate details, while thicker brushes are ideal for broader strokes. With the right set of brushes, you can create anything from delicate flowers to bold geometric patterns.
3. Nail Polish Remover:
Mistakes happen to the best of us. That’s where nail polish remover comes in. It’s your magic eraser for those accidental smudges or slips. Keep some on hand to correct any errors and maintain a polished look.
4. Cotton Swabs and Nail Wipes:
Nail art demands precision, and cotton swabs and nail wipes are your best friends for achieving that precision. They help you clean up any excess polish or remove tiny imperfections, ensuring your nail art looks flawless.
5. Nail File and Buffer:
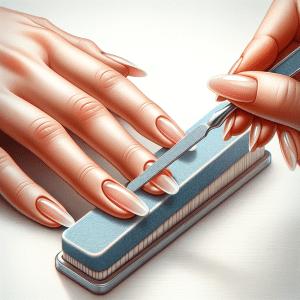
Before you embark on your nail art journey, you’ll want to start with a clean canvas. A good quality nail file and buffer are essential for shaping and smoothing your nails. You can choose your preferred nail shape, whether it’s round, square, oval, or almond, and then use the nail file and buffer to achieve the desired look.
6. Base Coat and Top Coat:
Think of the base coat and top coat as the foundation and the finishing touch of your nail art. The base coat provides a protective layer for your natural nails and ensures the nail polish adheres well. The top coat seals your design, adding a beautiful gloss and extending the life of your nail art.
7. Nail Stickers, Gems, and Decals (Optional):
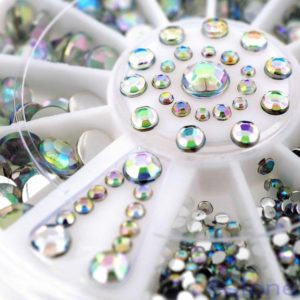
For those looking to take their nail art to the next level, consider adding some embellishments. Nail stickers, gems, and decals can be used to add a touch of sparkle and style to your designs. Whether you’re going for a glamorous look or simply want to experiment, these extras can be a creative addition to your kit.
Remember, your nail art kit is a reflection of your style and creativity. Feel free to experiment with different tools and supplies to discover what works best for you. With these essentials in your kit, you’re well-prepared to begin your nail art journey and explore the world of creative possibilities right at your fingertips.
Preparing Your Nails
1. Clean Your Nails:
Begin the nail art process with a clean canvas. Clean, dry nails provide the best surface for your nail art to shine. Here’s how to do it:
a. Remove Old Nail Polish: If you have any remnants of old nail polish, it’s essential to start fresh. Use a nail polish remover to gently and thoroughly remove any traces of previous colours. Ensure that your nails are immaculate and free of any residues.
b. Clean Under the Nails: Don’t forget to clean under your nails as well. This ensures that your nail art will look pristine and that no hidden dirt or old polish disrupts your design.
2. Shape Your Nails:
The shape of your nails is a key element of your overall nail art. You have the freedom to choose the nail shape that suits your style and personality. Here’s how to shape your nails:
a. Select Your Preferred Shape: Whether you prefer round, square, oval, almond, or any other shape, it’s entirely your choice. Each shape offers a unique look and feel, so choose the one that resonates with you.
b. Start Shaping: Use a nail file to shape your nails according to your chosen style. For a round shape, gently curve the edges. For a square shape, file straight across and then round the edges. Make sure to maintain consistency among all nails for a polished appearance.
3. Buff Your Nails:
Buffing your nails is the secret to achieving a smooth and flawless surface. This step is crucial for creating a beautiful canvas for your nail art:
a. Select a Nail Buffer: Choose a nail buffer that’s not too abrasive. Gently textured buffers work best for creating a smooth surface without damaging your nails.
b. Gently Buff Your Nails: With light, even strokes, gently buff the surface of your nails. This helps to remove any ridges, irregularities, or imperfections on the nail’s surface. The goal is to create a perfectly smooth canvas that will make your nail art designs stand out.
c. Avoid Over-Buffing: Be careful not to over-buff your nails, as this can weaken them. A gentle touch is all you need to create the right texture for your nail art.
By following these steps to prepare your nails, you’re setting the stage for a successful nail art adventure. Clean, well-shaped, and smoothly buffed nails provide the ideal foundation for creating beautiful and long-lasting nail art designs.
Choosing the Right Nail Art Design
Nail art is all about expressing your creativity and personal style. Here’s how to choose the perfect design for your nails:
1. Explore Your Options: There’s an endless array of nail art designs to choose from. You can opt for simple and elegant patterns, bold and vibrant designs, or even intricate artwork. Start by exploring different styles online, in magazines, or on social media to find inspiration.
2. Consider Your Skill Level: If you’re a beginner, it’s a good idea to start with something manageable. Simple designs like basic geometric shapes, two-tone colour schemes, or French tips are great starting points. As you gain confidence and experience, you can progress to more complex designs.
3. Match Your Outfit or Occasion: Think about the context in which you’ll be showcasing your nail art. Is it for a special occasion, a holiday, or simply a day-to-day look? Coordinating your nail art with your outfit or the event can be a fun way to express yourself.
4. Personalize Your Design: Don’t be afraid to put your personal touch on the design. Incorporate your favourite colours, patterns, or themes. Your nail art is a form of self-expression, so make it uniquely yours.
Applying the Base Coat
Before diving into the artistic aspect of nail art, it’s crucial to lay a strong foundation. Here’s how to properly apply the base coat:
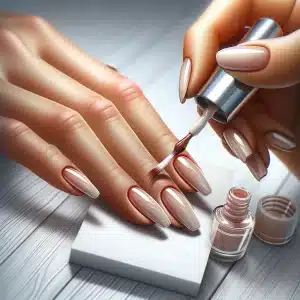
1. Protect Your Nails: Begin by applying a base coat to safeguard your natural nails. The base coat acts as a barrier between your nails and the nail polish, preventing staining and damage.
2. Let it Dry: Allow the base coat to dry completely. This step is essential to ensure that the base coat forms a solid protective layer.
Creating Your Nail Art
This is the heart of the nail art process, where your creativity takes centre stage. Follow these steps to bring your design to life:
1. Paint Your Nails: Apply your chosen nail polish colour as the base. Remember, thin coats work best for nail art. The key is to apply the polish evenly and avoid excessive thickness, which can lead to smudging.
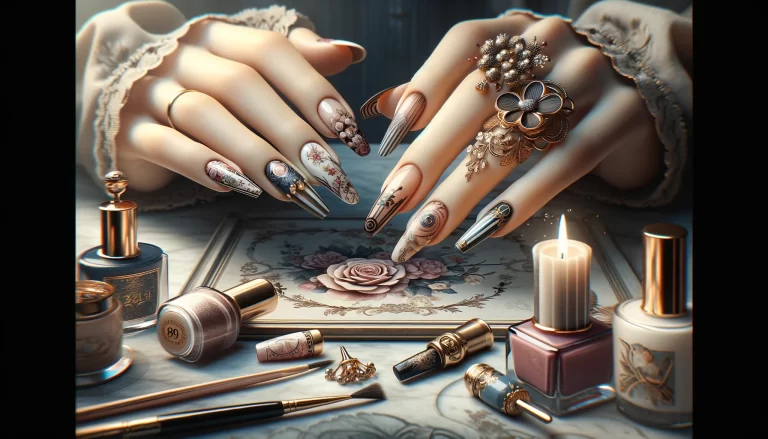
2. Let Your Creativity Flow: Here’s where your artistic instincts come into play. Use nail art brushes, stickers, or decals to create your design. The possibilities are endless – you can create intricate patterns, simple geometric shapes, or even freehand designs. The choice is yours.
3. Take Your Time: Patience is your best friend when creating nail art. Don’t rush your artwork. Allow each layer to dry thoroughly before adding more. This prevents smudging or blending of colours and ensures a crisp, professional finish.
Applying the Top Coat
After putting your creative flair into action, it’s time to protect your nail art and add a glossy finish:
1. Seal Your Design: Apply a top coat over your nail art. The top coat not only enhances the shine but also acts as a protective shield, extending the life of your nail art.
2. Enjoy the Shine: With the top coat in place, your nail art will gleam with a beautiful shine. It adds that extra touch of professionalism and ensures your design remains intact.
Adding Finishing Touches
If you want to take your nail art to the next level, consider these options:
With these steps, you’ll be well on your way to creating stunning nail art. Remember that practice makes perfect, and don’t be discouraged if your first attempts aren’t flawless. Nail art is a journey of self-expression and creativity, and it’s all about enjoying the process. Have fun and let your imagination run wild!
Your beautifully designed nail art deserves to shine for as long as possible. Here’s how to maintain its freshness and durability:
1. Apply a Top Coat Regularly:
To preserve the beauty and longevity of your nail art, consider applying a fresh top coat every few days. This step not only enhances the shine but also acts as a protective barrier against daily wear and tear. Here’s how to do it:
- Start with clean and dry nails. Ensure there is no dust or debris on the surface.
- Gently reapply a thin layer of top coat over your existing nail art. Be careful not to disturb the underlying design.
- Allow the new top coat to dry completely. This step helps to refresh and reinforce your nail art, maintaining its vibrancy.
2. Avoid Using Your Nails as Tools:
As tempting as it may be, try to refrain from using your beautifully manicured nails as tools for everyday tasks. Your nail art is a delicate creation, and using your nails to open packages, scratch surfaces, or perform other manual tasks can lead to chipping and damage. Here’s what you can do to protect your nail art:
- Use the pads of your fingers or the sides of your hands for tasks that require pressure or precision.
- Be mindful when performing activities that may put stress on your nails. For instance, wear gloves when gardening or doing household chores that could harm your nail art.
3. Be Gentle with Water Exposure:
Excessive exposure to water can weaken your nail art and cause it to chip or peel. To safeguard your nail art while performing tasks that involve water, such as dishwashing or bathing, follow these steps:
- Wear protective gloves when dealing with water and cleaning solutions. This helps to maintain the integrity of your nail art.
- After extended water exposure, pat your nails dry rather than rubbing them. Rubbing can loosen the top coat and potentially damage your nail art.
4. Nail Art Maintenance Routine:
Consider incorporating a nail art maintenance routine into your self-care regimen. It could include the following steps:
- Regularly inspect your nail art for any signs of wear or damage. Address any issues promptly to prevent further deterioration.
- Apply a cuticle oil to nourish your nails and the skin around them. Healthy cuticles contribute to the overall well-being of your nail art.
- Consider scheduling a touch-up or a full nail art redo as needed, especially if you have visible chipping or fading.
By following these maintenance steps, you can enjoy your beautifully designed nail art for an extended period. Remember that the more care and attention you invest in preserving your nail art, the longer it will maintain its vividness and allure. Enjoy your stunning nail art and let it be a reflection of your style and creativity!
Conclusion
Nail art is not just a fashion statement; it’s a delightful form of self-expression and a canvas for your creativity. Whether you’re a complete beginner dipping your toes into the colourful world of nail art or someone with some experience looking to enhance your skills, this step-by-step guide has equipped you with the knowledge and tools to create beautiful nail art. But it’s more than just art; it’s an experience. Here’s why:
1. Self-Expression: Your nails are a small but powerful canvas for expressing your unique style, mood, and personality. Nail art allows you to showcase your individuality, whether you choose bold and vibrant designs, subtle and elegant patterns, or anything in between.
2. A Creative Outlet: Nail art is a creative outlet that you can explore and enjoy at your own pace. It’s an artistic adventure where you get to be the artist. Each stroke of the brush, each selection of colour, and each design choice is an opportunity to explore your artistic side.
3. A Journey of Growth: Nail art is a journey of growth and improvement. It’s a skill that you can nurture and refine over time. As you practice and experiment, you’ll witness your skills evolve, and your designs become more intricate and impressive.
4. An Everyday Luxury: Your nail art is a little luxury that you can carry with you every day. It’s like having a piece of art at your fingertips. It’s a constant reminder of your creativity and style, and it can brighten even the dullest of days.
5. Pure Fun: Nail art is pure, unadulterated fun. Don’t be afraid to experiment with new designs, try out different colours, or simply let your imagination run wild. The key to truly enjoying nail art is to embrace the process and have a blast.
So, whether you’re painting your nails for a special occasion, for everyday life, or just because you feel like it, remember that nail art is a delightful journey. It’s a form of self-care and an art form that allows you to express yourself uniquely and colourfully. Don’t hold back; let your creativity flow, and most importantly, have fun with it. Happy nail art adventures, and may your nails always be your artistic canvas!
Author Bio
Hi, I’m Heather, and I’m deeply passionate about the world of nail art. As a nail art enthusiast and creator, I’ve spent countless hours experimenting with colours, designs, and techniques to turn my customers’ nails into miniature works of art.
My journey into the world of nail art started just like yours – with curiosity and a desire to express my creativity. I vividly remember the excitement of that first brush stroke and the thrill of seeing my designs come to life. It’s a journey that has brought me joy, confidence, and a unique way to showcase my personality through my nails.
I believe that nail art is not just about painting nails; it’s a form of self-expression. It’s about telling a story with every stroke of the brush, a tale of your style, your mood, and your individuality. I’m thrilled to share my experiences, knowledge, and the techniques I’ve honed over the years with you, whether you’re a novice taking your first steps or someone looking to perfect your nail art skills.
I’ve made my fair share of nail art mistakes and celebrated numerous triumphs, and it’s these experiences that have shaped my love for this creative outlet. It’s my sincere hope that this step-by-step guide has been a valuable resource for you on your nail art journey. Please don’t hesitate to reach out if you have any questions or want to share your nail art creations. I’m always here to provide guidance, share insights, and celebrate your nail art adventures with you.
Remember, nail art is a unique and joyful form of self-expression. It’s about embracing your creativity and having a blast with it. May your nail art be a reflection of your vibrant personality, and may it bring you endless happiness and inspiration. Here’s to happy nail art adventures and the artistry that lies at your fingertips!
Leave a comment