Nail Art Techniques: Unveiling the Artistry of Nails
Introduction
Welcome to the world of nail art techniques, where creativity meets elegance and every nail is a potential masterpiece. Whether you’re a beginner looking to experiment with your first design or a seasoned artist seeking advanced techniques, this guide is your comprehensive companion on the journey through the art of nail decoration. We’ll delve into the essentials, explore basic to advanced techniques, and provide tips for maintaining your nail art. So, grab your polishes and tools, and let’s embark on this colourful adventure together.
Nail Art Essentials
Tools of the Trade
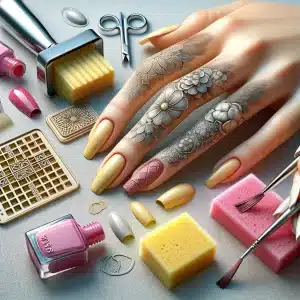
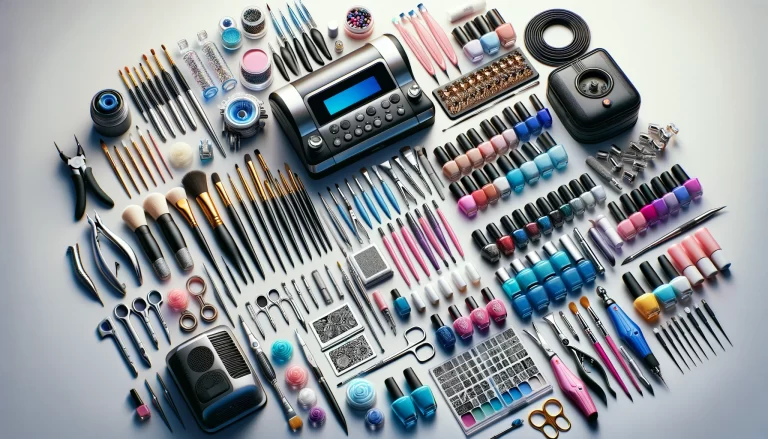
Every artist needs a palette and brushes, and in nail art, the tools you use can make all the difference. Here’s what you’ll need to get started:
- Nail Polish: A variety of colours and finishes will give you endless possibilities.
- Top Coat and Base Coat: Essential for protecting your nails and your art.
- Detailing Brushes: For those intricate designs and fine lines.
- Dotting Tools: Perfect for dots and small details.
- Striping Tape: For creating straight lines and geometric patterns.
- Stencils and Stickers: Great for beginners to create shapes and designs.
- Sponges: For gradient or ombre effects.
- Nail Art Pens: For drawing directly onto the nail with precision.
- Nail Art Stickers: For detailed images for those who are not natural artists.
With these tools at your disposal, you’re well on your way to creating stunning nail art.
Preparing Your Canvas
Just as a painter preps their canvas, you must prepare your nails to ensure the best results. Start with clean, shaped nails, and apply a base coat to protect the nail surface. Ensure each layer is completely dry, try a nail dryer, before moving on to your design. A smooth, well-prepped nail is the secret to a flawless finish.
Basic Nail Art Techniques
Stamping
Stamping is a quick and effective way to apply intricate designs that would be too complex to hand-paint. You’ll need a stamping plate, a scraper, and a stamping polish. Apply polish to the design plate, scrape off the excess, press the stamper onto the design, and then stamp it onto your nail. Voila! Instant art.
Sponging
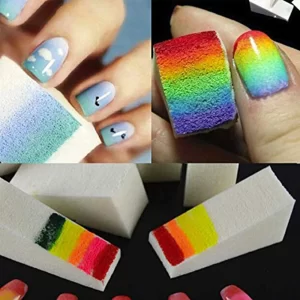
Sponging is a technique that can create beautiful gradients or textured looks. Apply a base coat of polish, then use a small piece of sponge to dab on additional colours. Layer until you achieve the desired effect, and finish with a top coat to blend and smooth everything together.
Taping
Taping is a method that requires patience but yields clean, crisp lines and patterns. Place striping tape in your desired pattern, apply polish and carefully remove the tape while the polish is still wet. This technique is perfect for geometric designs and sharp contrasts.
Splattering
Splattering is a playful and artistic nail art technique that creates a speckled effect, resembling an abstract painting. To achieve this look, you’ll need a base coat of polish, a few contrasting colours, and a small brush or even a straw. After applying your base colour, dip the brush or straw into a different polish and gently blow through it to splatter the colour onto your nails. It’s a fun and easy way to create a unique, textured design. Finish with a top coat to seal in your splattered art.
Stencilling
Stencilling is a straightforward yet versatile nail art technique that allows for clean, precise designs with minimal effort. Begin by applying your base coat and letting it dry completely. Choose a stencil that matches the desired pattern or shape, and secure it over the nail. Apply a contrasting polish over the stencil, and then carefully remove the stencil before the polish dries to reveal a crisp design. It’s an excellent method for creating geometric patterns, intricate shapes, and detailed imagery. A top coat will smooth out the design and provide longevity to your wearable art.
Advanced Nail Art Techniques
Marbling
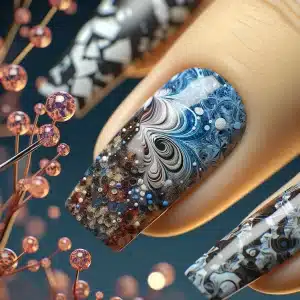
Marbling is a technique that creates swirling, intricate patterns reminiscent of marble stone. Begin by applying a base coat and then a white or light-coloured polish to make the colours pop. Add drops of different coloured polishes into a bowl of water, and use a toothpick to swirl the colours together. Dip your nail into the water where the polish is floating to transfer the design. It’s a mesmerizing effect that’s sure to catch the eye.
 Freehand Painting
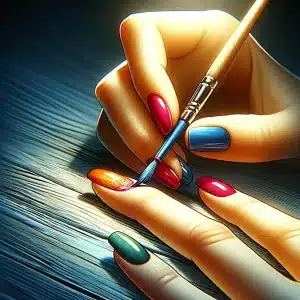
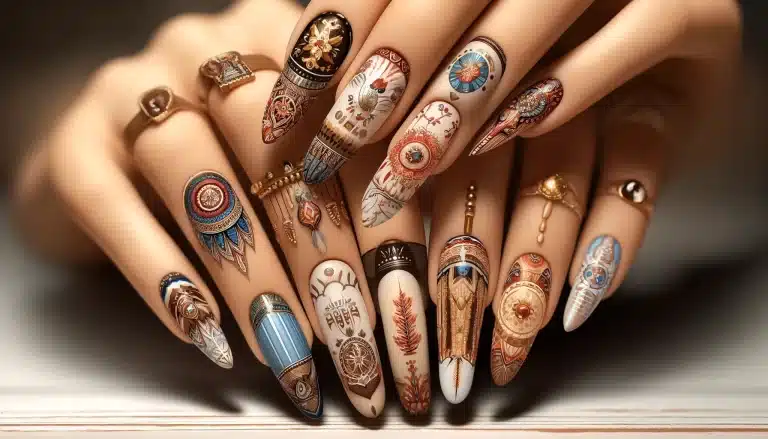
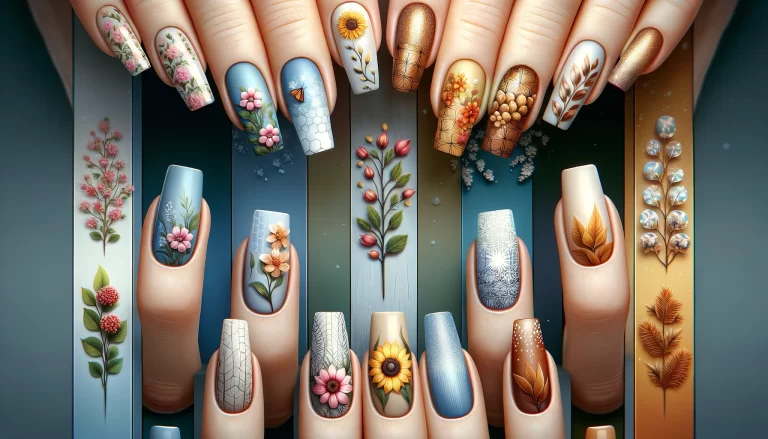
Freehand painting is where your creativity can truly run wild. With fine brushes, you can paint anything from delicate flowers to abstract patterns. Use acrylic paint as it can be easier to manipulate than polish and allows for mixing colours. Remember, practice makes perfect, and a steady hand is key. Don’t be afraid to start with simple designs and as your confidence grows, so will the complexity of your art.
3D Nail Art
3D nail art adds texture and an eye-catching element to your nails. You can use beads, rhinestones, pearls, and even tiny charms. Apply a small amount of nail glue to the spot where you want your 3D element, then place the item using tweezers. Seal it with a top coat for extra hold. This technique is perfect for special occasions when you want to make a bold statement.
Gradient Nails
Gradient nails create a seamless colour transition on your nails, often referred to as an ombre effect. This technique involves blending two or more polish colours on a sponge and then dabbing it onto the nails to produce a smooth, gradient look. It’s a stylish and modern design that’s perfect for those who love a colour-shifting appearance.
Water Marble Nail Art
Water marble nail art is a fluid and enchanting technique that involves creating patterns with nail polish on the surface of water and then transferring them onto the nails. It requires a bowl of water, a selection of nail polishes, and a tool to swirl the colours together. The result is a marble-like effect that’s truly one-of-a-kind.
Stained Glass Nails
Stained glass nails mimic the beautiful, translucent effect of coloured glass. This technique uses thin strips of tape to create outlines, which are then filled in with different translucent or jelly polishes. The result is a vibrant, multi-coloured design that looks stunning when it catches the light.
Negative Space Nail Art
Negative space nail art plays with the contrast between your natural nails and polish. This technique involves leaving parts of the nail without polish and creating geometric shapes, lines, or patterns. It’s a minimalist yet bold statement that’s both modern and chic.
Foiling
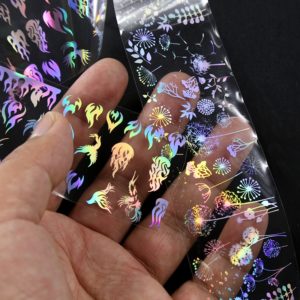
Foiling is a technique that adds a metallic flair to your nails. It involves applying adhesive to the nail and then placing a piece of foil over it. Once the foil is pressed down and removed, it leaves behind a shiny, textured design. Foils come in a variety of colours and patterns, offering endless creative possibilities.
UV Gel Nail Extensions
UV gel nail extensions are a durable and long-lasting way to add length and strength to your nails. This technique involves applying layers of UV-sensitive gel, which are then cured under a UV lamp. Gel extensions are perfect for those looking to create a canvas for more elaborate nail art designs.
Incorporating Holographic
Holographic nail art is all about that mesmerizing, multi-dimensional rainbow effect. Holographic powders or polishes can be applied to the nails, which refract light to reveal a spectrum of colours. This technique is perfect for creating a futuristic and eye-catching look that’s sure to turn heads.
Nail Art Decals
Nail art decals are the secret weapon for adding intricate designs to your nails with precision and ease. These pre-designed stickers come in an array of styles, from elegant florals to edgy geometric patterns. To use, simply select a decal, peel it off the backing, and place it onto the nail, smoothing out any bubbles or wrinkles. Seal it with a top coat for a long-lasting look. Decals are perfect for adding a professional touch to your manicure, especially when you’re short on time. You just have to look at our store for a massive range.
Nail Art for Special Occasions
Bridal Elegance
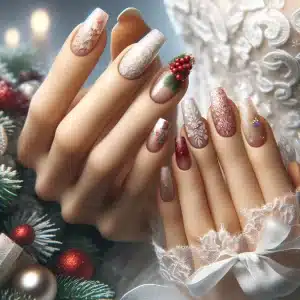
For a bride, every detail matters, and that includes her nails. Bridal nail art is all about elegance and subtlety. Think of soft colours, delicate lace patterns, and a touch of sparkle to match the ring. Use a palette of whites, creams, and pastels, and consider a matte top coat for a modern finish. Remember, bridal nail art should complement the ring and the overall theme of the wedding.
Holiday Themes
Holidays are the perfect time to celebrate with themed nail art. For Halloween, go for spooky designs like ghosts, webs, or pumpkins. Christmas calls for reds, greens, and gold, with patterns like snowflakes or Christmas trees. Valentine’s Day? Hearts and kisses in shades of pink and red. Let the season inspire your designs and colour choices.
Wedding Nails
Wedding nails are all about elegance and complementing the bridal look. Classic French tips, delicate lace designs, or a soft ombre with a hint of shimmer are popular choices. Pearls or tiny crystals can add a touch of sophistication, reflecting the joy and purity of the occasion.
Birthday Bash
Birthday nails should be as fun and vibrant as the celebration itself. Think bold colours, glitter, and playful patterns like balloons, confetti, or even personalized age numbers. It’s a day to shine, so why not have your nails do the same?
Holiday Nail Art
Holiday nail art is a festive way to dive into the spirit of the season. From the oranges and blacks of Halloween to the reds, greens, and golds of Christmas, each holiday has its colour palette and symbols. Pumpkins, snowflakes, hearts, or fireworks – the designs can be as diverse as the holidays themselves.
Graduation Nails
Graduation nails celebrate academic achievement with style. Incorporate school colours, or opt for a sophisticated design in black and gold. Adding the graduation year or a small cap design can personalize the look for a memorable day.
New Year’s Eve Glam
New Year’s Eve nails are all about glitz and glamour. Metallics, glitter, and bold colours suit the night’s festivities. Designs can range from fireworks and clocks striking midnight to more abstract representations of new beginnings and the year ahead.
Anniversary Nails
Anniversary nails are a romantic way to commemorate a significant milestone. Soft pinks, deep reds, or the incorporation of gemstones that symbolize the specific anniversary year can make for a meaningful and elegant manicure.
Maintaining Your Nail Art
Protection and Upkeep
Protecting your nail art is crucial for longevity. Apply a clear top coat every two to three days to prevent chipping and wear. When performing tasks that are tough on your hands, like cleaning or gardening, wear gloves to protect your nails. Avoid using your nails as tools to open cans or remove stickers, as this can damage your nail art.
When to Redo
Even with the best care, nail art doesn’t last forever. Typically, a design can last up to two weeks with proper maintenance. Look for signs of lifting polish or when your nails have grown out, leaving a gap at the base. These are indicators that it’s time for a fresh design. It’s also an opportunity to try something new and keep your nails looking their best.
Protect Your Nail Art
To keep your nail art looking fresh, apply a clear top coat every other day. This not only adds shine but also protects the design from chipping and wear. When doing household chores, especially washing dishes or using cleaning products, wear gloves to shield your nails from potential damage.
Moisturize Your Nails and Cuticles
Regular moisturization is key to maintaining healthy nails and cuticles. Use a nourishing cuticle oil daily to keep the skin around your nails soft and to prevent hangnails. A well-moisturized nail is also less prone to chipping, keeping your nail art intact for longer.
Avoid Harsh Chemicals
Harsh chemicals can strip away polish and weaken your nails. When cleaning or using strong detergents, protect your hands and nails with gloves. Opt for nail-friendly hand soaps and sanitisers that don’t contain acetone or alcohol, which can dry out your nails and ruin your nail art.
Be Gentle with Your Nails
Treat your nails as jewels, not tools. Avoid using your nails to open cans, peel off stickers, or do anything that can exert excessive force on them. This will help prevent chips and cracks in both your nail art and your nails themselves.
Nail Art Touch-Ups
If you notice a small chip or imperfection, you can perform a quick touch-up with the same colour polish. For designs that have faded or worn off, use a fine brush to reapply the design over the top coat, and then seal it with another layer of top coat.
Healthy Diet and Supplements
Strong nails are the foundation of long-lasting nail art. A diet rich in vitamins and minerals, particularly biotin, vitamin E, and omega-3 fatty acids, can help your nails grow strong and resilient. Supplements specifically formulated for nail health can also support your nail care regimen.
Regular Maintenance
Keep your nails in top shape with regular maintenance. This includes trimming, filing, and buffing your nails to prevent snags and splits that can ruin nail art. Also, regularly push back and trim your cuticles to provide a clean canvas for your designs.
Nail Art Removal
When it’s time to remove your nail art, do so gently. Use an acetone-free remover to avoid drying out your nails. For stubborn polish or glitter, soak a cotton ball in remover, place it on the nail, and wrap it in foil for a few minutes before wiping off the polish. This minimizes the need for excessive rubbing and scraping, which can damage the nail surface.
Conclusion
We’ve journeyed through the essentials of nail art, from the simplest techniques to the most elaborate designs. Nail art is not just a fashion statement; it’s a form of self-expression and creativity. With the tips and techniques outlined in this guide, you’re well-equipped to start creating your own nail art masterpieces. Remember, practice is key, and every mistake is a step towards mastery. So, unleash your creativity and let your nails be your canvas.
A source of inspiration is Nails Mag, and my all-time favourite is Nail Art Community on Reddit – /r/Nails
Author Bio
As a passionate nail artist and beauty blogger, Mel has been transforming nails into works of art for over a decade. With a keen eye for design and a flair for creativity, Mel believes that beautiful nails are a form of self-care that everyone deserves. Through his tutorials, Mel aims to inspire and empower others to express their unique style, one nail at a time.

 Freehand Painting
Leave a comment