8 Nail Art Techniques and Tips
Unlock Your Creativity: 8 Nail Art Techniques and Tips
Welcome to the world of nail art! Whether you’re new to it or want to improve your skills, we’ve got 8 nail art techniques and tips to help you create amazing nail designs. From basic methods to advanced styles, this guide will help you explore your creativity and develop your nail decorating skills. Let’s get started with transforming your nails into tiny works of art!
Essential Nail Art Tools
- Nail polish in various colours
- Base coat
- Top coat
- Nail art brushes
- Dotting tools
- Striping tape
- Nail stickers and decals
- Nail file
- Nail buffer
- Nail glue
- Acetone for cleaning
- Cotton swabs
- Cuticle pusher
- Nail clippers
- Sponges for gradient effects
Essential Tools for Nail Art Success
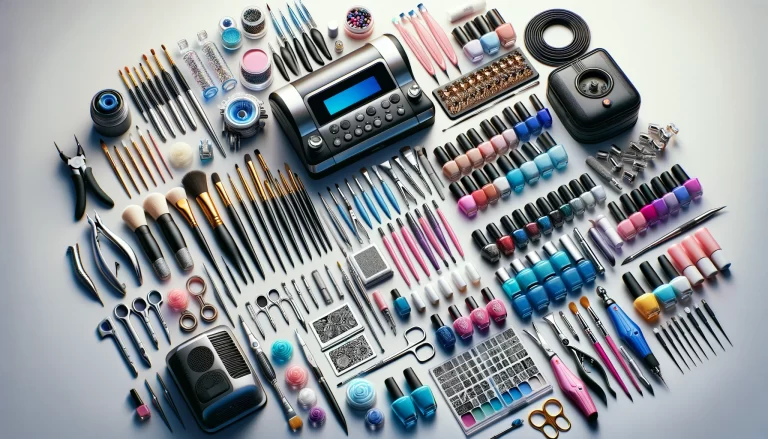
Before we start with techniques, let’s make sure you have the right tools. Having the proper equipment is important for getting good results. A well-stocked nail art kit will let you create many different designs and try various techniques. Good tools can really make your nail art look better.
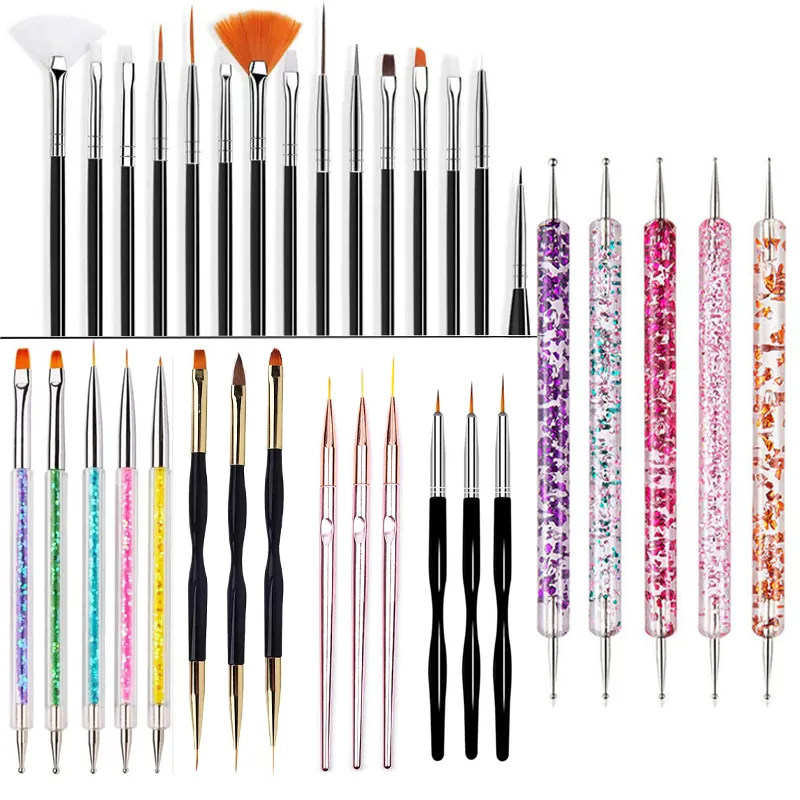
Key tools include:
- Nail polish in various colours: Choose different shades for different moods and occasions. Include both bright and neutral colours.
- Base and top coats: These protect your nails and make your nail art last longer. A good base coat stops staining, and a quality top coat adds shine and durability.
- Nail art brushes and dotting tools: Different brush sizes let you create various effects, from thin lines to broader strokes. Dotting tools are great for making precise dots and patterns.
- Striping tape: This thin, sticky tape is good for making clean lines and geometric designs. You can also use it as a guide for detailed patterns.
- Nail stickers and decals: These are perfect for quick and easy nail art, especially when you’re short on time or want to add detailed designs without painting by hand.
- A good quality nail file and buffer: These tools are important for preparing your nails before applying nail art. They help create a smooth surface for better polish application.
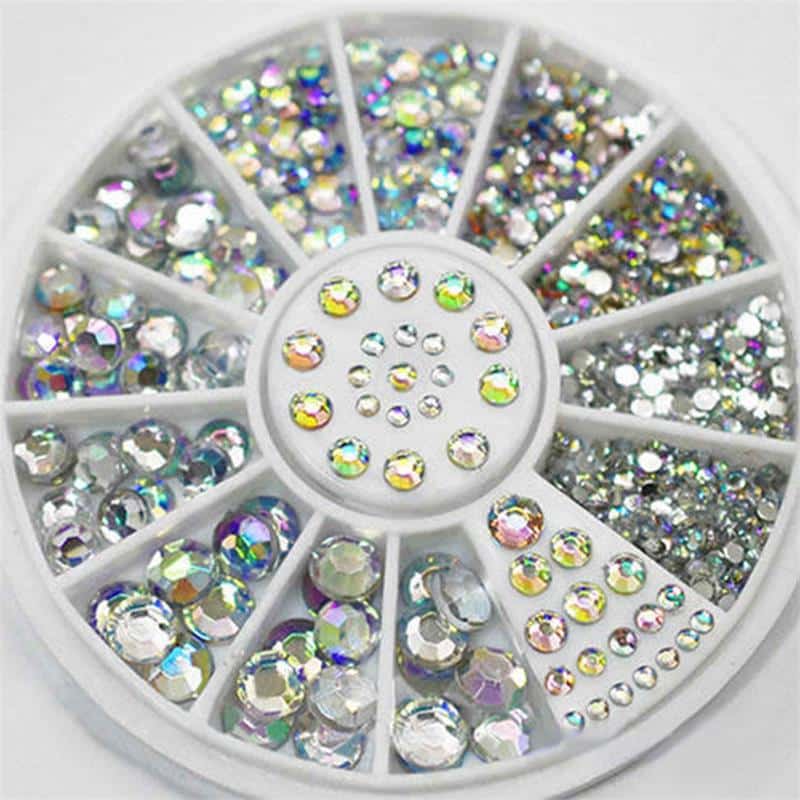
Getting a quality nail art brush set will help you create many different designs. These brushes come in various sizes and shapes, letting you paint fine details, create thin lines, or cover larger areas easily. Don’t forget to get a rhinestone and glitter wheel to add sparkle to your creations! These decorations can make your nail art look even better, adding depth and a touch of glamour to your designs.
Preparing Your Nails: The Foundation of Great Nail Art
Before you start creating designs, it’s important to prepare your nails properly. This will make your nail art look better and last longer. Good nail preparation is often overlooked, but it’s crucial for getting professional-looking results. Think of your nails as a canvas – the better prepared they are, the better your art will look and last.
- Clean your nails well with soap and water. This removes any dirt, oil, or leftover polish that could stop the new polish from sticking well.
- Gently push back your cuticles using a cuticle pusher or orange stick. Be careful not to hurt the delicate skin around your nails.
- Shape your nails with a file. Choose a shape that looks good with your nail beds and matches your style, like square, round, or almond-shaped.
- Lightly buff the surface of your nails to make them smooth. This helps remove any bumps or unevenness that could show through your nail polish.
- Apply a base coat to protect your nails and help the polish stick better. This step is important for preventing staining and making your manicure last longer.
Taking good care of your nails is important for creating a perfect base for your nail art. Remember, healthy nails are the best canvas for your creativity! Regularly moisturising your cuticles and hands will keep your nails flexible and less likely to break. Also, think about taking biotin supplements or eating foods rich in vitamins and minerals to keep your nails healthy from the inside out.
Basic Nail Art Techniques for Beginners
Let’s start with some simple techniques that are great for beginners. These basic methods will help you build confidence and improve your skills. Don’t worry if your first tries aren’t perfect – nail art is something that gets better with practice. Start with these techniques and slowly move on to more complex designs as you get more comfortable.
Dotting Technique
Dotting is one of the easiest ways to make cute patterns on your nails. You can use a dotting tool or even the round end of a bobby pin! This versatile technique can be used to create various designs, from simple polka dots to more complex floral patterns.
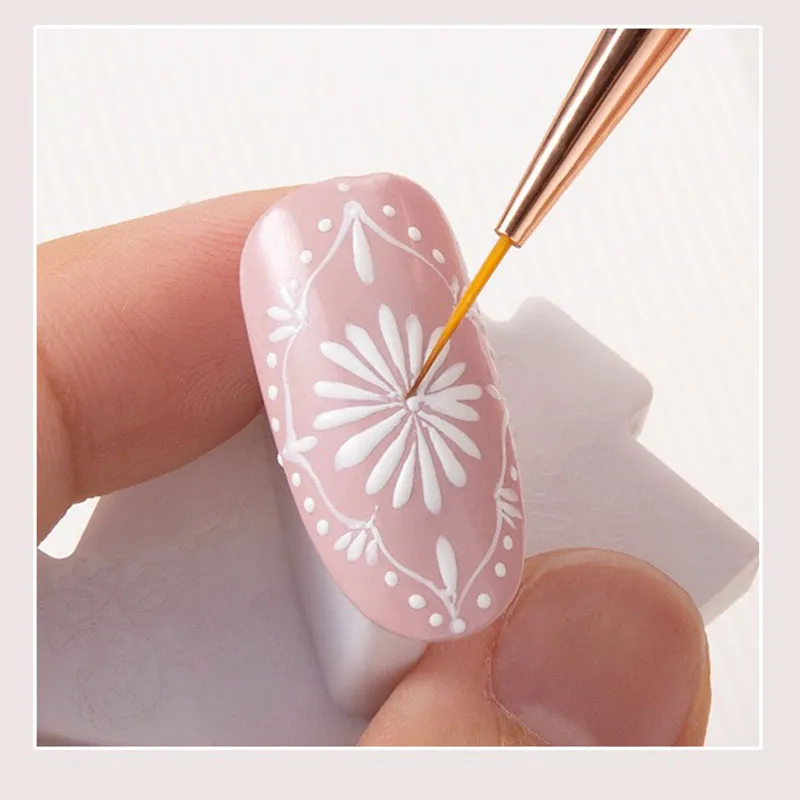
To create dots:
- Apply your base colour and let it dry completely. This is important to prevent smudging when you add the dots.
- Dip your dotting tool in nail polish. Make sure you have just the right amount – not too much that it drips, but enough to create a smooth dot.
- Gently press the tool onto your nail to create a dot. Practice applying different amounts of pressure to create dots of different sizes.
- Try making different patterns like flowers or polka dots using different sizes and colours. You can also create a gradient effect by using different shades of the same colour.
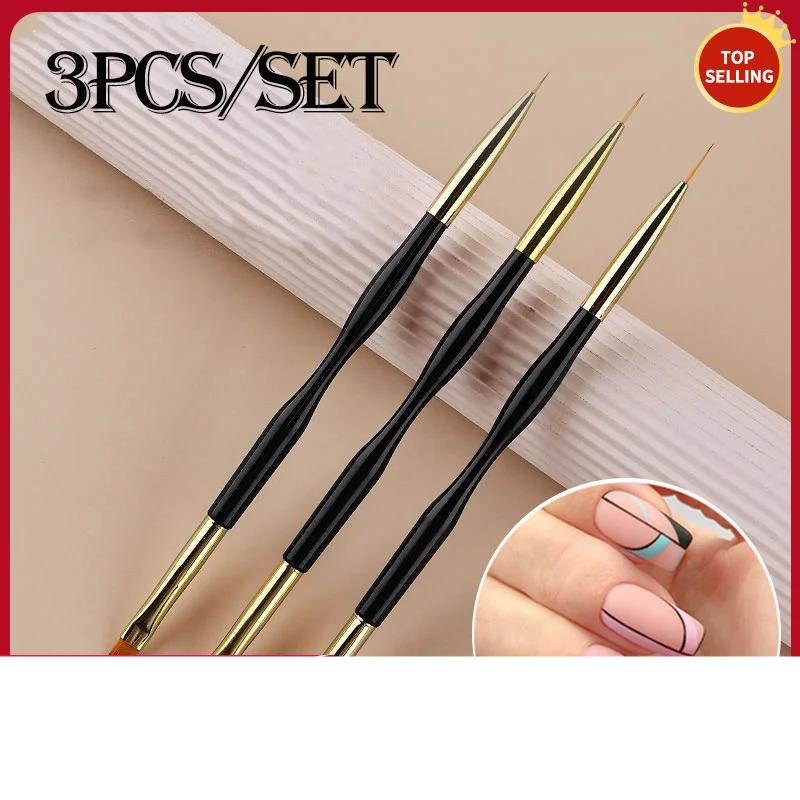
The French stripe nail art liner brush set is perfect for making precise dots and lines. It’s great for both beginners and experienced nail artists! These fine brushes let you create detailed designs easily, giving you more control over your nail art creations.
Striping Technique
Striping is another simple technique that can create stunning results. You can use striping tape or a thin brush for this. This technique is versatile and can be used to create everything from simple stripes to complex geometric patterns.
- Apply your base colour and let it dry completely. Being patient here is key to ensuring clean lines.
- Use striping tape or a thin brush to create straight lines. If using tape, carefully apply it to your nail in the pattern you want.
- Apply a different colour over or between the lines. For tape designs, paint over the whole nail, including the tape.
- Remove the tape while the polish is still wet (if using tape). Carefully pull the tape off at an angle to avoid smudging.
- Once dry, seal with a top coat to protect your design and add shine.
This technique is great for creating geometric patterns or a modern twist on the classic French manicure. You can also use it to create colour-blocked designs or as guidelines for more detailed patterns. Try different colour combinations and tape placements to create unique looks.
Intermediate Nail Art Techniques
Ready to take your nail art to the next level? Let’s explore some more advanced techniques that will really make your nails stand out! These methods need a bit more practice and patience, but the results are worth it. As you get better at these techniques, you’ll be able to create more complex and eye-catching designs.
Gradient and Ombre Effects
Gradient nails create a beautiful, blended effect between two or more colours. This technique can be used to create subtle, elegant looks or bold, dramatic designs. Here’s how to achieve this look:
- Apply a white base coat to make your colours pop. This step is important for getting bright gradients, especially with lighter colours.
- Paint each colour in stripes on a makeup sponge. Put the colours next to each other in the order you want them to appear on your nail.
- Dab the sponge onto your nail, blending the colours together. Use a light touch and build up the colour gradually.
- Repeat until you get the intensity you want. You might need to put more polish on the sponge between nails.
- Clean up around the edges with a small brush dipped in nail polish remover.
- Apply a top coat to smooth out the texture and add shine.
This technique works great with pastels for a soft look or bold colours for a dramatic effect. Try experimenting with different colour combinations and directions of the gradient for unique looks.
Water Marbling
Water marbling creates unique, swirled patterns on your nails. It takes some practice, but the results are worth it! This technique lets you create one-of-a-kind designs that are never exactly the same twice.
- Fill a small container with room-temperature water. The temperature is important – if it’s too cold, the polish won’t spread properly.
- Drop different colours of nail polish onto the water’s surface. Start with a drop in the centre and quickly add more colours around it.
- Use a toothpick to create swirls in the polish. Drag the toothpick through the colours to create your desired pattern.
- Dip your nail into the design. Make sure to dip it straight down and hold it there for a moment.
- Clean up excess polish around your nail using a cotton swab dipped in nail polish remover.
- Repeat for each nail, creating a new marble design each time.
- Once dry, apply a top coat to seal and protect your design.
Water marbling is a fun technique that creates unique designs every time! It’s perfect for creating abstract patterns or mimicking natural stone textures like marble or agate. Don’t get discouraged if your first attempts aren’t perfect – this technique takes practice to master.
Advanced Nail Art Techniques
For those ready to take their nail art to professional levels, these advanced techniques will help you create truly stunning designs. These methods require more skill and patience, but they allow for incredible creativity and unique, eye-catching results.
3D Nail Art and Embellishments
Adding 3D elements to your nails can create eye-catching, textured designs. This technique involves using special products and a steady hand. 3D nail art can range from subtle textures to bold, sculptural elements that stand out from the nail surface.
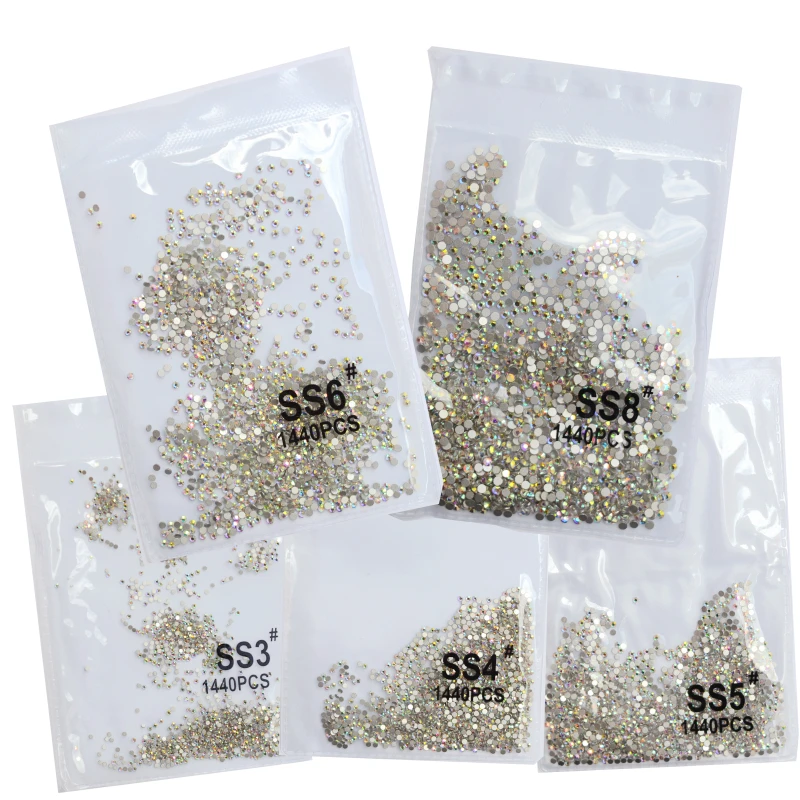
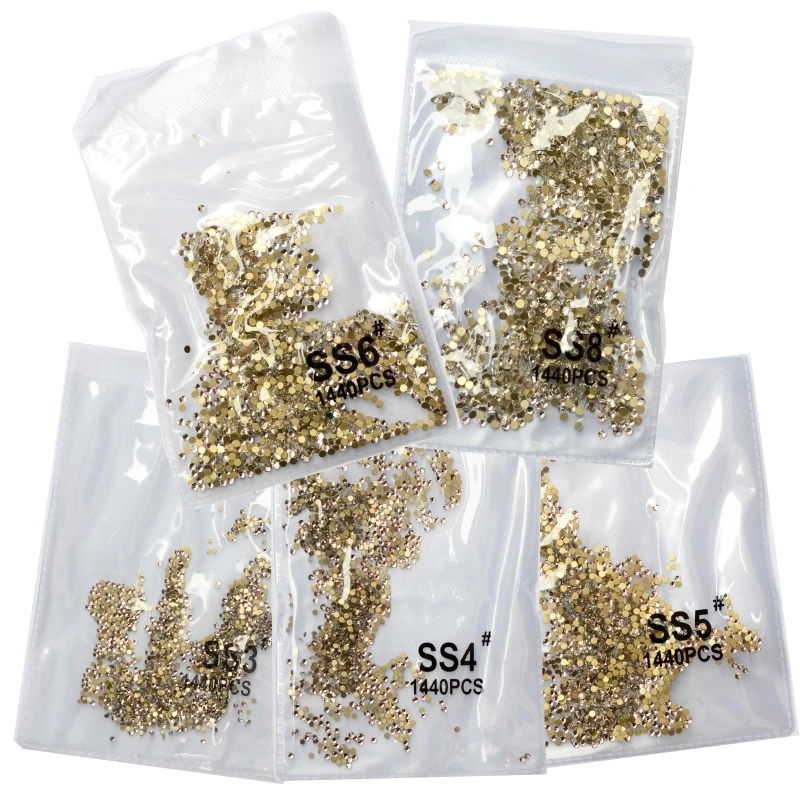
To create 3D nail art:
- Apply your base design. This could be a solid colour, gradient, or any other nail art technique.
- Use nail glue to attach 3D rhinestones or other embellishments. Put a small drop of glue on your nail and carefully position the embellishment with tweezers.
- Create raised designs with acrylic powder or gel. This requires some practice to shape the material into your desired design.
- For more complex 3D designs, you might use nail forms or moulds to create shapes that you then attach to the nail.
- Seal everything with a thick top coat for durability. You may need to apply multiple layers to fully cover raised elements.
These 3D rhinestones in gold and clear crystals are perfect for adding sparkle and dimension to your nail art creations! They can be used to create accents on one or two nails or as part of a more elaborate design across all nails.
Freehand Nail Art
Freehand nail art is where your creativity truly shines. This technique involves painting detailed designs directly onto the nail without using stencils or guides. It requires a steady hand, good brush control, and a lot of practice.
- Start with a base colour. Choose a shade that will complement your design or provide a good contrast.
- Use thin brushes to paint your design. Different brush sizes can help you create various effects and details.
- Build up layers of colour and detail. Start with larger shapes and gradually add finer details.
- Use a small brush or toothpick for fine details. This can help you create intricate patterns or add small accents to your design.
- Allow each layer to dry before adding the next to prevent smudging.
- Seal with a top coat once dry to protect your artwork and add shine.
Freehand nail art takes practice, but it allows for unlimited creativity and unique designs. You can create anything from simple flowers to complex landscapes or portraits. Don’t be afraid to experiment and develop your own style!
Trendy Nail Art Designs
Stay on top of the latest nail art trends with these popular designs that are sure to turn heads! Nail art trends often reflect broader fashion and design trends, so keep an eye on current styles for inspiration.
Bohemian-Inspired Nail Art
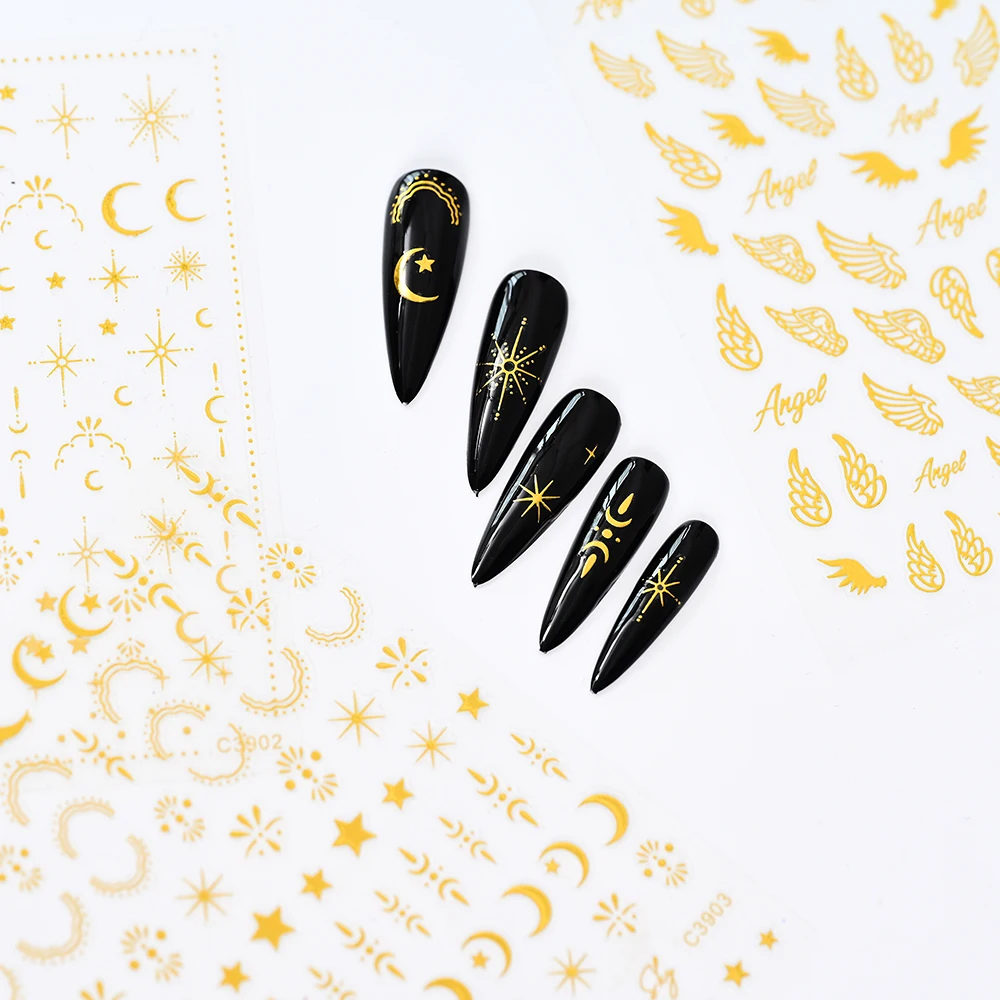
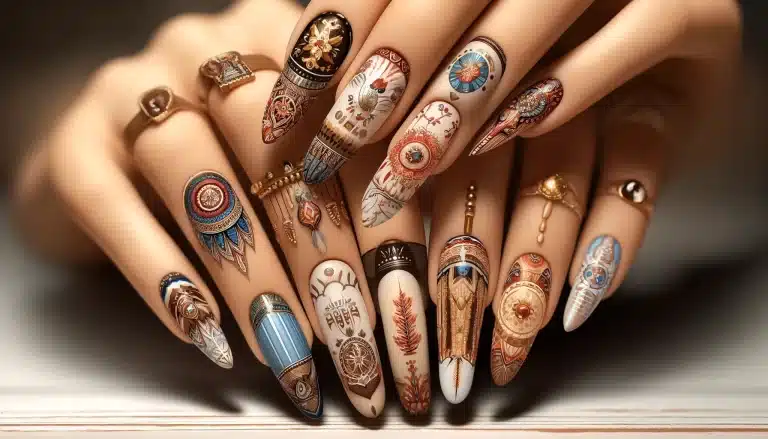
Bohemian-inspired nail art is all about free-spirited designs and earthy tones. Think dreamcatchers, feathers, and intricate patterns. Use warm colours like terracotta, turquoise, and gold to capture that boho vibe. This style often includes natural elements and geometric patterns for a relaxed yet stylish look.
To create bohemian nail art:
- Use earthy colour palettes with pops of bright accents
- Include tribal or mandala-inspired patterns
- Add metallic accents for a touch of glamour
- Experiment with negative space designs for a modern boho look
- Try combining multiple techniques like stamping, freehand drawing, and embellishments
Floral and Nature-Inspired Designs
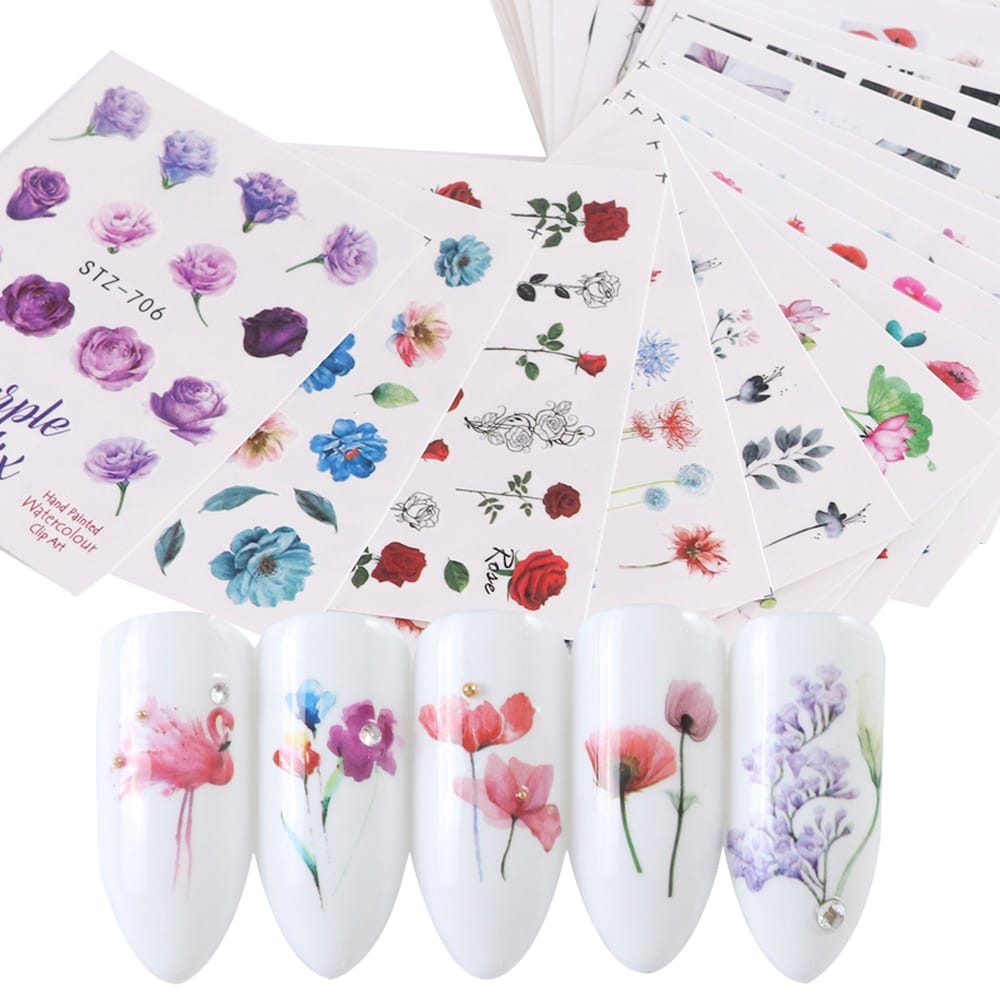
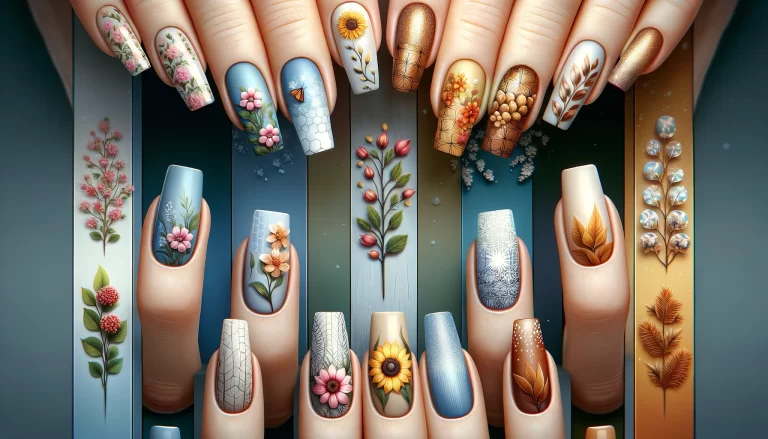
Floral watercolour nail art is a beautiful and delicate trend that’s perfect for spring and summer. Create soft, dreamy designs using pastel colours and gentle brush strokes to mimic watercolour paintings. This technique allows for a lot of creativity and can be adapted to suit various skill levels.
Tips for creating floral watercolour nail art:
- Start with a light base colour, preferably white or a very pale shade
- Use watered-down nail polish or actual watercolour paints (sealed with a top coat)
- Create loose, abstract floral shapes rather than precise petals
- Layer colours to create depth and dimension
- Add fine details with a thin brush once the base design is dry
- Experiment with different flower types and colour combinations
Using Nail Art Stickers and Decals
For those days when you want a quick and easy nail art solution, stickers and decals are your best friends! These pre-made designs allow you to create intricate looks without the need for advanced painting skills.
To apply nail stickers or decals:
- Start with clean, polished nails. Make sure your base colour is completely dry before applying stickers.
- Cut out the design you want to use. If using water decals, you may need to cut closely around the design.
- Dip the sticker in water for a few seconds (for water decals). This activates the adhesive and allows the design to slide off the backing.
- Slide the design onto your nail and position it carefully. Use tweezers for precise placement.
- Pat dry with a paper towel and gently smooth out any air bubbles or wrinkles.
- Once the decal is dry, seal it with a top coat to protect the design and add shine.
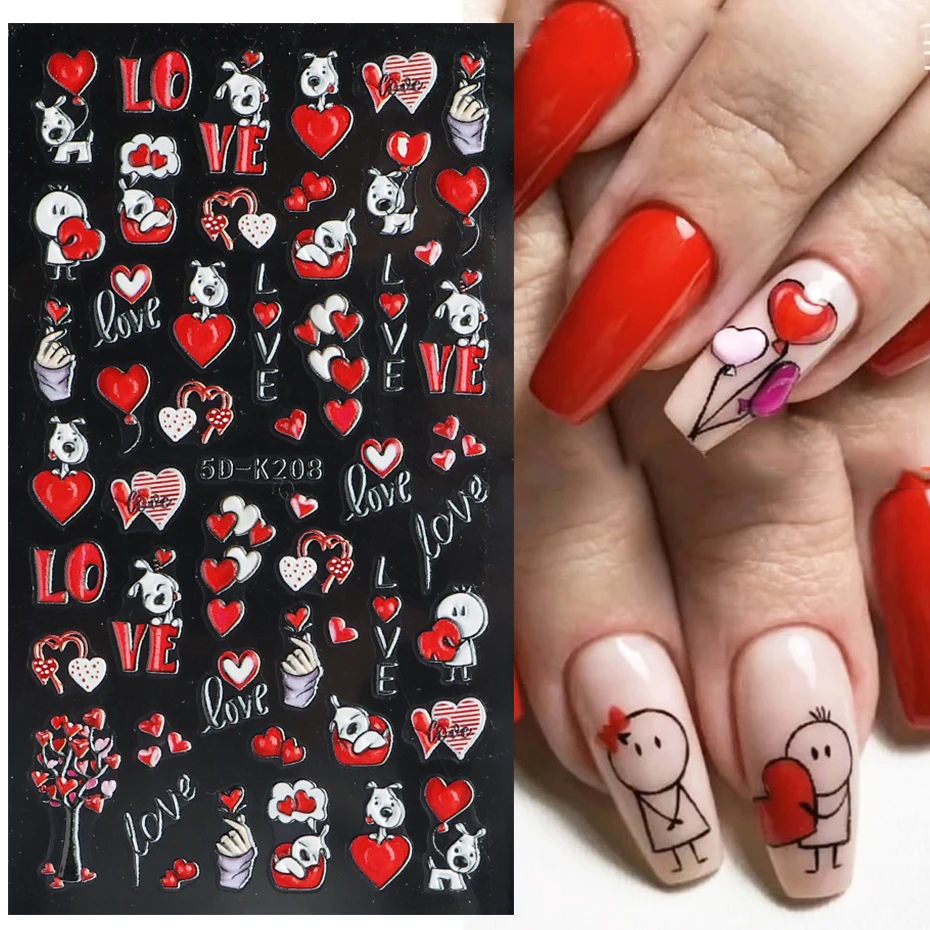
These cute cartoon nail transfers and heart love design 3D nail stickers are perfect for adding fun and whimsical elements to your nail art! They’re great for creating themed manicures for holidays or special occasions.
Incorporating Nail Foils and Glitter
Add some sparkle and shine to your nail art with foils and glitter. These materials can take your designs from simple to spectacular! Foils and glitters are versatile and can be used to create everything from subtle accents to bold, eye-catching designs.
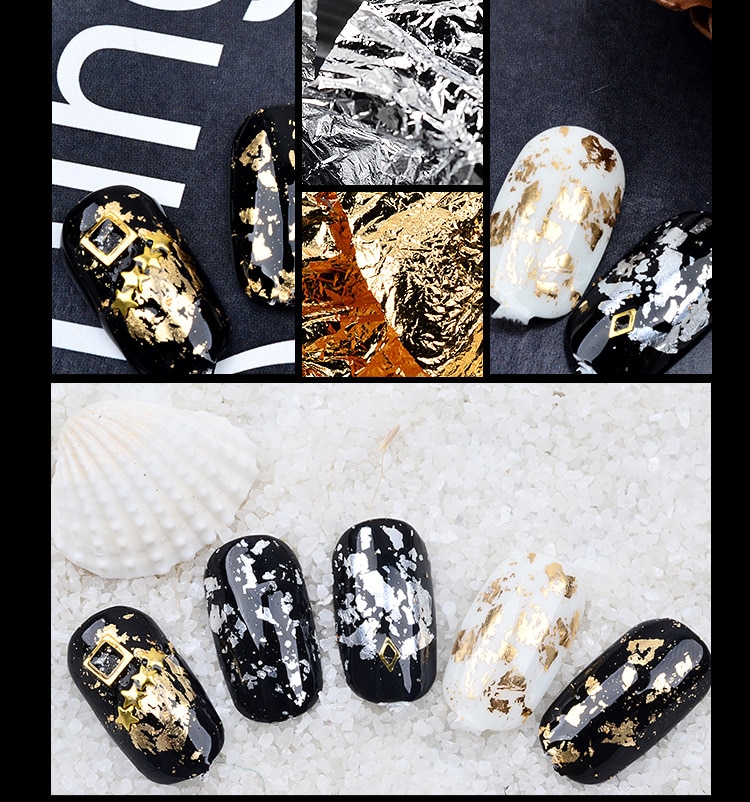
To use nail foils:
- Apply a base colour and let it dry completely. Choose a colour that complements or contrasts with your foil for interesting effects.
- Apply a thin layer of foil glue and wait until it becomes tacky. The timing is crucial – too wet and the foil won’t stick, too dry and it won’t transfer properly.
- Press the nail foil onto your nail and rub gently. Use firm, even pressure to ensure good transfer.
- Peel off the foil backing to reveal the design. Do this slowly to avoid tearing the design.
- Seal with a top coat for longevity. This step is crucial to prevent the foil from peeling or flaking off.
For glitter application:
- Apply a base colour or clear polish. If you want the glitter to be the star, use a clear or matching base.
- While the polish is still wet, sprinkle glitter over your nail. You can use a small brush or spoon for more precise application.
- Gently pat the glitter down to ensure it sticks well to the polish.
- Once dry, brush off excess glitter with a soft brush or sponge.
- Apply a thick top coat to seal in the glitter and create a smooth surface. You may need multiple layers for very chunky glitters.
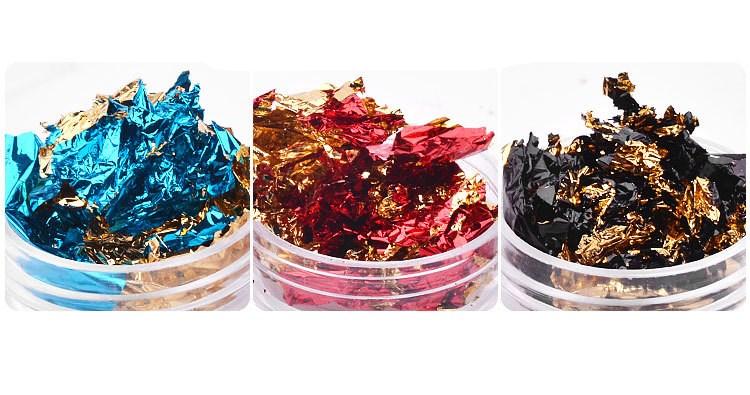
This 10-piece nail foil set offers a variety of designs to experiment with, from metallic finishes to intricate patterns! Try combining different foils or using them with negative space designs for unique looks.
Tips for Long-Lasting Nail Art
Make your nail art last longer with these essential tips:
- Always start with clean, oil-free nails. Use nail polish remover to ensure all traces of oil and old polish are gone.
- Use a good-quality base coat to prevent staining and improve polish adhesion. This step is crucial for maintaining the health of your nails and extending the life of your manicure.
- Allow each layer to dry completely before adding the next. Patience is key – rushing can lead to smudges and early chipping.
- Seal your design with a high-quality top coat. Look for one that’s specifically designed for nail art to ensure it doesn’t smudge your design.
- Reapply top coat every 2-3 days to maintain shine and prevent chipping. This simple step can significantly extend the life of your nail art.
- Wear gloves when doing household chores to protect your nail art. Water and harsh chemicals can quickly damage even the most durable manicure.
- Keep your hands and nails moisturised. Well-hydrated nails are less likely to chip or break.
- Avoid using your nails as tools. Opening cans or scratching labels can quickly ruin your nail art and damage your nails.
Cultural and Traditional Nail Art
Further reading
Cultural and Traditional Nail Art
Leave a comment