12 Essential Tips for Electric Manicure Drill Care
Electric manicure drills have changed how we care for and beautify our nails. At Nail’d It In Style, we understand the importance of properly caring for these tools. Let’s look at 12 key tips to help you maintain and use your electric manicure drill like a pro, making your equipment last longer and giving you the best results for your nails!
Key Points About Electric Manicure Drill Care
- Clean regularly and replace bits for the best performance and hygiene
- Match drill speed and bit to the task for effectiveness and safety
- Use proper technique to avoid nail damage and get better results
- Buy quality tools for better outcomes and longer-lasting equipment
- Follow safety rules to protect yourself and clients
- Practice to improve your skills and confidence
- Start slow when learning new techniques
- Attend nail care workshops to stay updated
- Follow nail art experts on social media for tips
- Try new techniques with versatile tools to expand your skills
1. Choose the Right Drill for Your Needs
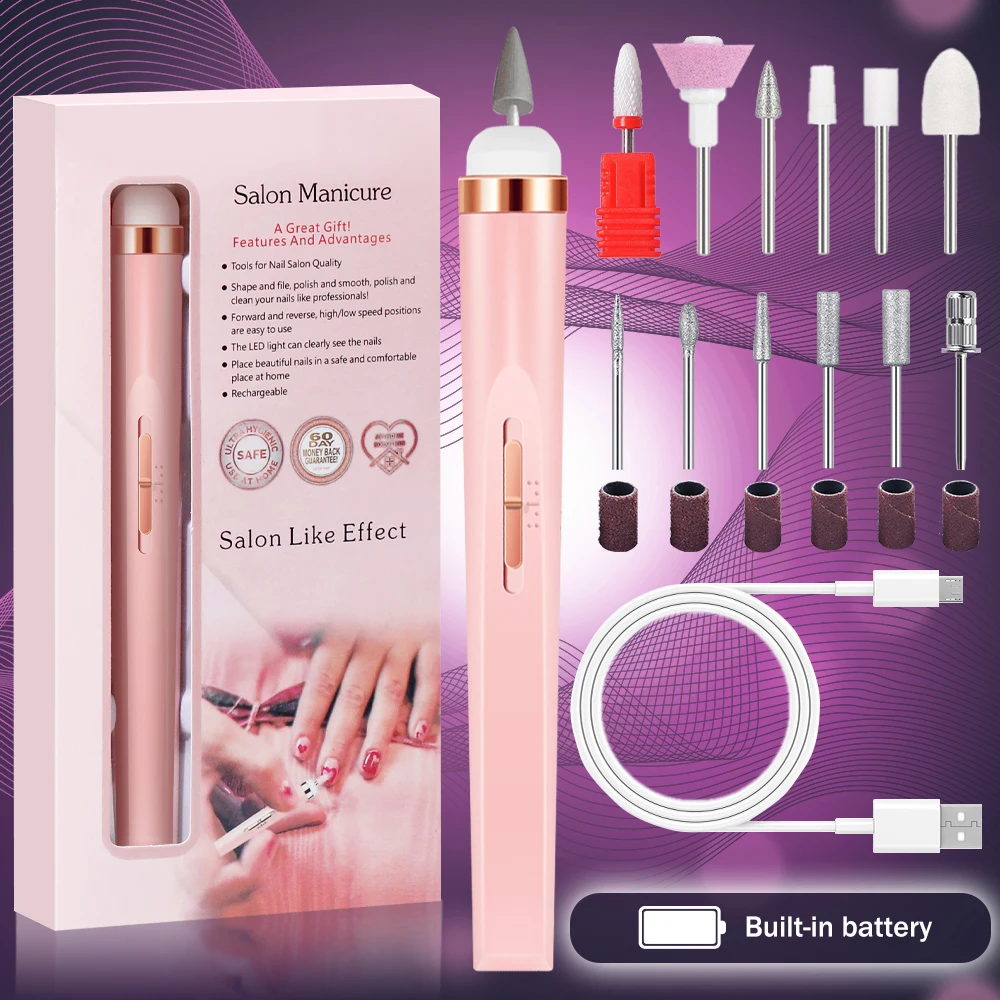
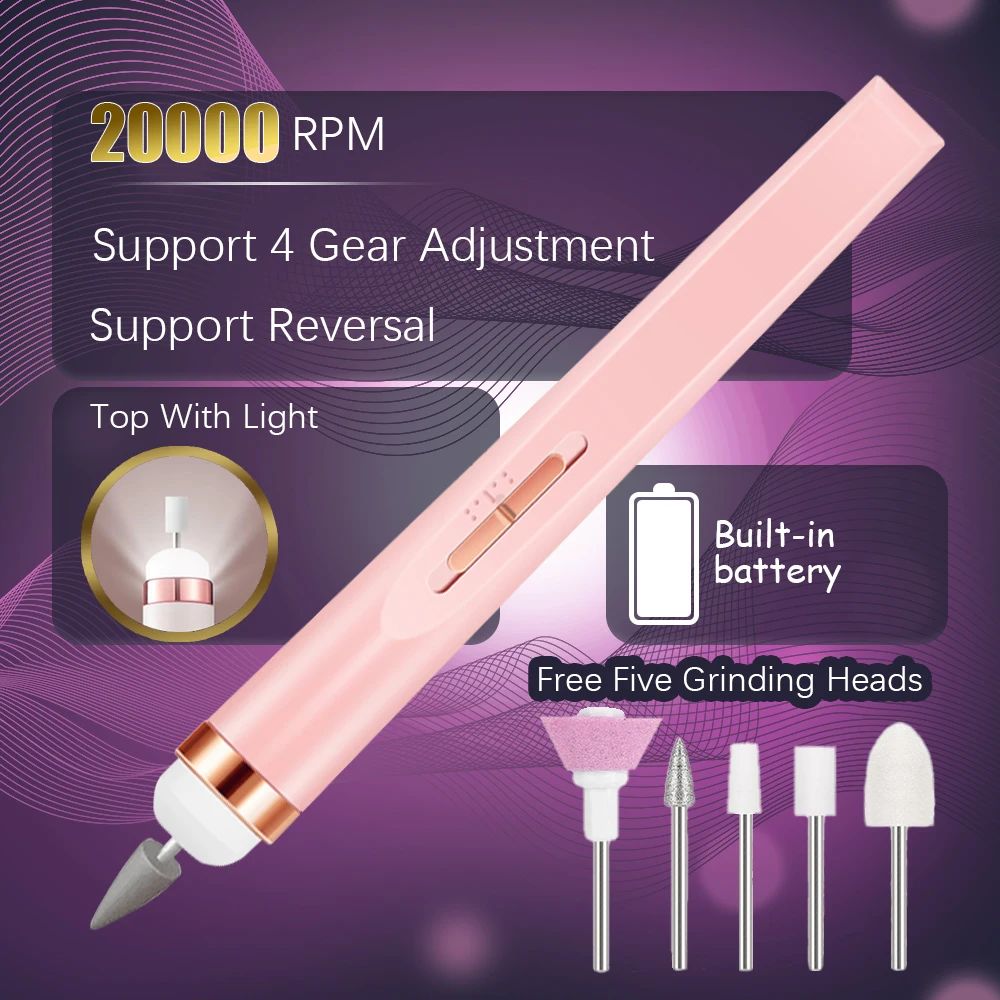
Selecting the right electric nail drill is crucial for achieving professional-level results. When choosing a drill, think about power, portability, versatility, and comfort. Consider the nail services you’ll offer and select a drill capable of performing multiple tasks. Our Linmanda Cordless Electric Nail File Set is great for both beginners and experienced nail technicians.
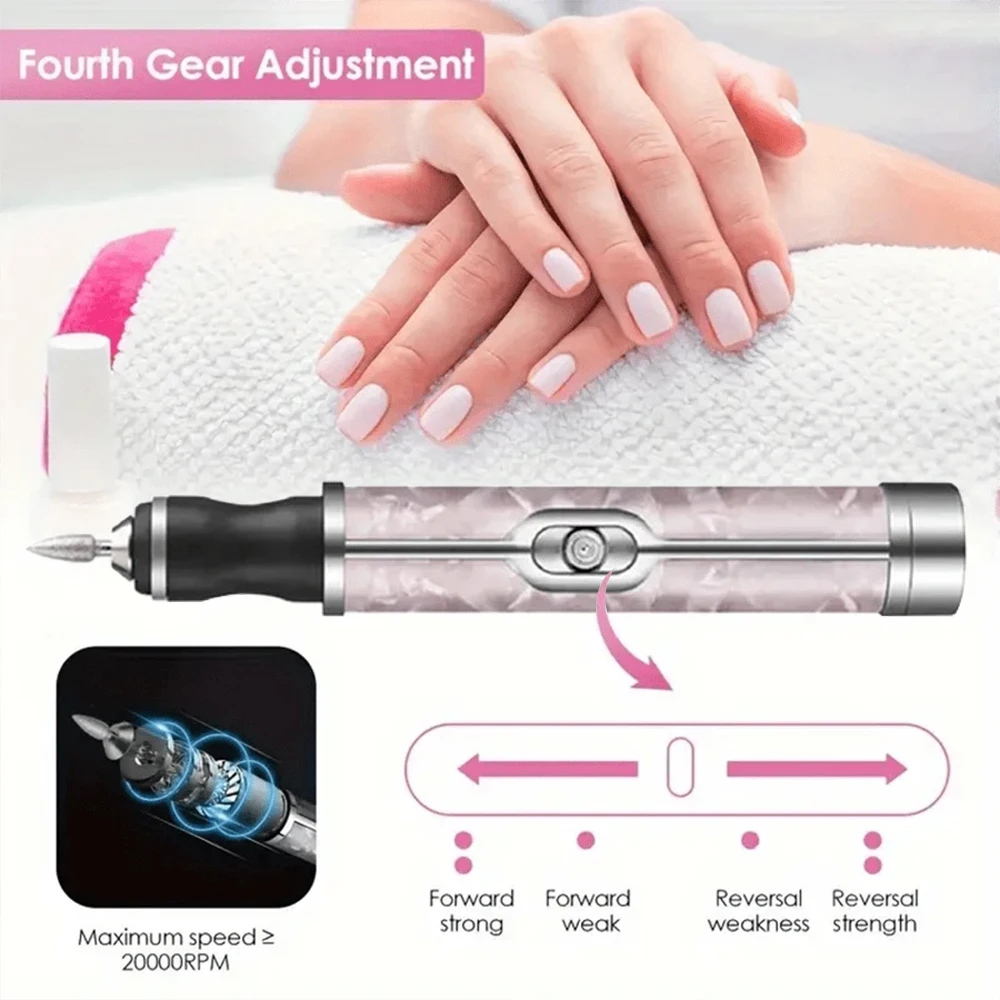
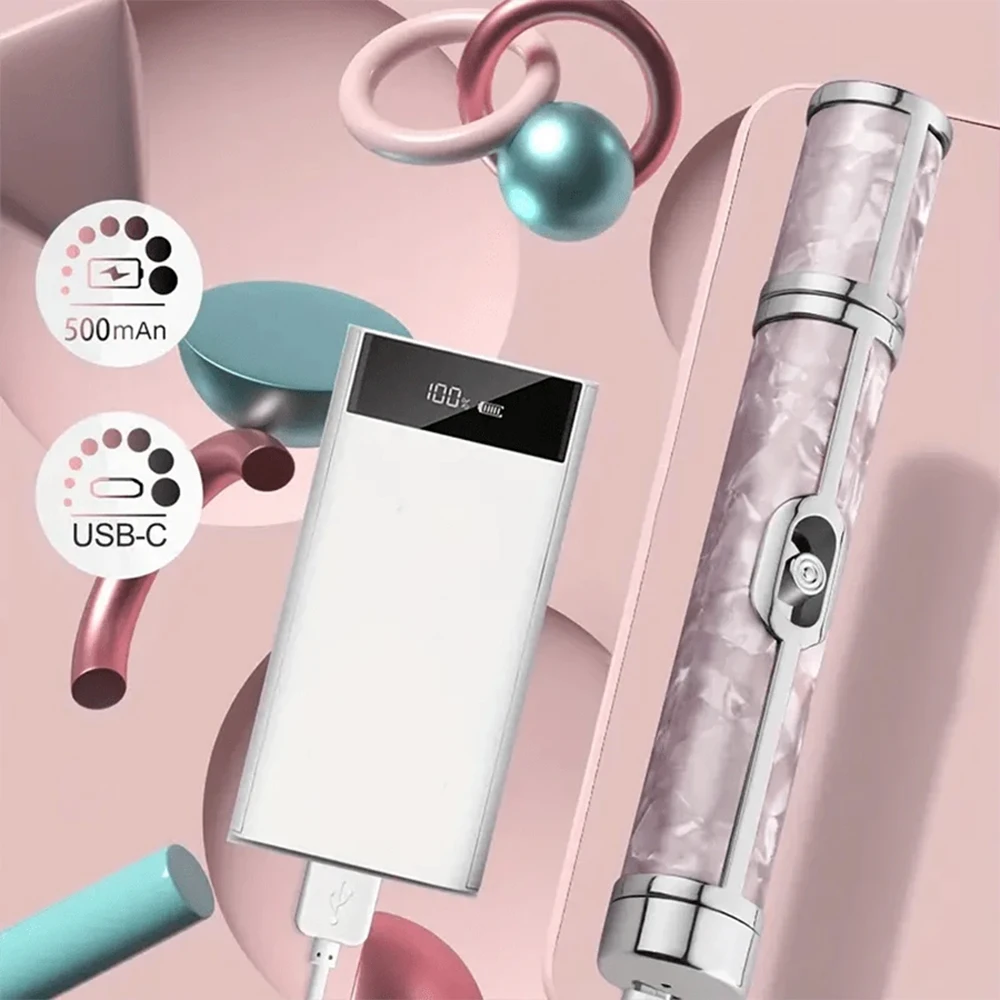
This set has four speed settings, letting you do everything from gentle filing to removing acrylic. It’s rechargeable, so you can use it anywhere. It comes with six different bits and has a built-in cuticle trimmer, making your manicure process easier.
2. Get to Know Your Drill Bits
Understanding different drill bits is key to getting good results and keeping nails healthy. Each bit is made for a specific job, and using the wrong one can hurt nails or give poor results. Learn about the shapes, sizes, and materials of nail drill bits to use the right tool for each task.
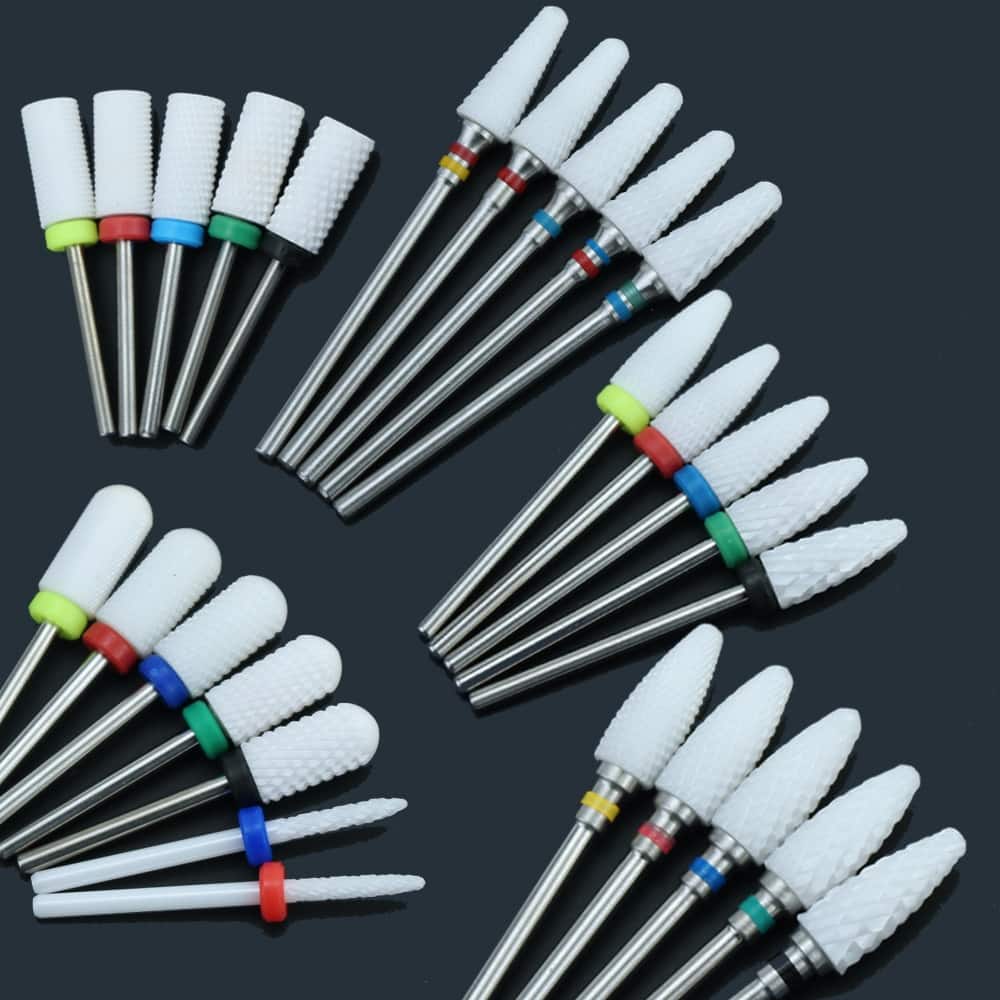
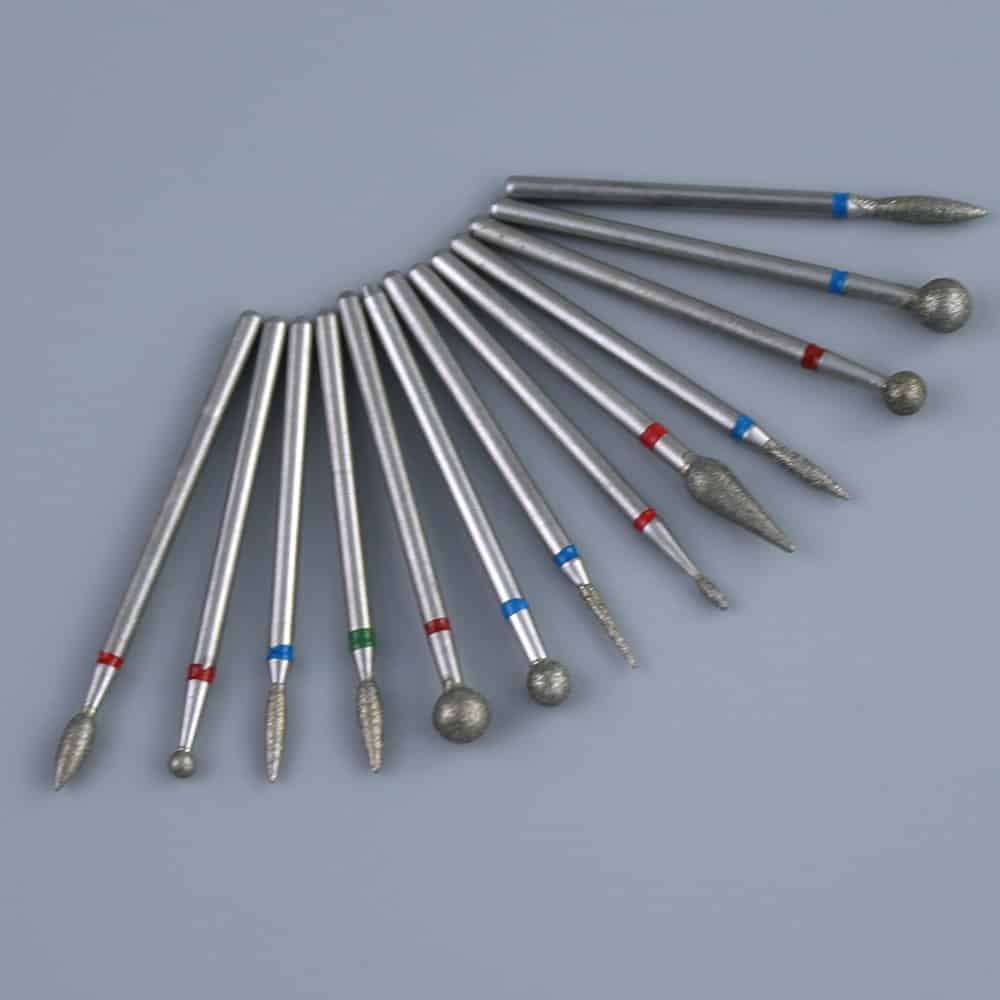
Ceramic bits are good for gentle filing and shaping, especially on natural nails. They don’t get hot easily, so they’re comfortable for long use. Diamond bits are better for tougher jobs like removing gel or acrylic. They’re strong and can handle hard materials without wearing out quickly. Knowing what each bit does best helps you choose the right one for each part of the manicure.
3. Master Speed Control
Controlling your drill’s speed is very important for safe and effective nail care. Different tasks need different speeds, and being able to adjust quickly can really improve your work. Our Linmanda 6-in-1 Electric Nail Drill Kit has precise speed settings for many nail care tasks.
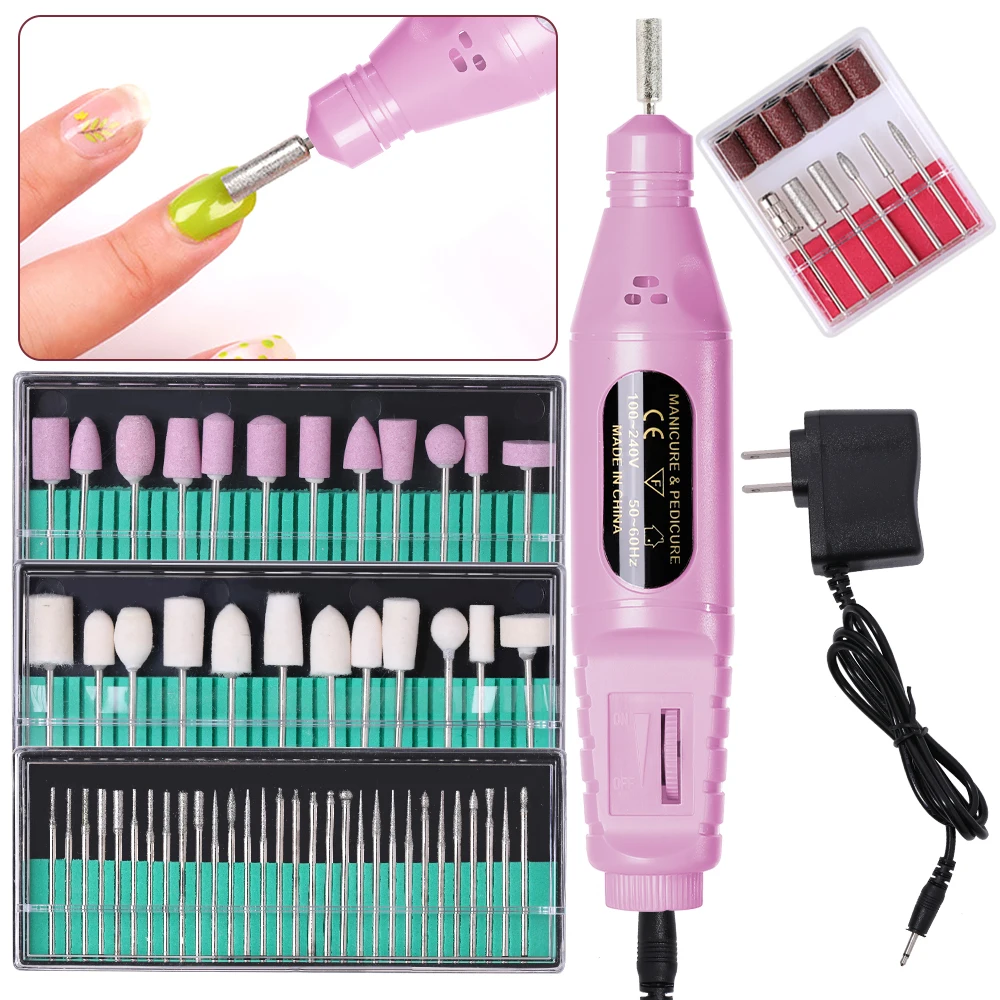
When you’re starting, use lower speeds to get control and feel comfortable. As you get better, you can use higher speeds for different tasks. Use low speeds for delicate work around cuticles or on thin nails to avoid damage. For removing gel or acrylic, you can use higher speeds. Always be careful about heat and adjust the speed to keep clients comfortable. The goal is to work efficiently while keeping nails safe and healthy.
4. Keep It Clean
Keeping your electric nail drill clean is not just about looks; it’s important for hygiene and how well the drill works. Regular cleaning prevents nail dust and dirt from accumulating, which can reduce the drill’s effectiveness and potentially spread germs between clients.
After each use, clean your drill and bits thoroughly. Use a soft brush to remove visible dirt, then disinfect with a cleaner made for nail tools. Pay extra attention to where the bits attach, as tiny dust particles can collect there. For the YIKOOLIN 5 in 1 Electric Nail Polish Drill Machine, follow the cleaning instructions that came with it. After cleaning, store your drill and bits in a clean, dry place to prevent moisture damage and keep them clean. Regular cleaning makes your equipment last longer and keeps your nail services hygienic.
5. Replace Drill Bits Regularly
The condition of your drill bits directly affects the quality of your work and the health of your clients’ nails. Over time, bits can get dull, worn, or damaged, which can make them less effective and possibly harm the nail bed. It’s important to check your bits often and replace them when they show signs of wear.
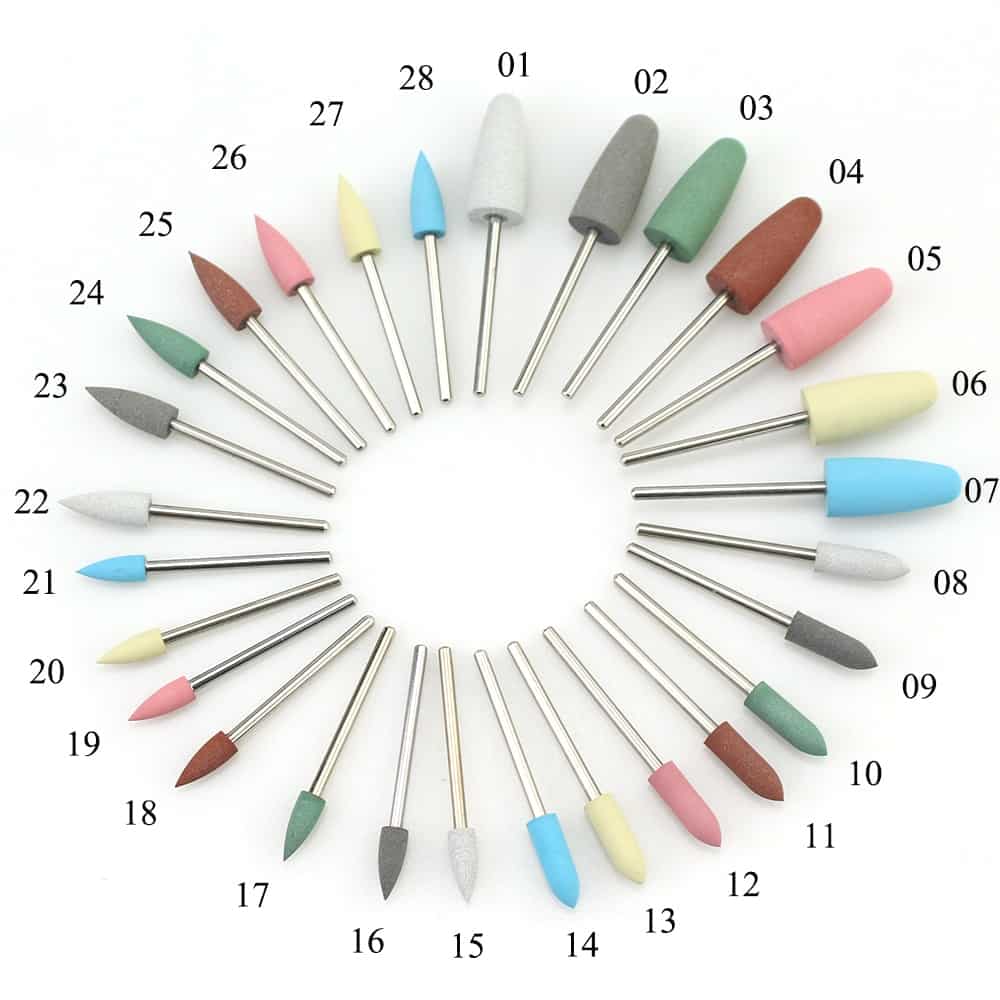
Our Silicone Nail Drill Bit set has 28 different types of bits, giving you many tools for various nail care tasks. These bits fit most standard electric nail drills, making them versatile and convenient. Having a variety of bits means you can always use the right tool for each specific nail job, from gentle buffing to precise shaping. Regularly changing and replacing your bits keeps your work quality high and shows you care about professional standards and client care.
6. Practice Good Technique
Learning the right way to use an electric nail drill is crucial for getting professional results and keeping clients safe. Good technique improves your work quality and reduces the risk of damaging natural nails or making clients uncomfortable.

When using the drill, hold it like a pen for better control and precision. This grip feels more natural and helps prevent hand tiredness during long sessions. Use light, steady pressure to avoid hurting the nail or causing discomfort. Keep the drill bit moving constantly to prevent heat buildup in one spot, which can make clients uncomfortable or damage nails. Before working on clients, practice with fake nail tips or on your own hands. This helps you develop muscle memory and improve your control over the tool. With the Linmanda Cordless Electric Nail File Set, you can practice different techniques using various attachments, helping you get good at different nail care tasks. Remember, smooth, controlled movements are key to getting professional-looking results.
7. Know Different Nail Types
Understanding different nail types is important for giving good, personalised nail care. Each nail type – natural, acrylic, or gel – needs specific techniques and tools to get the best results while keeping nails healthy.
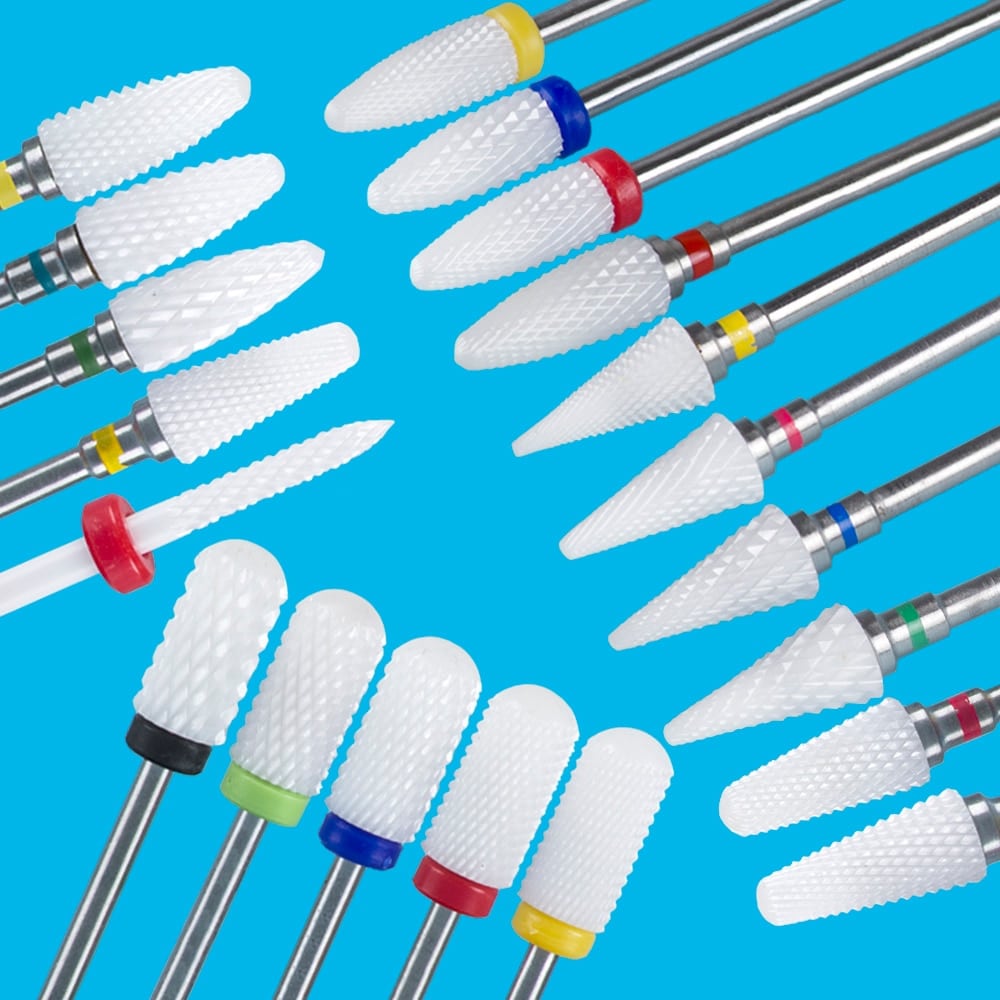
Our Ceramic Nail Drill Bits Set works well on various nail types:
- Natural nails: These are more delicate and need gentler care. Use finer bits and lower speeds to prevent damage. Focus on shaping and buffing rather than heavy filing.
- Acrylic nails: These artificial nails are harder and can handle higher speeds and rougher bits. When removing or reshaping acrylics, start with a coarse bit to remove bulk, then switch to finer bits for finishing.
- Gel nails: These are between natural and acrylic nails in hardness. Medium-strength bits work well for shaping and removing gel polish. Be careful not to file too deeply, as this can damage the natural nail underneath.
By adjusting your technique and tool choice for each nail type, you can get the best results and keep your clients’ nails healthy. Always start carefully and adjust based on what each nail needs.
8. Regular Maintenance
Taking care of your electric nail drill regularly is key to making it last longer, work better, and stay safe. Good maintenance not only extends your equipment’s life but also ensures it works at its best, giving the best possible results for your clients.
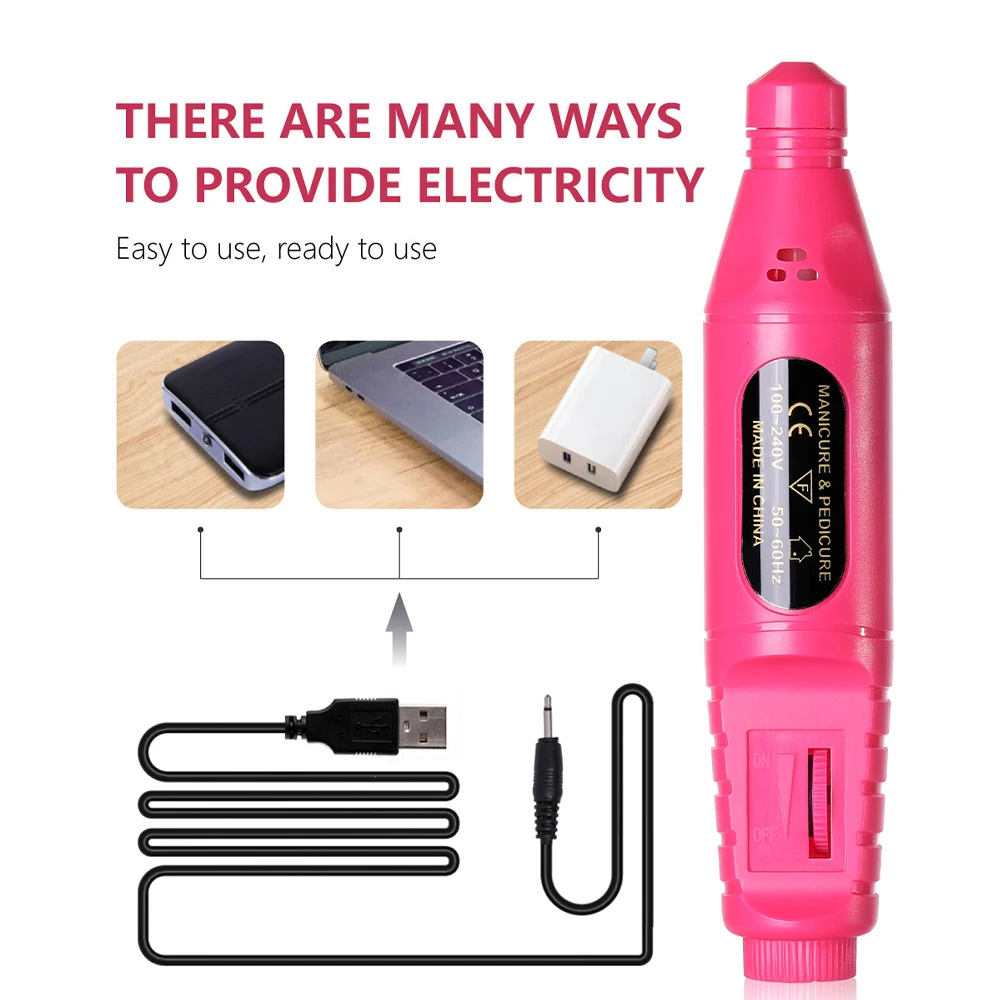
Set up a regular maintenance schedule for your drill. This should include:
- Checking and tightening loose parts: Regular use can make parts loosen over time. Check your drill often and tighten any loose screws or attachments.
- Keeping the drill clean: Use a soft brush or compressed air to clean out nail dust from the motor vents and other small spaces. This prevents overheating and keeps the drill running smoothly.
- Lubricating moving parts: If your drill needs it, put a small amount of the right lubricant on the specified areas. This reduces friction and wear on internal parts.
- Inspecting the power cord: For drills with cords, regularly check the power cord for any signs of wear or damage. Replace it if necessary to prevent electrical hazards.
- Calibrating speed settings: Regularly test your drill’s speed settings to make sure they’re accurate and responsive.
Always follow the manufacturer’s instructions that came with your drill, like the Linmanda 6-in-1 Electric Nail Drill Kit, for specific maintenance guidelines. By following these steps, you’ll keep your drill in top condition, ensuring it works well and lasts longer.
9. Safety First
When working with electric nail drills, safety is the most important thing. These powerful tools are very useful, but they can be dangerous if not used correctly. Following strict safety rules protects both you and your clients from possible harm.
Important safety measures include:
- Eye Protection: Always wear safety glasses to protect your eyes from nail dust and bits. This is important to prevent eye irritation and injuries.
- Respiratory Protection: Use a dust mask to avoid breathing in fine nail particles. Breathing in nail dust for a long time can cause breathing problems.
- Proper Attire: Tie back long hair and don’t wear loose clothes or jewellery that could get caught in the spinning parts of the drill.
- Client Protection: Make sure your client’s skin and cuticles are protected from the drill bit. Use finger protectors or protective tape if needed.
- Workspace Setup: Keep your workspace clean and well-lit. Make sure your drill, like the YIKOOLIN 5 in 1 Electric Nail Polish Drill Machine, is securely placed to prevent accidental falls or movements while in use.
- Equipment Checks: Regularly check your drill and bits for any signs of damage or wear. Replace any damaged parts right away.
- Proper Training: Make sure you’re fully trained on how to use your specific drill model and its various attachments before working on clients.
By following these safety guidelines, you create a safe environment for nail services, build trust with your clients, and maintain a professional standard in your work.
10. Explore Different Bit Materials
The material of your nail drill bits is very important for how well they work and what nail care tasks they’re best for. Understanding the properties and best uses of different bit materials can really improve the quality of your work and the range of services you can offer.
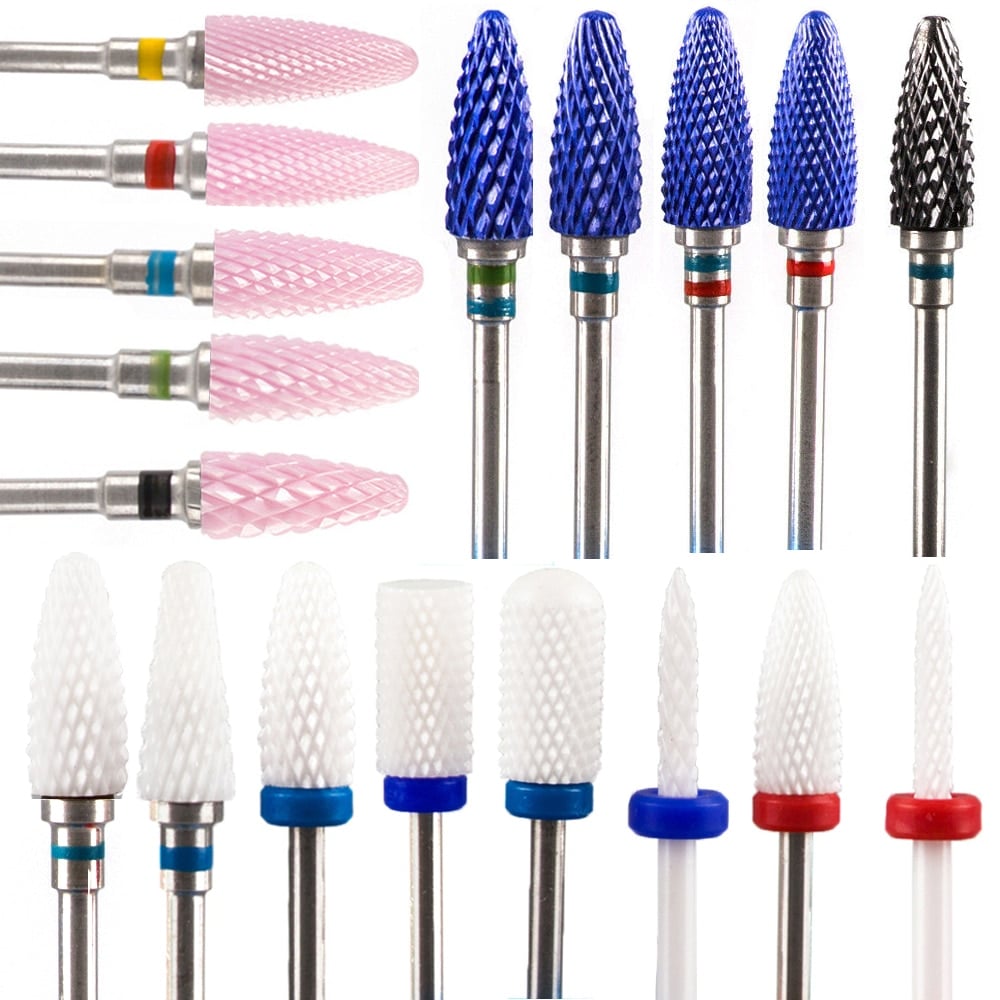
Here’s a breakdown of common bit materials and what they’re used for:
- Ceramic Bits: Great for working on natural nails because they’re gentle. They don’t get as hot as metal bits, making them comfortable for clients. Ceramic bits are excellent for smoothing and refining nail surfaces. Our Colourful Ceramic Nail Drill Bits come in different shapes for various needs.
- Diamond Bits: These are very durable and work well on tough acrylics and gels. They’re great for shaping, filing, and removing enhancements. But because they’re rough, be careful when using them on natural nails.
- Carbide Bits: Known for being durable and precise, carbide bits are excellent for detailed work and can handle both natural nails and enhancements. They’re particularly useful for backfills and cuticle work.
- Silicone Bits: These are perfect for smoothing and polishing. They’re gentle enough for use on natural nails and give a shiny finish to enhancements.
- Sanding Bands: These disposable bands come in different roughness levels and are versatile for many nail prep tasks. They’re economical and hygienic as you can easily replace them between clients.
Trying different bit materials helps you find the perfect tools for each specific nail care task, making your work more efficient and improving the quality of your services. Always match the bit material to the task you’re doing and the type of nail you’re working on to get the best results and keep your clients comfortable.
11. Learn About Bit Shapes
The shape of a nail drill bit is just as important as its material for doing specific nail care tasks well. Different bit shapes are made to work on particular areas of the nail or do specific jobs. Understanding these shapes and how to use them can really improve your precision and efficiency in nail care.
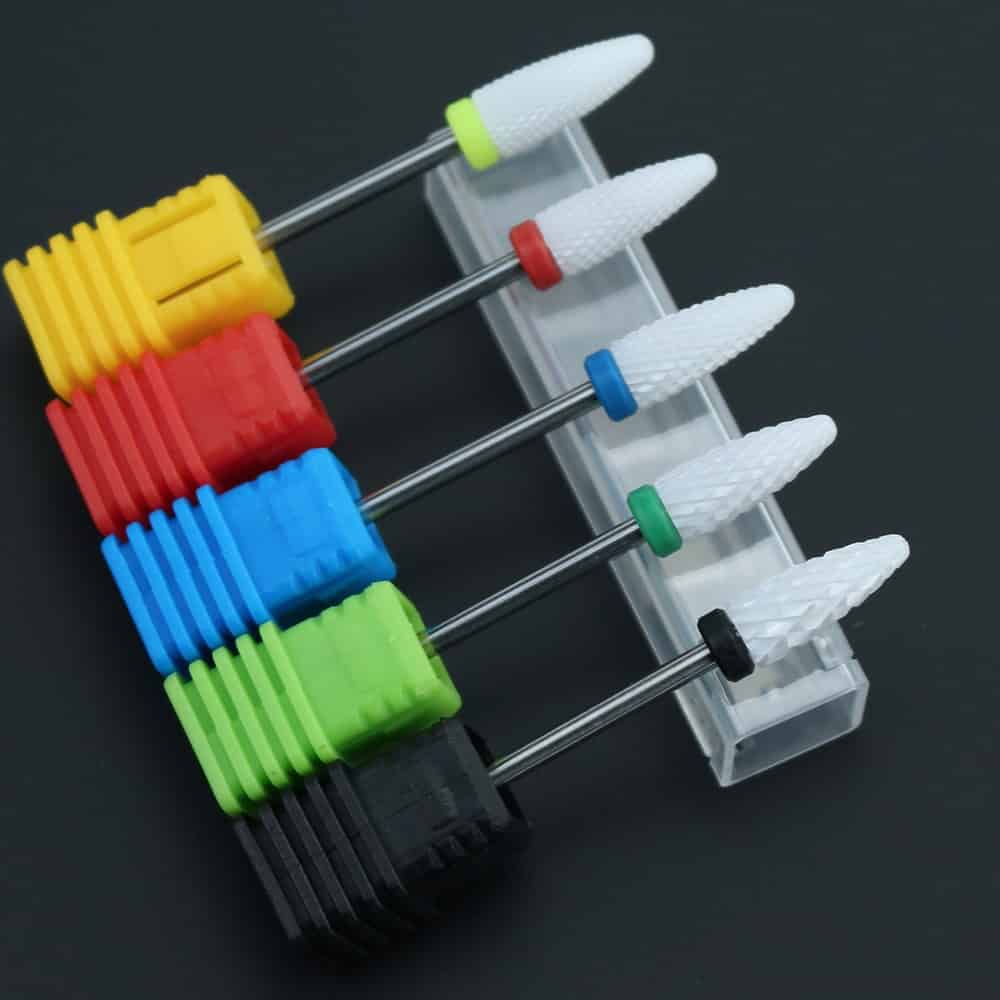
Here’s an overview of common bit shapes and what they’re mainly used for:
- Barrel Bits: These cylindrical bits are versatile and commonly used for removing gel and acrylic enhancements. They’re also great for shortening nails and working on larger nail areas.
- Cone Bits: With their pointed shape, cone bits are excellent for cuticle work and getting into tight corners around the nail. They’re also useful for creating a smooth transition between the natural nail and enhancements.
- Flame Bits: These bits have a pointed tip that flares out, looking like a flame. They’re ideal for detailed work, such as cleaning under the free edge of the nail or working on ingrown nails.
- Ball Bits: Round-tipped bits are perfect for smoothing out ridges on the nail plate and working gently around the cuticle area.
- Tapered Barrel Bits: These combine the benefits of barrel and cone bits, offering versatility for both broad and detailed work.
- Safety Bits: These have a smooth, rounded end that prevents damage to the skin around the nail, making them ideal for beginners or when working close to the cuticle.
Our Ceramic Nail Drill Bits set includes a variety of these shapes, allowing you to handle a wide range of nail care tasks with precision. When choosing a bit shape, think about the specific task you’re doing, the area of the nail you’re working on, and how much detail is needed. By matching the right bit shape to each task, you can get professional results while keeping your client comfortable and their nails healthy.
12. Stay Updated on Nail Care Trends
The nail care industry is always changing, with new techniques, products, and trends coming out regularly. Staying informed and adaptable is important for staying competitive and offering your clients the latest in nail care.
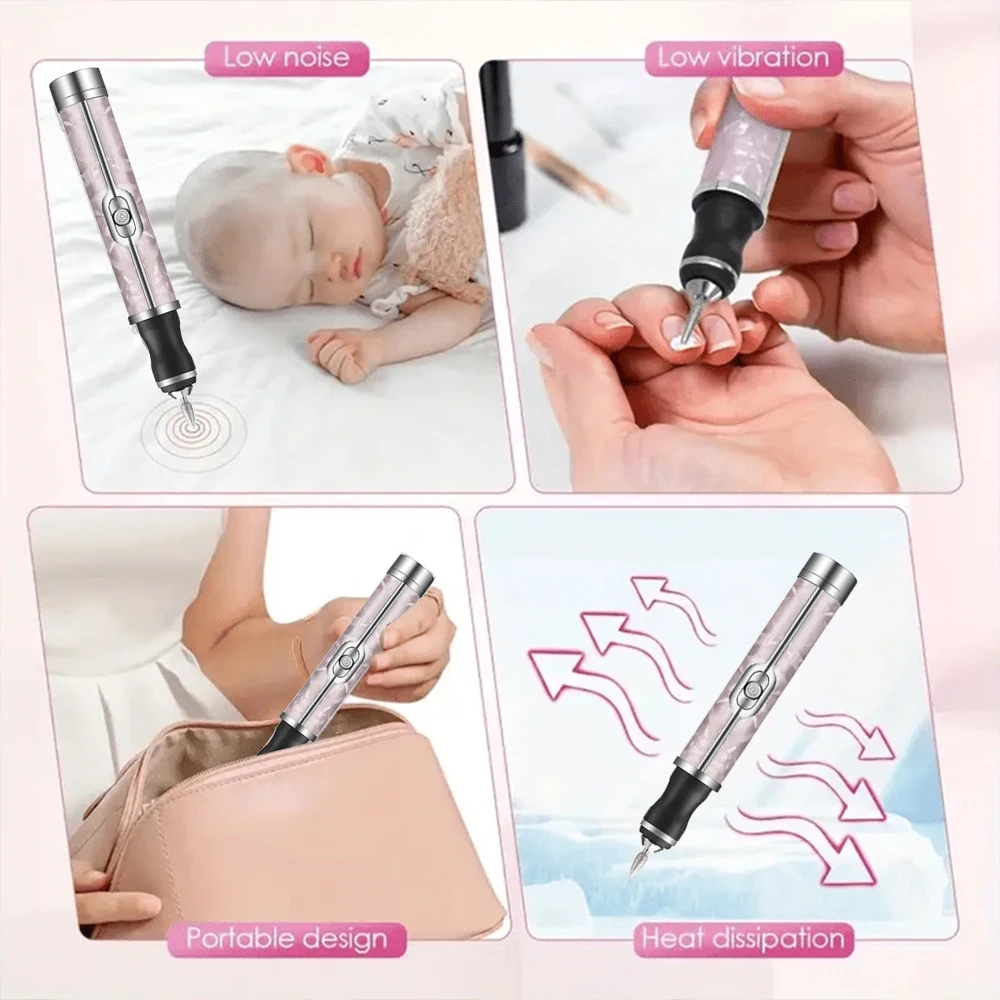
Here are some ways to stay current in the field:
- Attend Nail Care Workshops and Classes: These events let you try new techniques and products hands-on. They’re also great for meeting other nail professionals.
- Follow Nail Art Experts on Social Media: Platforms like Instagram and YouTube have lots of nail art inspiration and tutorials. Many experts share their techniques and product recommendations regularly.
- Subscribe to Industry Publications: Nail care magazines and online publications often have articles about new trends, new products, and industry news.
- Experiment with New Techniques: Use versatile tools like our Linmanda Cordless Electric Nail File Set to practice and perfect new nail art techniques and care methods.
- Attend Trade Shows: These events show the latest products and technologies in the nail care industry, helping you stay ahead of the curve.
- Talk to Your Clients: Often, clients know about new trends they want to try. Listen to their suggestions and look into new techniques they’re interested in.
- Keep Learning: Think about taking online courses or getting more certifications to expand your skills and knowledge.
By staying informed and always updating your skills, you can offer more services and make sure your nail care techniques are always up-to-date. This not only makes you look more professional but also keeps your work exciting and fresh, both for you and your clients.
Conclusion
Getting really good at using and taking care of electric manicure drills is important for giving great nail services while keeping your clients’ nails healthy. By following these 12 tips and using good tools from Nail’d It In Style, you’ll be ready to handle many nail care tasks confidently and professionally.
Remember, becoming skilled with electric nail drills takes time, practice, and ongoing learning. Start by getting to know your equipment, focusing on safety, and slowly building your skills. As you get more experience, you’ll discover new techniques and develop your own style. Don’t be afraid to try different bits, speeds, and methods to find what works best for you and your clients.
Keep learning, stay up-to-date with industry trends, and always put your clients’ health and happiness first. With dedication and the right tools, you’ll soon excel at nail care, creating beautiful, long-lasting manicures that your clients will love. Enjoy the journey of becoming a nail care pro, and have fun mastering your electric manicure drill!

Leave a comment