Essential Nail Brushes for Home Manicure Kits
Hey there, nail art enthusiasts! If you want to make your nails look awesome at home, you need the right tools. Good nail brushes can help you create cool designs and make your nails look like you just left the salon. Let’s check out the must-have nail brushes for your home manicure kit and see how they can help you make your nails look amazing.
Key Takeaways
- Quality nail brushes are crucial for achieving professional-looking manicures at home
- Essential brush types include basic polish application, detail, striping, fan, and dotting tools
- Choose between natural and synthetic bristles based on your needs and budget
- Proper care and maintenance of your brushes will extend their lifespan and performance
- Investing in a comprehensive brush set is ideal for beginners, while advanced users may opt for specialised brushes
Why Quality Nail Brushes Matter
Nail brushes are super important for a great manicure. They can make your nails look way better than if you just used the brush that comes with the polish. Professional nail art brushes give you more control, smoother polish, and help you create cooler designs. Good brushes make your nail art look neater and last longer. They have special bristles that keep their shape, so you can do detailed designs and make your nails look really cool.
Types of Nail Brushes You Need
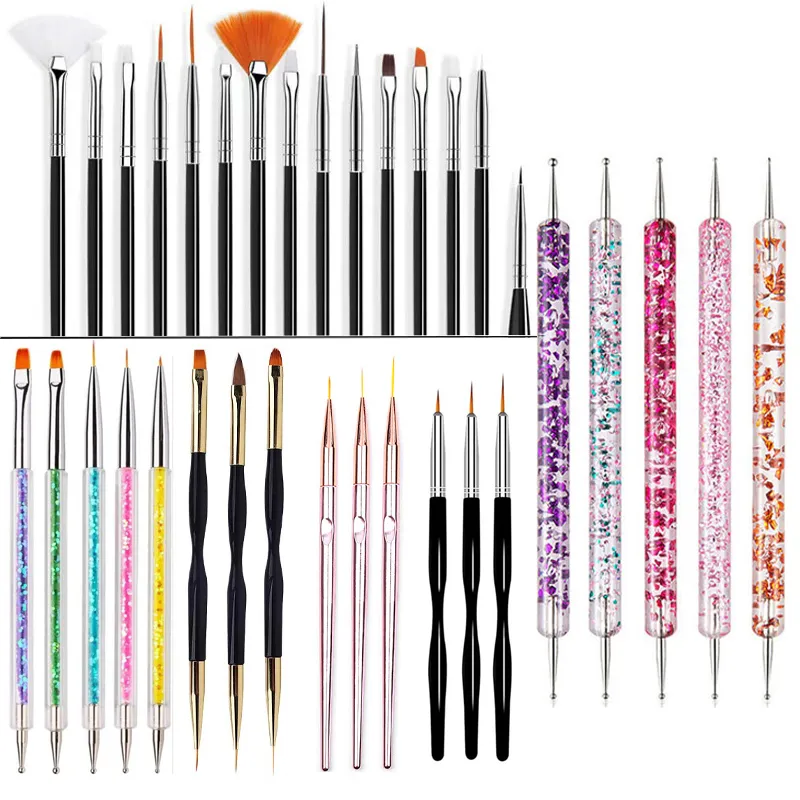
1. Basic Polish Application Brush
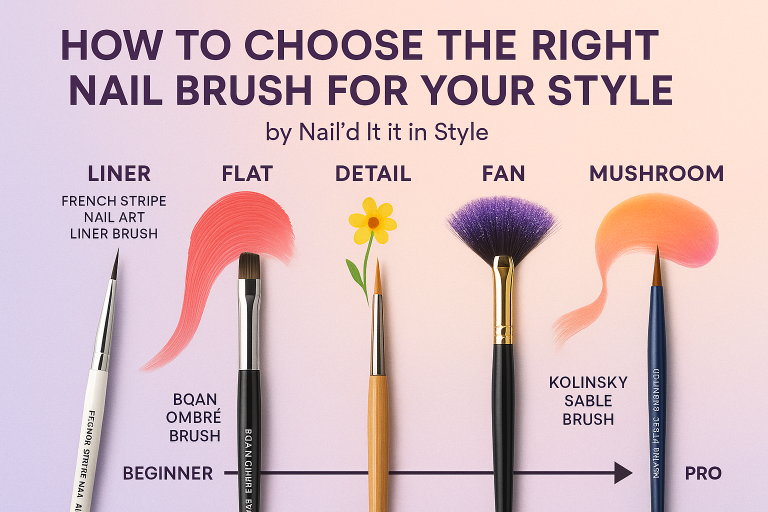
This is the brush you use to put on your base coat, colour, and top coat. Look for one with a flat, wide tip to spread the polish evenly. It should have lots of bristles that fan out a bit at the end. This helps the polish go on smoothly. Pick a brush that’s wide enough to cover your whole nail in 2-3 strokes.
2. Detail Brush
For cool designs and thin lines, you need a detail brush. These have very thin tips, perfect for making tiny patterns and artwork. They come in different sizes, from super thin to a bit thicker. With these, you can draw flowers, shapes, and even tiny pictures on your nails. Just remember to use thin polish and keep your hand steady!
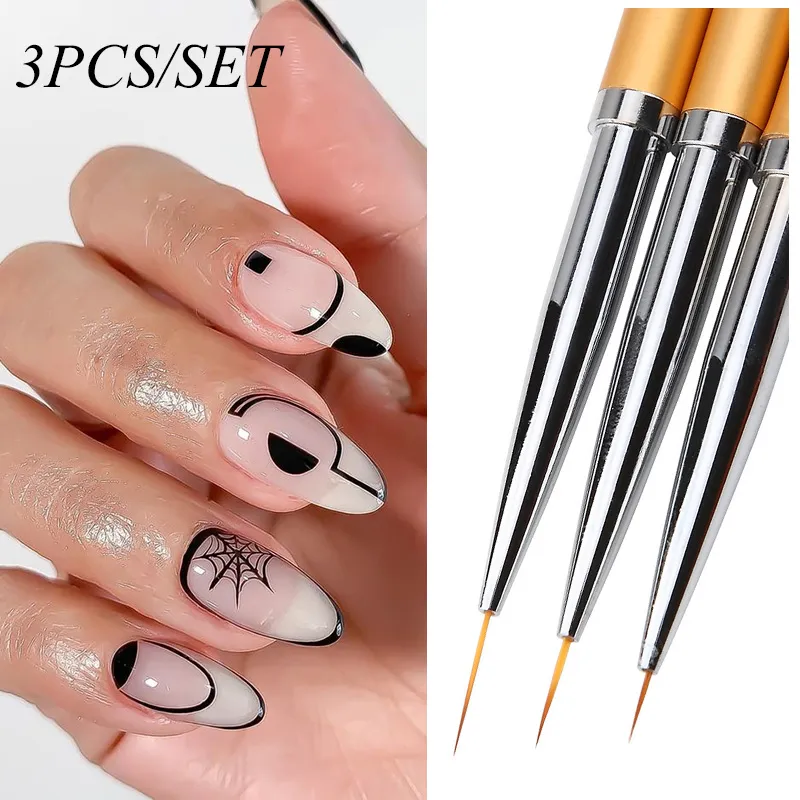
3. Striping Brush
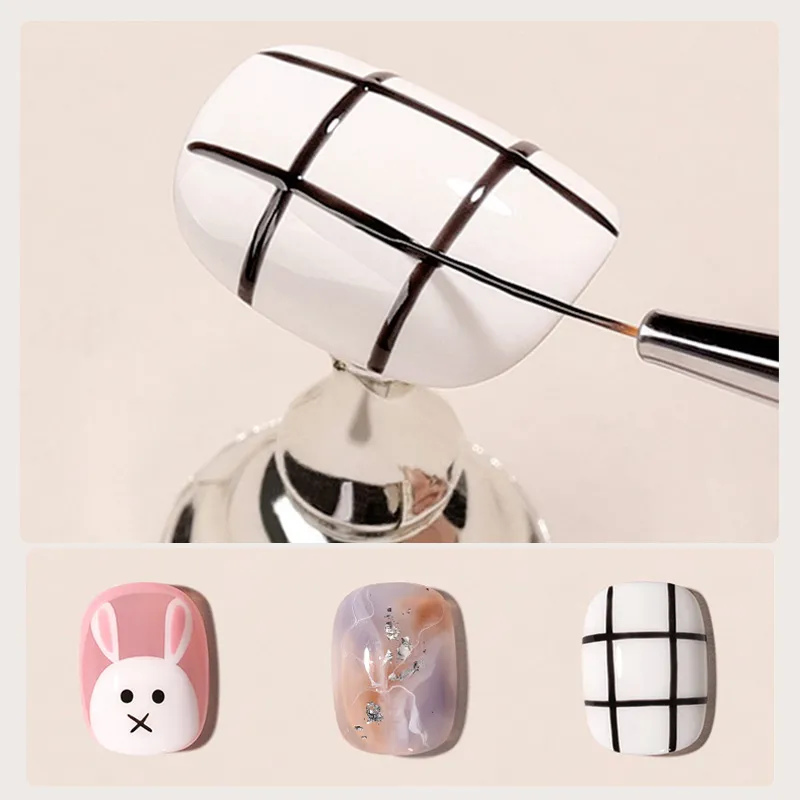
Striping brushes are long and skinny. They’re great for making straight lines, shapes, and French tips. The French Stripe Nail Art Liner Brush Set is perfect for this. These brushes usually have bristles about as long as your pinky nail. They help you make smooth, unbroken lines across your nail. When you use one, don’t put too much polish on it, or your lines might get messy. Practice making different thicknesses by pressing harder or softer as you draw.
4. Fan Brush
Fan brushes look like tiny fans and are awesome for blending colours and putting on glitter. They help you make cool faded effects and smooth colour changes. When you use a fan brush to blend colours, start gently and add more as you go. For glitter, tap the brush over your nail to spread it evenly. You can also use fan brushes to make your nails look like marble or stone.
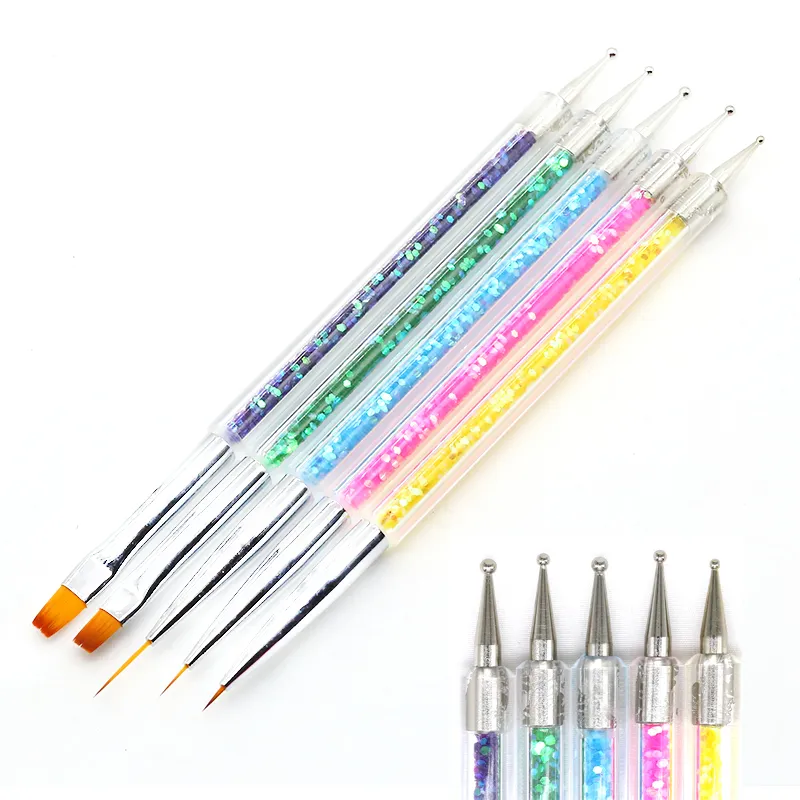
5. Dotting Tool
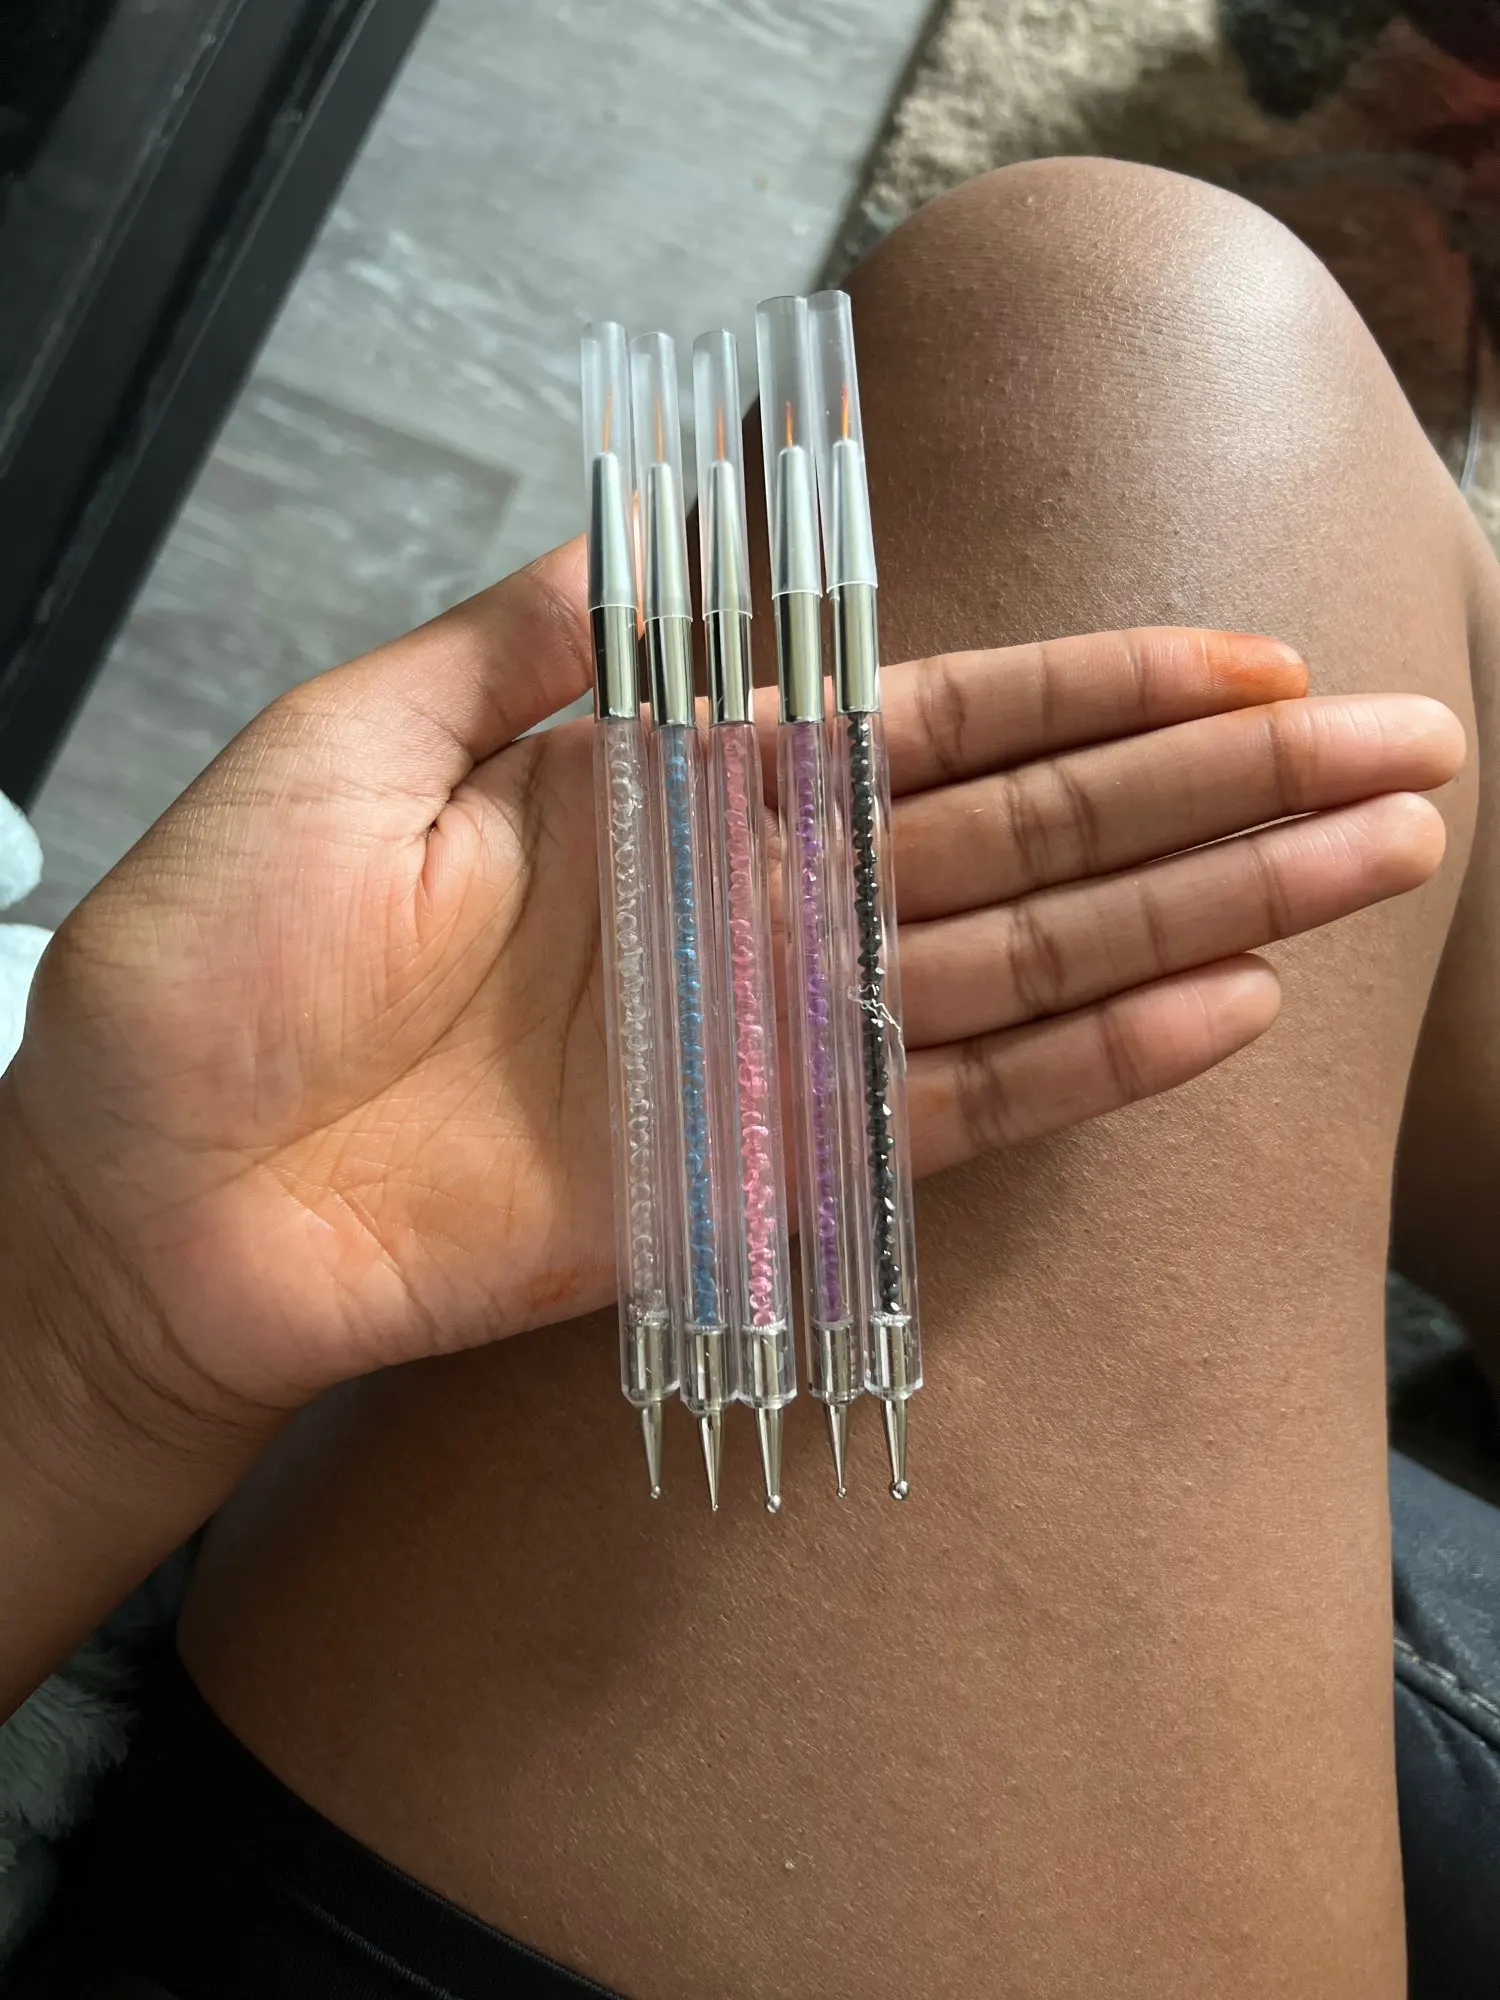
Dotting tools aren’t really brushes, but they’re super useful for making perfect dots and small details. They often come in sets with different-sized tips, so you can make tiny dots or bigger ones. You can use them to make flower petals, swirls, and even put on little decorations like rhinestones. When you use a dotting tool, make sure your polish isn’t too thick or too thin. Try pressing harder or softer to make different-sized dots with the same tool.
Choosing the Right Brush Material
Nail brushes come in two main types: natural and synthetic. Here’s what you should know:
Natural vs Synthetic Nail Brush Bristles
- Natural bristles:
- Best for detailed work
- Superior for blending
- More expensive
- Offers superior performance
- Synthetic bristles:
- Durable
- Easy to clean
- Budget-friendly
- Versatile
- Choice factors:
- Personal needs
- Budget considerations
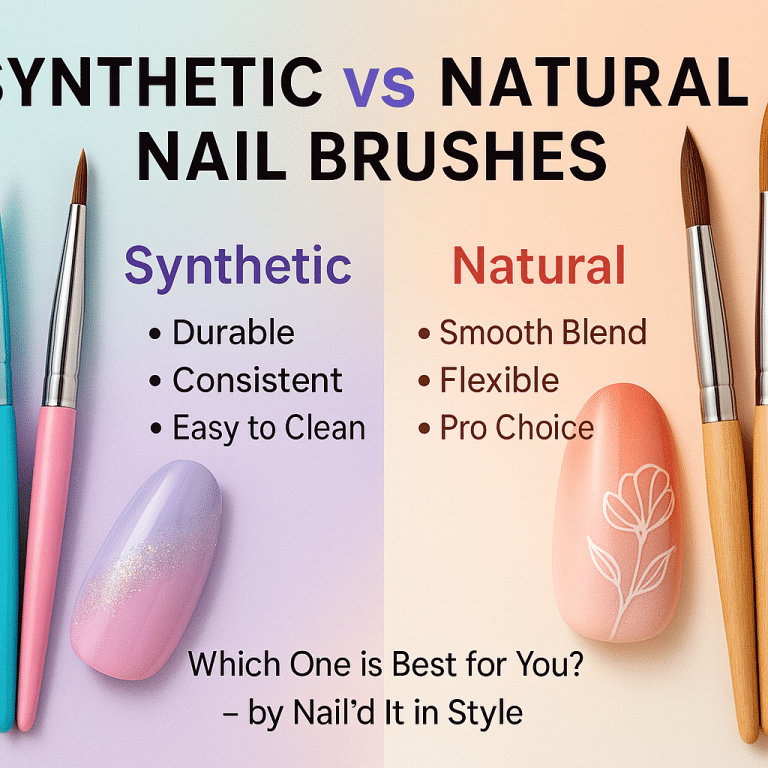
Natural bristles are often made from animal hair and are great for detailed work and blending colours smoothly. They’re more expensive and need more care. Synthetic bristles are usually made from nylon or polyester. They’re tough, easy to clean, and cheaper. They’re good for beginners or if you prefer not to use animal products. Think about what kind of nail art you want to do and how much you want to spend when choosing between natural and synthetic brushes.
Caring for Your Nail Brushes
To keep your brushes working well:
- Clean them after you use them with brush cleaner or nail polish remover
- Shape the bristles while they’re wet
- Store them flat or with the bristles pointing up
- Don’t soak the metal part in liquid
Taking good care of your brushes helps them last longer and work better. After cleaning, gently squeeze out extra liquid with a clean cloth or paper towel. Make sure the brushes are completely dry before you put them away to prevent mould. If you’re travelling with your brushes, put them in a special brush case to protect them.
Building Your Nail Brush Collection
If you’re just starting out, think about getting a set like the 5-20 Piece Nail Art Brush Set. It has different brushes for various techniques, all for $19.99. This is a great way to try out different brush types without spending too much. As you get better, you’ll figure out which brushes you use the most and can then buy better-quality individual brushes for those techniques.
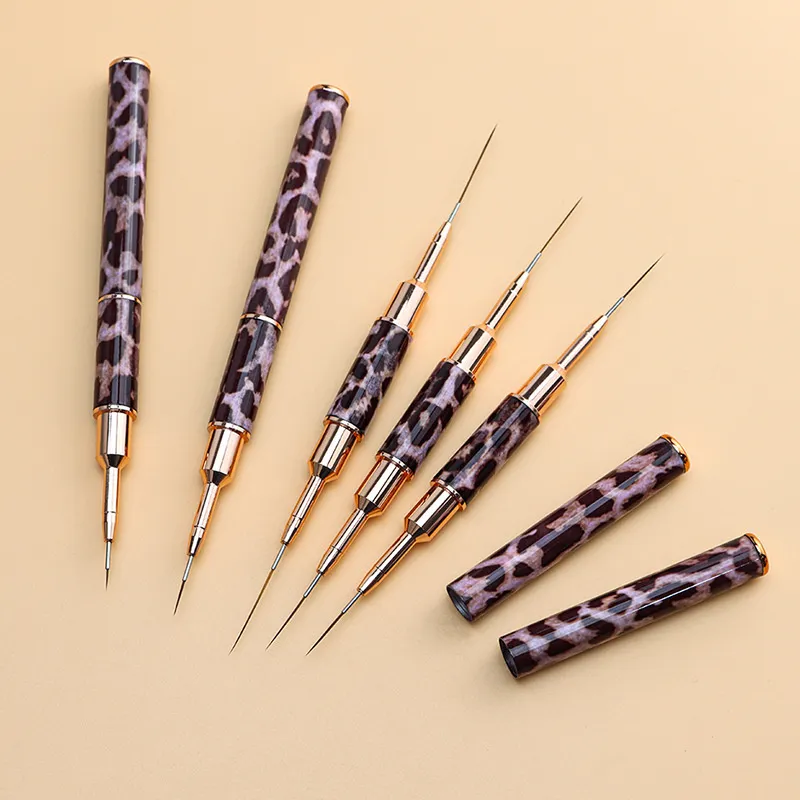
For a fun option, check out the Double-headed Leopard Print Nail Art Liner Brushes. These $9.99 brushes are great for making detailed designs and look cool too. They have two ends, so you can switch between techniques without changing brushes. The leopard print handle makes them look extra fun in your nail art kit.
Advanced Brush Options
As you get better at nail art, you might want to try special brushes:
- Kolinsky Sable Acrylic Brush: Known for being really good quality and precise
- Ombre Brush: Perfect for making smooth colour changes
- 3D Sculpture Brush: For making raised designs and textures
Advanced brushes like the Kolinsky Sable Acrylic Brush are super good for detailed work. Professionals and serious nail art fans often use these. The Ombre Brush helps you blend colours smoothly to make cool, faded effects. 3D Sculpture Brushes let you make raised designs and textures on your nails. As you try these advanced brushes, you’ll discover new ways to make your nail art even cooler.
Complementary Tools for Your Kit
To make your home manicure kit even better, think about adding these:
- Cuticle tools to make your nails look neat and professional
- Nail art glue for sticking on decorations
- Nail charms like gold and silver beads to make your nails sparkle
Cuticle tools help keep your nails healthy and looking good. Nail art glue is great for adding decorations like rhinestones or studs. Nail charms and beads can make your nails look extra fancy for special occasions. When you use these extra tools and decorations, always put them on after your base color is completely dry to avoid smudges.
Mastering Nail Art Techniques
With your new brush set, you can try different nail art techniques:
French Tips
Use thin liner brushes for precise lines
Gradients
Blend colours with flat brushes
Detailed Patterns
Create intricate designs with fine-point brushes
3D Effects
Apply embellishments with specialised adhesive brushes
Getting good at these techniques takes practice. For French tips, start with a thin line at the edge of your nail and make it thicker slowly. When making gradients, work fast to blend the colours while they’re wet. For detailed patterns, keep your hand steady and use thin polish. Try practising on fake nails first. For 3D effects, let each part dry before adding the next to stop it from getting messy.
Conclusion: Your Path to Perfect Nails
With the right brushes in your home manicure kit, you can create awesome nail art. Remember, practice makes perfect, so don’t be afraid to try different techniques and designs. As you get better with your brushes, you’ll develop your own unique style. Keep trying new colour combinations, textures, and decorations to keep your nail art fresh and exciting. Happy painting!
For more nail art ideas and supplies, check out our nail decorations section. Your next masterpiece is waiting! Whether you want to add sparkle with rhinestones, create textured designs with tiny beads, or try holographic effects, you’ll find lots of options to make your nail art even cooler. Remember, the key to great nail art is being creative and trying new things, so don’t be scared to mix different techniques and materials to create something really unique.
How to Choose the Right Nail Brush for Your Style
Further reading
Synthetic vs Natural Nail Brushes: What’s Best?
Leave a comment