Mastering the Art of Flawless Gel Nail Application – Gel Nails at Home
Gel nails offer long-lasting, chip-resistant manicures that shine for weeks. Whether you’re new to nails or experienced, this guide will help you achieve great gel nails at home. We’ll cover everything from choosing products to perfecting your technique for professional-looking manicures that last.
| Key Takeaways |
|---|
| • Proper nail preparation is crucial for long-lasting gel manicures • Invest in high-quality gel polish and tools for the best results • Apply thin, even layers and cure properly between each coat • Master special techniques like ombre and nail art for unique designs • Follow aftercare tips to maintain your gel manicure for weeks • Be aware of safety considerations and give your nails regular breaks |
Essential Supplies for Gel Nail Application
Having the right tools is essential for a good gel manicure. Quality products can make the application easier and help your manicure last longer. It’s worth buying from trusted brands and well-reviewed items.
Key supplies include:
- High-quality gel polish (base coat, colour, and top coat)
- UV or LED lamp for curing
- Nail file and buffer
- Cuticle pusher and nippers
- Lint-free wipes
- Isopropyl alcohol (91% or higher)
- Gel polish remover
- Nail dehydrator and primer
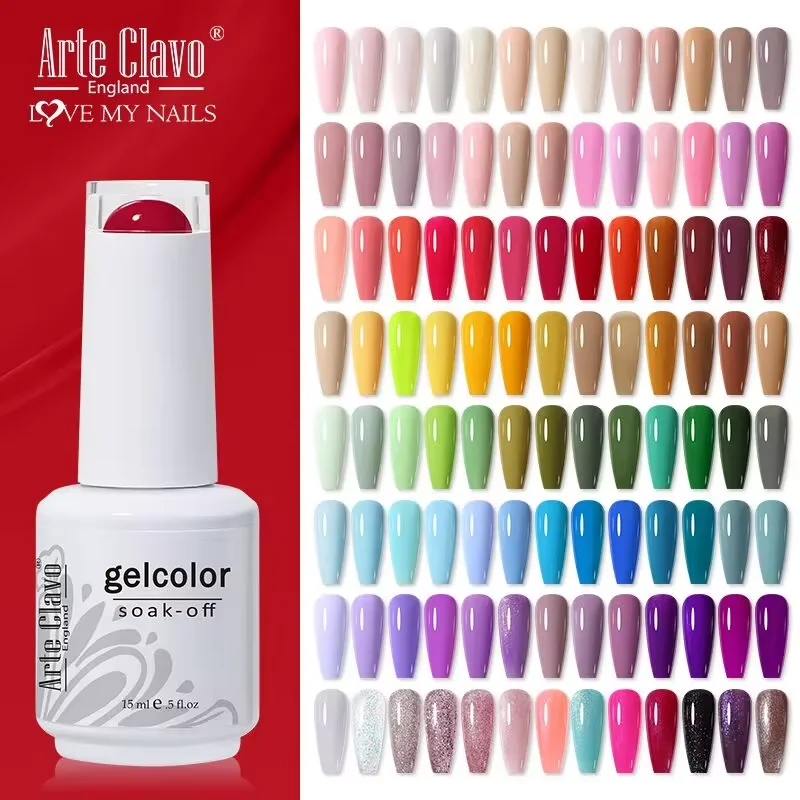
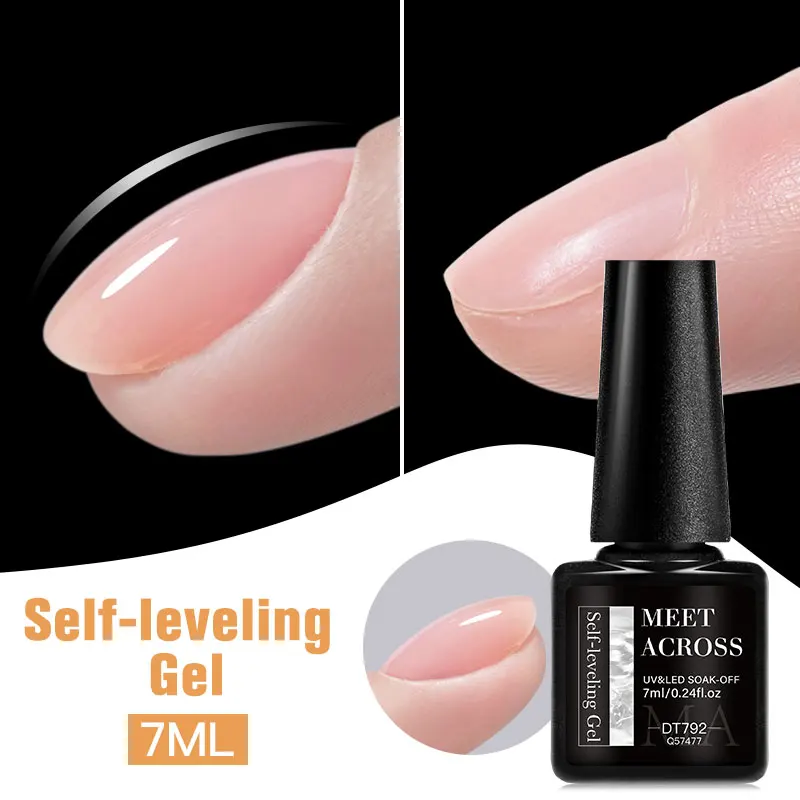
Good products like Arte Clavo 15ml Gel Nail Polish or Meet Across Self-Levelling Gel Nail Polish can make your gel manicure look better and last longer. These polishes cover well, level themselves, and last for a long time.
Nail Preparation: The Foundation of a Perfect Gel Manicure
Getting your nails ready is really important for a gel manicure that lasts. This step is often skipped, but it can make your manicure last for weeks instead of days. Here’s how to get your nails ready:
- Gently push back cuticles and remove extra skin around the nail.
- Shape your nails how you want them with a nail file. File in one direction to avoid splitting the nail.
- Lightly buff your nails to remove shine and help the gel stick better.
- Clean your nails well with alcohol to remove oils or dirt.
- Use a nail dehydrator to remove any leftover moisture, then a primer if you want.
Remember, starting with clean nails helps the gel polish stick better and last longer. Take your time with this step to make your nails perfect for the gel.
Applying the Base Coat: Building a Strong Foundation
The base coat protects your nails and helps the gel polish stick. It stops your nails from staining and makes your manicure last longer. Here’s how to put it on well:
- Apply a thin, even layer of base coat to each nail. Start in the middle near the cuticle and brush to the tip.
- Make sure to cover the tip of your nail to stop the polish from lifting.
- Cure under your lamp as the instructions say (usually 30-60 seconds).
- After curing, the base coat should be dry but a little sticky.
Using a good base coat, like those in long-lasting base and top coat gel sets, can make your manicure last much longer.
Colour Application: Mastering the Perfect Gel Polish Layer
Now for the fun part – putting on your chosen colour! This is where you can show your style. Here are tips for putting it on perfectly:

- Put on the first coat of colour in thin, even strokes. Start with a small bit of polish in the middle of the nail, near the cuticle, and gently push it to the tip.
- Use the brush to spread the polish evenly over the whole nail. Don’t get polish on your skin.
- Cover the tip of your nail with colour to stop chipping.
- Cure under the lamp as directed. Most gel polishes need 30-60 seconds under an LED lamp or 2 minutes under a UV lamp.
- Put on a second coat for full coverage, using the same method. This layer should be a bit thicker than the first, but still smooth and even.
- Cure again, making sure all nails are fully under the light.
- If needed, put on a third thin coat for deeper colours or to make sure it’s not see-through. Always cure between layers.
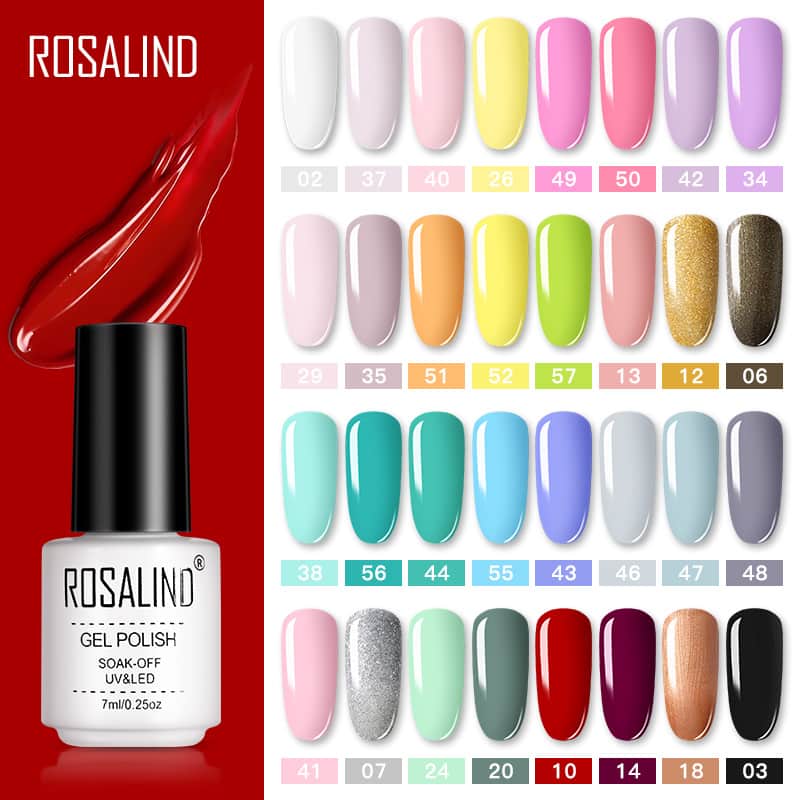
For great results, try bright colours like ROSALIND 7ML Pure Colour Nail Polish or add some sparkle with Lilycute Metallic Liner Gel Nail Polish. These good-quality polishes have strong colours and go on smoothly, making it easier to get professional-looking nails at home.
Special Techniques for Stunning Gel Nails
Once you’ve got the basics down, you can try more advanced techniques to make unique and eye-catching nail designs. These methods let you make your gel manicures even better and show off your creativity:
- Ombre effects: Blend two or more colours for a gradient look.
- Glitter accents: Add sparkle with glitter gel polish.
- Nail art: Use thin brushes or dotting tools to create designs.
- Stamping: Apply patterns using gel polish and stamping plates.
- Encapsulated designs: Create depth by adding thin decorations between layers of clear gel.
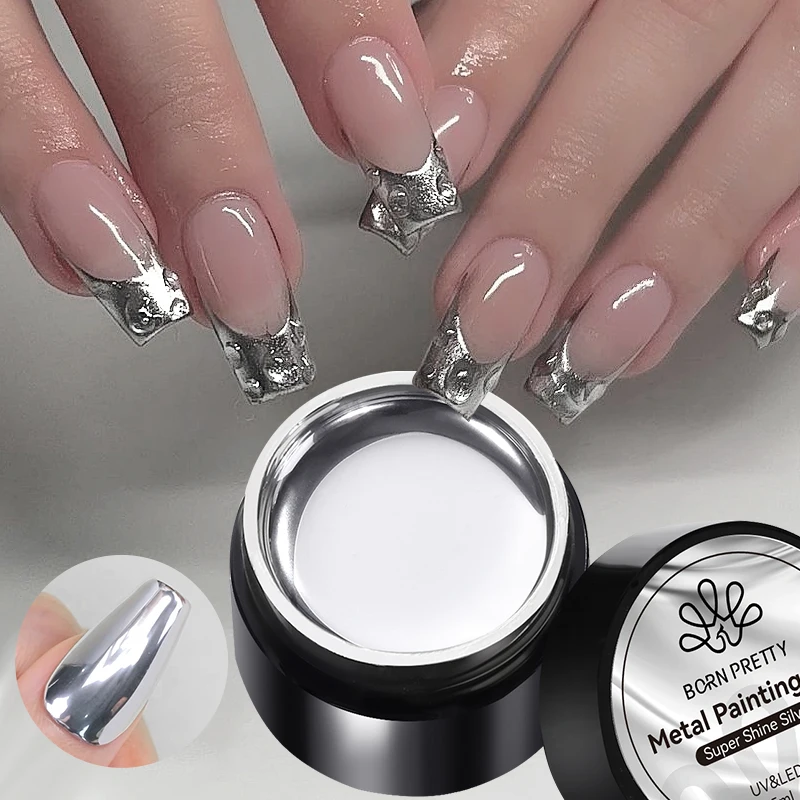
For metallic and glitter effects, BORN PRETTY Super Bright Metallic Painting Gel Polish offers a wide range of great options. These shiny metallic gels can be used to cover the whole nail, for nail art, or as accents to make your manicure look fancy.
Sealing the Deal: Applying the Top Coat
The top coat protects your nail art and adds that salon-quality shine. It seals in your design, stops chipping, and gives your manicure a professional, glossy finish. Here’s how to apply it perfectly:
- Put on a thin, even layer of top coat over your colour. Start in the middle of the nail and brush towards the tip, covering everything.
- Make sure to seal the tips of your nails to prevent chipping.
- Cure under the lamp for the recommended time. Most top coats need 60 seconds under an LED lamp or 2 minutes under a UV lamp.
- For extra protection, consider applying a second thin layer of top coat, especially if you’ve made detailed nail art designs.
After curing, wipe off the sticky layer with a lint-free wipe soaked in alcohol to reveal the glossy finish. This step is important as it removes the sticky residue left after curing and brings out the true shine of your gel manicure.
Aftercare and Maintenance
To keep your gel manicure looking fresh for weeks, follow these aftercare tips:
- Use cuticle oil daily to keep your nails and skin around them moisturised.
- Wear gloves when doing chores, especially with water or harsh chemicals.
- Don’t use your nails as tools to prevent chipping or lifting.
- If you notice any lifting, don’t peel it off. Have it professionally removed.
- Put on more top coat every 5-7 days to refresh the shine and protect your manicure.
- Keep your hands moisturised with hand cream to prevent dryness.
Troubleshooting Common Gel Nail Issues
Even with a perfect application, you might have some problems. Here’s how to fix them:
- Bubbles: Apply thin layers and don’t shake the polish bottle.
- Lifting: Make sure your nails are properly prepared and avoid getting polish on your skin.
- Chipping: Cover the tip of your nails with each layer, including base and top coat.
- Shrinkage: If the gel pulls away from the edges after curing, use thinner layers and follow the recommended curing times.
- Dull finish: If your manicure looks dull after removing the sticky layer, apply another thin layer of top coat and cure again.
Gel Nail Safety and Health Considerations
While gel nails are generally safe, it’s important to be careful:
- UV exposure: Consider wearing UV-protective gloves during curing or applying sunscreen to your hands before your manicure.
- Allergic reactions: Test new products on a small patch of skin before using them fully.
- Nail damage: Take breaks between gel manicures to let your natural nails recover.
- Proper removal: Always have gel nails removed properly. Never peel them off.
- Sanitisation: Keep all your tools clean to prevent the spread of germs.
- Quality products: Use good-quality gel products to reduce the risk of problems and keep your nails healthier.
Conclusion: Achieving Salon-Quality Gel Nails at Home
Getting great at gel nail application takes practice, but with the right methods and products, you can make beautiful, long-lasting manicures at home. Remember to prepare your nails well, use good products, and take care of your nails between applications. By following this guide and paying attention to details, you’ll soon be creating gel manicures that look as good as professional ones.
Whether you like classic looks or want to try bold designs, gel nails give you lots of options to show your style. The key is to be patient, precise, and keep practising. Don’t worry if your first tries aren’t perfect – you’ll get better with time.
So get your supplies ready, set up your nail area at home, and get ready for weeks of shiny nails that don’t chip! With what you’ve learned, you can save money on salon visits while still having great-looking nails. Remember to keep your nails healthy, take breaks when needed, and have fun trying different colours and designs. Your journey to becoming a gel nail expert starts now!
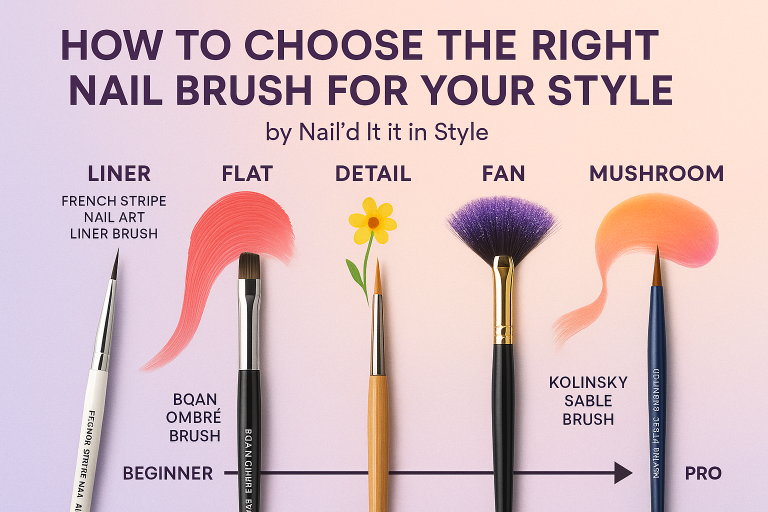
How to Choose the Right Nail Brush for Your Style
Further reading

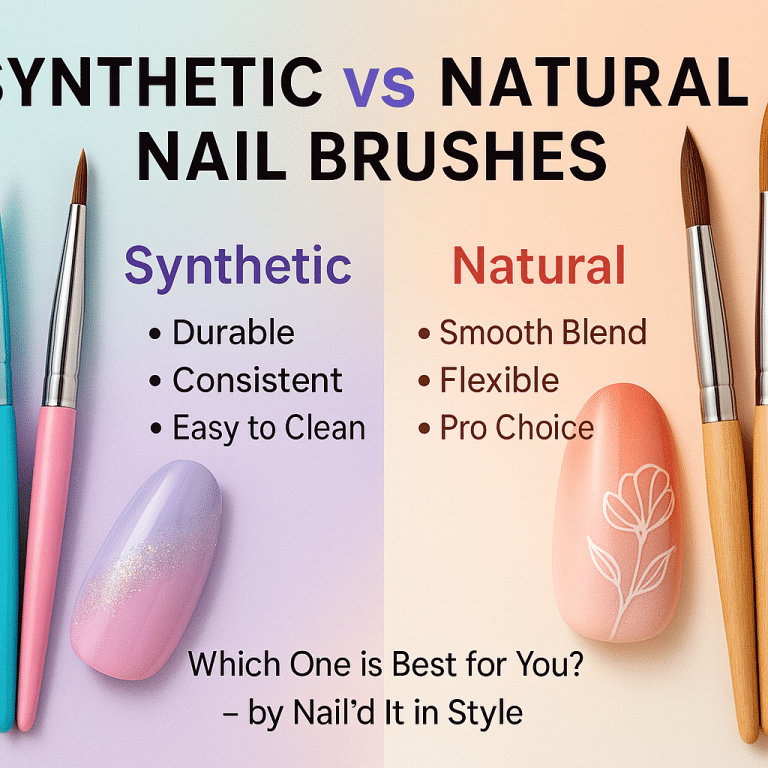
Synthetic vs Natural Nail Brushes: What’s Best?
Leave a comment