Nail Art Inspiration: 10 Creative Mani Ideas
Key Takeaways
- Floral designs are trending for elegant, feminine nail art
- Watercolour techniques create soft, artistic manicures
- Quality tools like ceramic nail drill bits ensure professional-looking results
- Highly-rated polish brands like Rosalind offer pigmented, long-lasting colour
- Minimalist designs are gaining popularity for everyday wear
- Soak-off gel polishes provide durability with easy removal
- Proper nail preparation is essential for long-lasting nail art
- Seasonal designs allow for creative expression throughout the year
- Advanced techniques like 3D elements create unique dimensional effects
- Regular maintenance extends the life of your artistic manicures
The Art of Nail Expression: Finding Your Inspiration
Nail art has grown from simple colour applications to a real form of self-expression and creativity. The right manicure can match your outfit, make you feel more confident, and show off your personality. At Nail Dit In Style, we know that finding nail art inspiration can change your everyday look into something special.
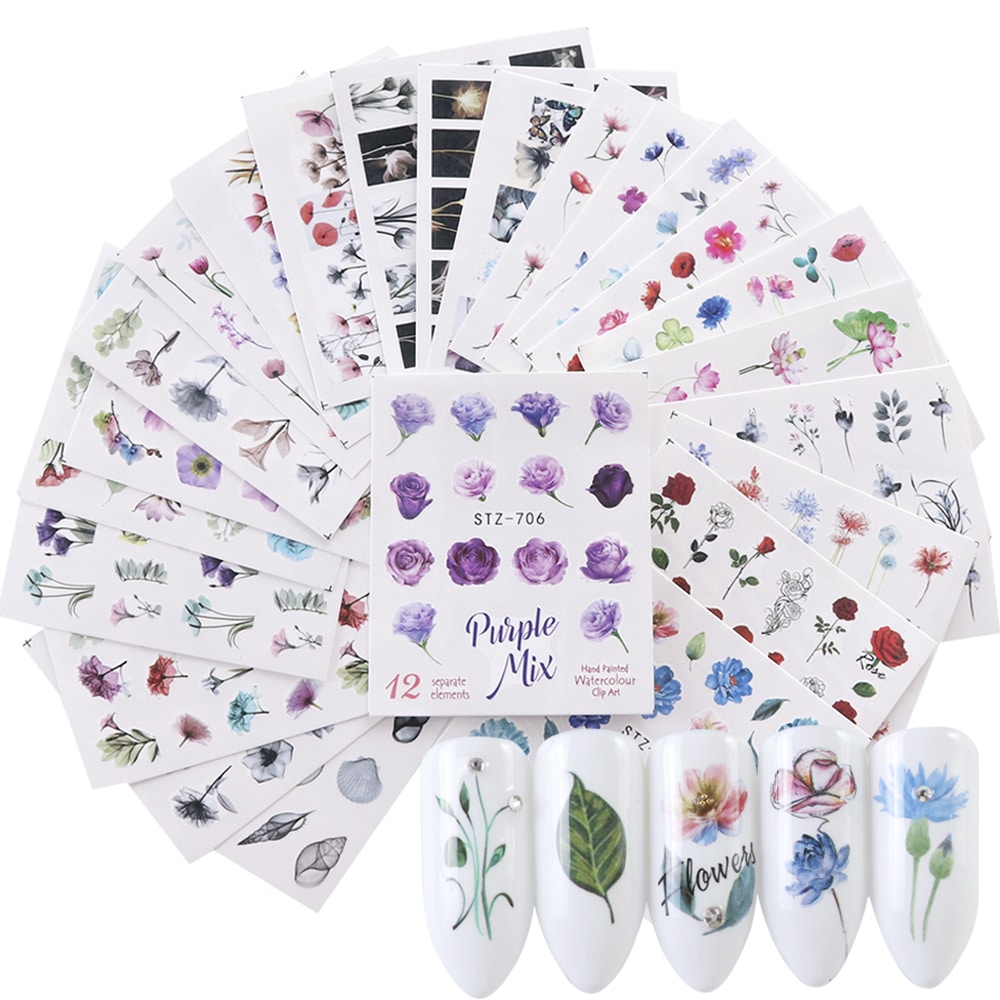
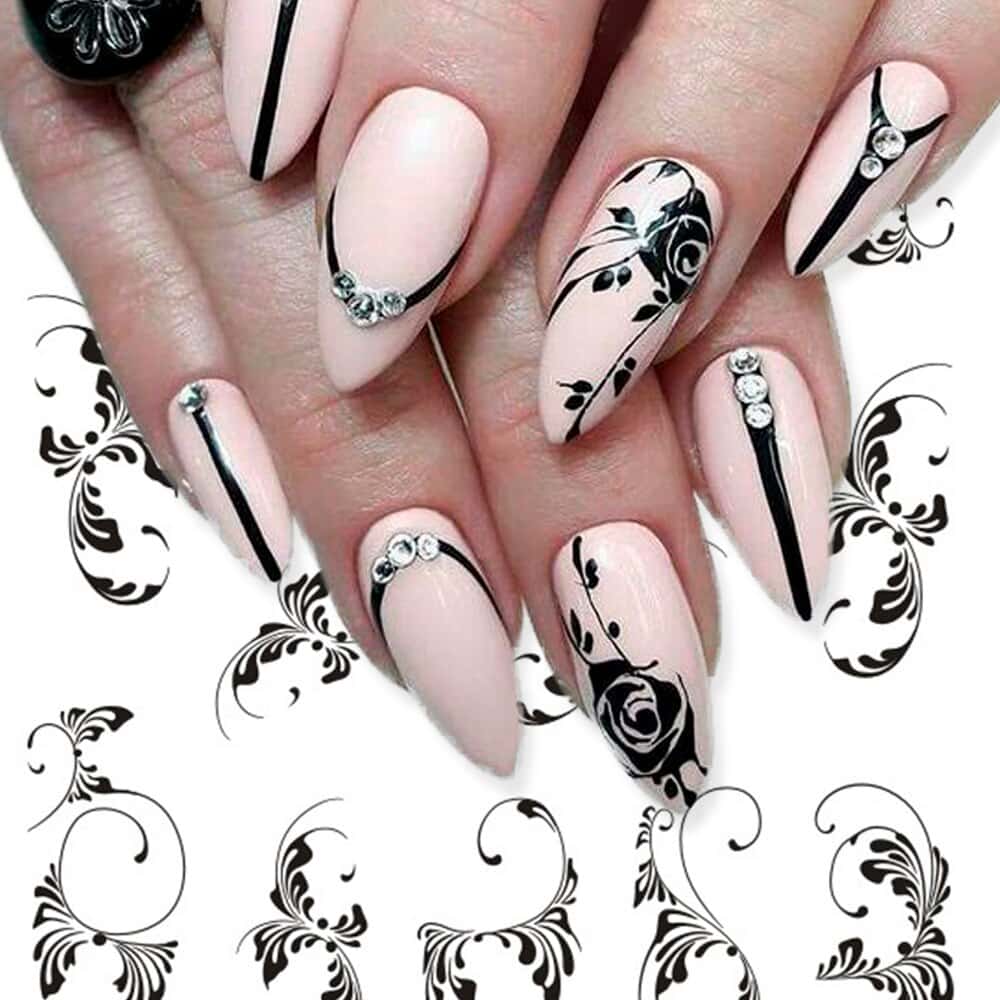
The best thing about nail art is how many different options you have. You might like delicate watercolour florals that look like a painting or bold geometric patterns that make a statement. Our collection has designs from subtle to eye-catching, so everyone can find something they like.
Many people get nail ideas from the changing seasons, fashion trends, or even their favourite art. Pick designs that you like but also fit your lifestyle. If you wash your hands a lot or have an active job, you might want to use soak-off gel polishes with simple designs. For special events, you could try more fancy designs with 3D elements.
When you look through our nail art category, you’ll find tons of ideas that can make your manicure much more exciting. The right inspiration can help you try new colours and techniques. Nail art is a fun way to show your style and can even be a conversation starter!
Floral Fantasies: Blooming Beauty at Your Fingertips
Floral nail designs are always popular because they work for any season and almost any occasion. These flower-inspired manicures can look realistic or abstract, letting you express yourself while keeping a feminine charm that people of all ages like.
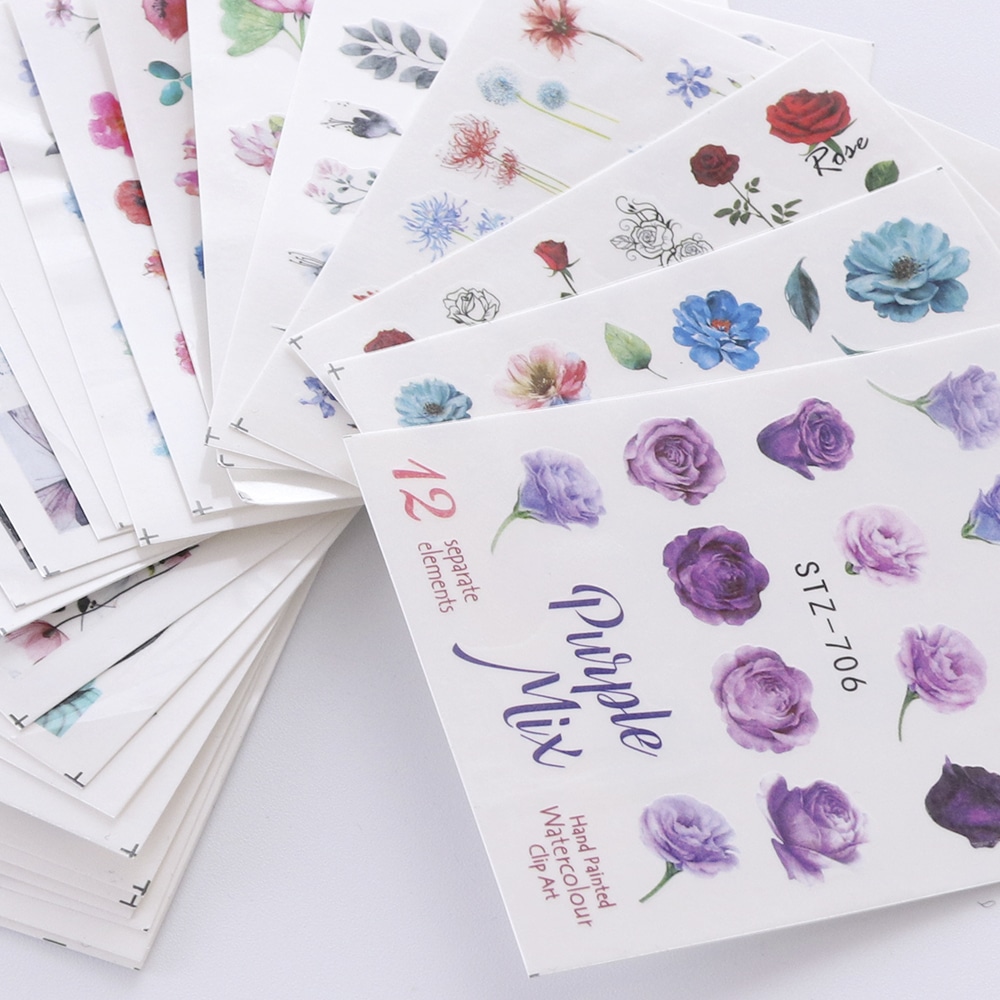
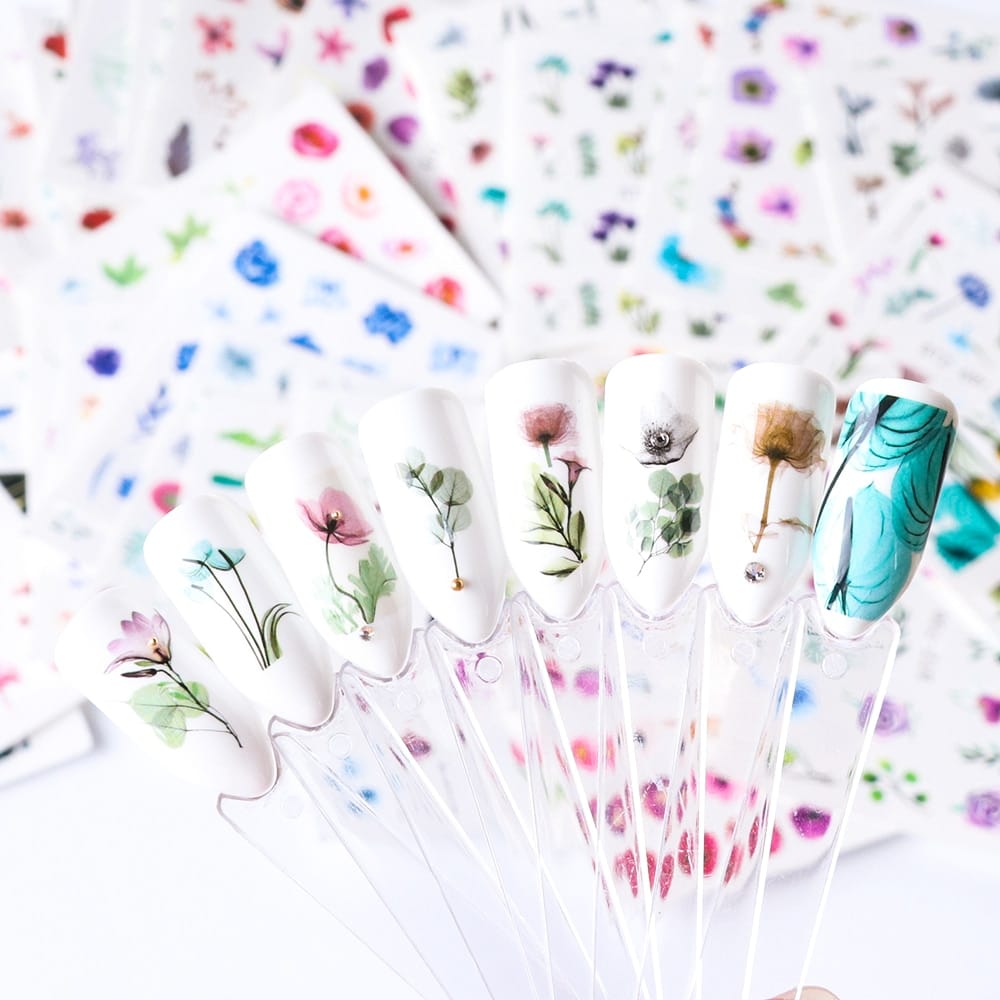
Our Floral Watercolour Nail Art is one of our most loved designs. This garden-inspired manicure makes it look like delicate flowers are floating across your nails, almost like they were painted with watercolours. The technique creates a dreamy, soft look that’s fancy but not too much, perfect for everyday wear or special events.
If you like more defined floral designs, the Flower Set Nail Art has small blooms with clearer outlines. This set gives a romantic, garden-like look while still looking neat and professional. It works well for both casual days and formal events.
What’s great about floral nail art is how it can change with the seasons. Spring calls for light pastel petals, while fall might use deeper colours with gold accents. The floral options in our nail art collection let you show your style while connecting to nature’s beauty, no matter the season.
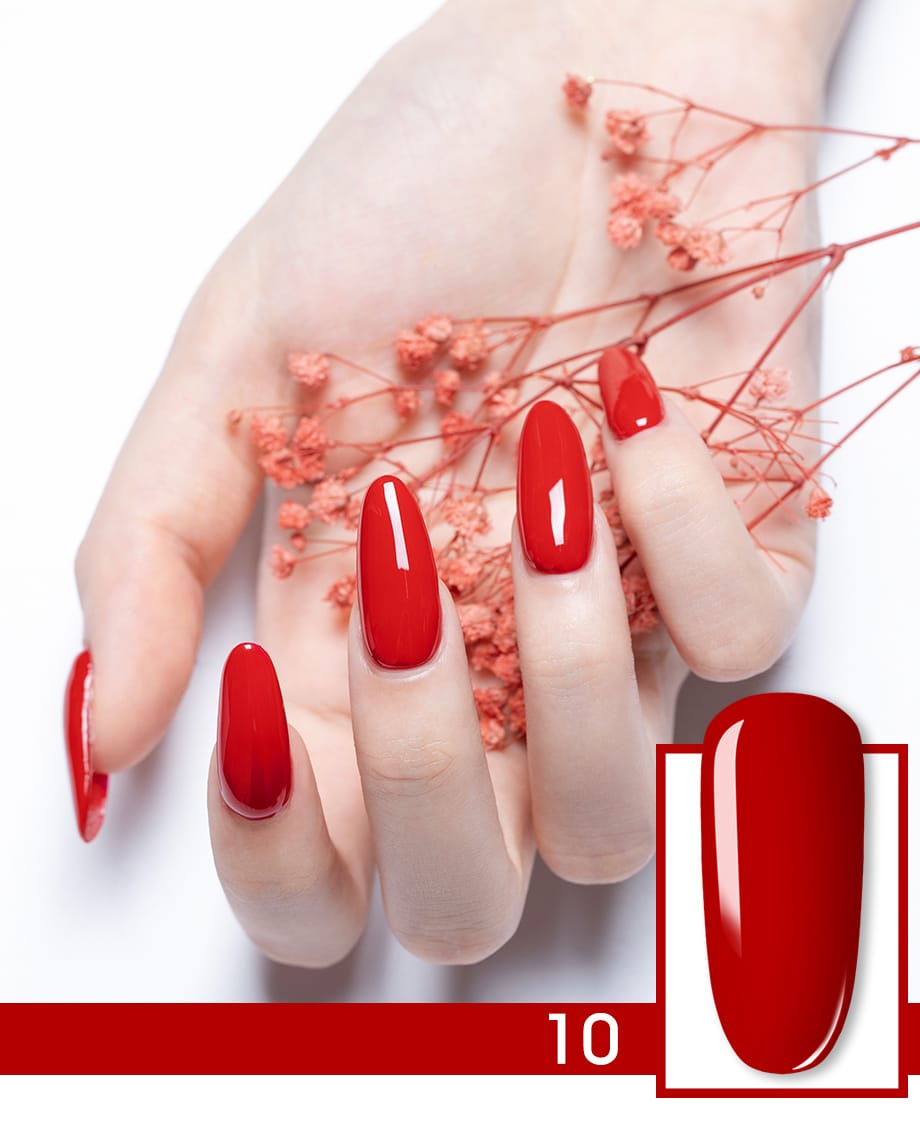
Creating floral nail art at home gets easier with the right products and some practice. Start with a good base coat to protect your nails, then use our Rosalind Pure Colour Nail Polish in colours that go well together. The bright colours won’t fade, and the creamy formula makes it easy to apply, even if you’re new to detailed nail art.
Watercolour Wonders: Artistic Expression for Your Nails
Watercolour nail art has changed the manicure world by bringing painting techniques to fingernails. This approach creates soft, blended effects that look like real watercolour paintings, making truly unique nail designs that look hand-painted.
Our Floral Watercolour Nail Art shows this fancy technique perfectly. It combines flowers with the artistic style of watercolour painting. The result looks like it was painted by an artist, with colours that blend into each other, creating depth that you can’t get with regular solid colours or simple nail art.
What makes watercolour nail art so special is that it’s not perfect – no two nails will look exactly the same. This gives your manicure a one-of-a-kind quality that can’t be mass-produced. The technique creates a delicate, almost magical appearance that’s great for weddings and formal events, or as an everyday statement for people who like artistic expression.
To get the watercolour effect at home, start with a clean white base using our Rosalind Pure Colour Nail Polish in white. The creamy formula gives you the perfect canvas, like an artist’s paper. Once it’s dry, mix small amounts of different colored polishes with a drop of clear polish, and apply them in overlapping patterns using a thin brush. Let the colours blend into each other naturally for that watercolour look.
Watercolour designs work well for abstract patterns, ombré effects, and floral inspirations that look like botanical paintings. You can adapt the technique for all seasons and colour preferences – cool blues for summer, warm oranges for fall, or pastel pinks for spring.
If you’re new to nail art, watercolour techniques can actually be forgiving, since the blended nature of the design hides small mistakes. This makes it a good choice for DIY enthusiasts who want salon-quality manicures at home without needing years of practice.
Essential Tools for Nail Art Mastery
Creating great nail art needs both creativity and the right tools. Good quality equipment makes a big difference between an okay manicure and one that looks professionally done, even when you do it at home.
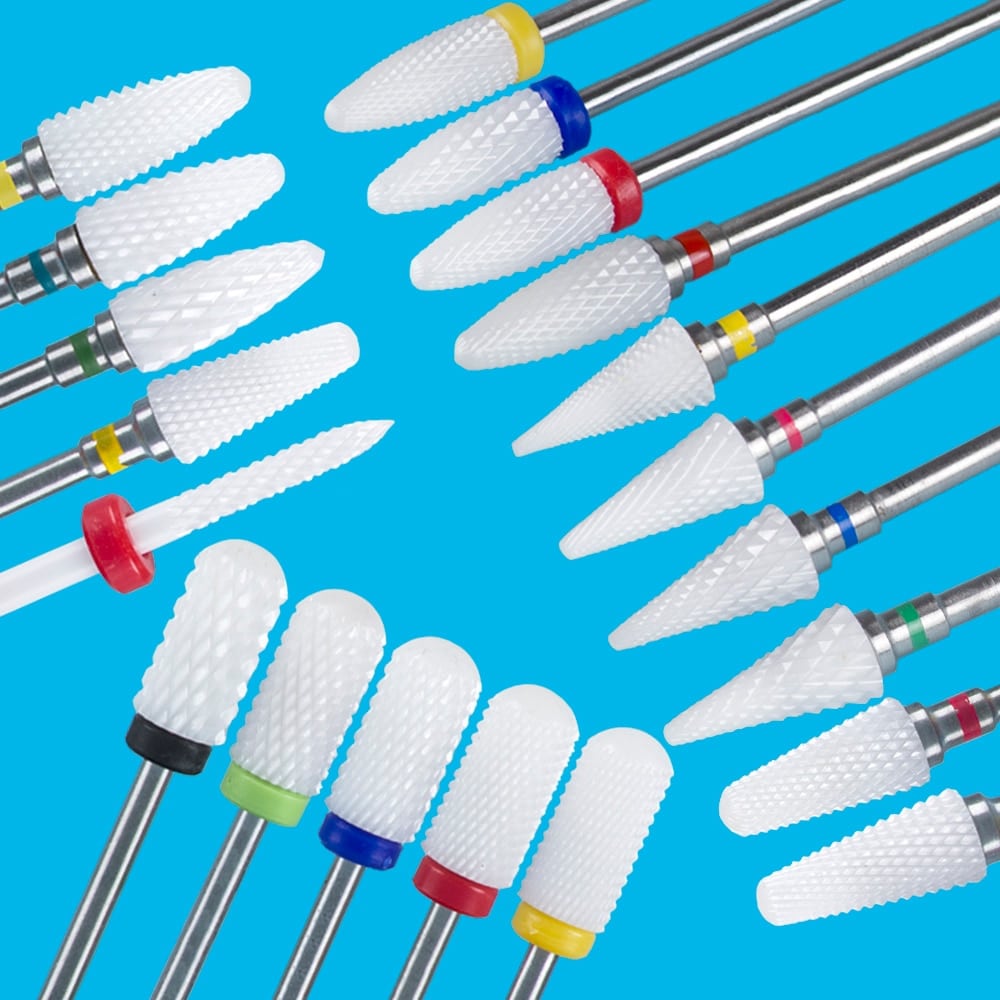
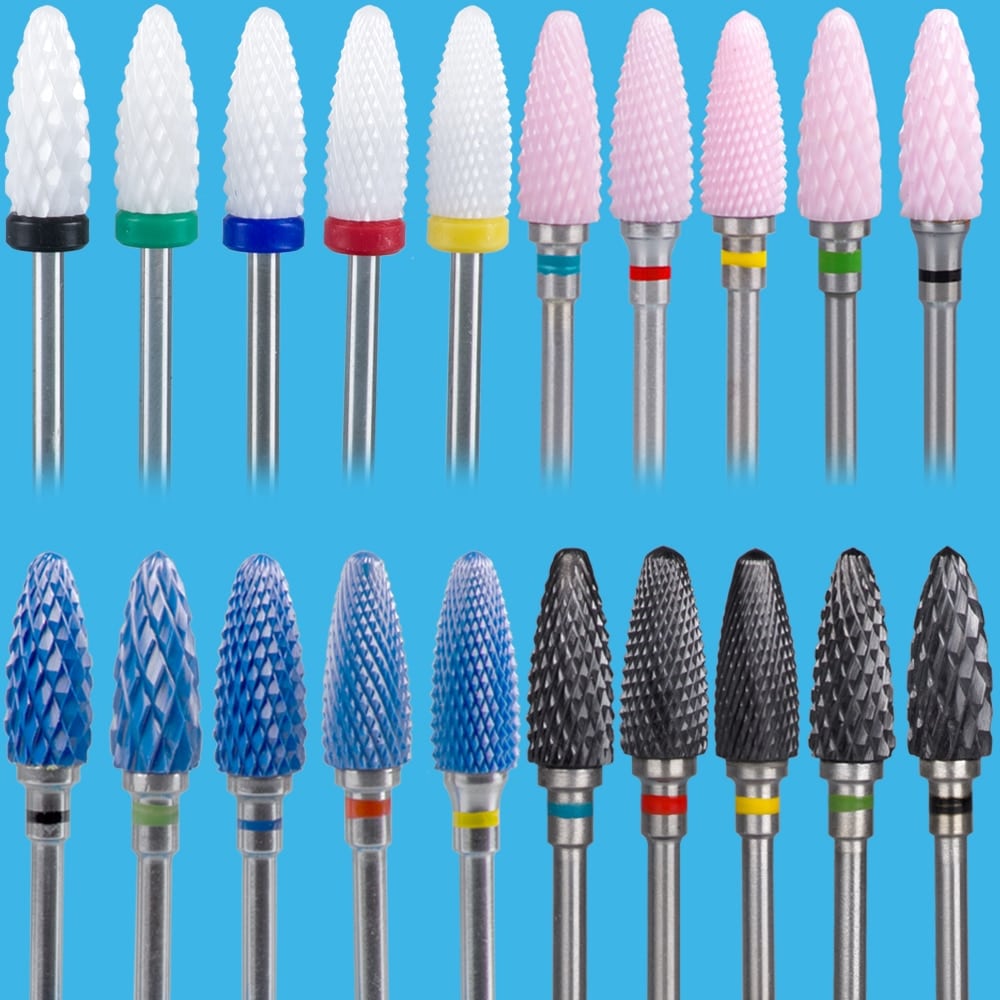
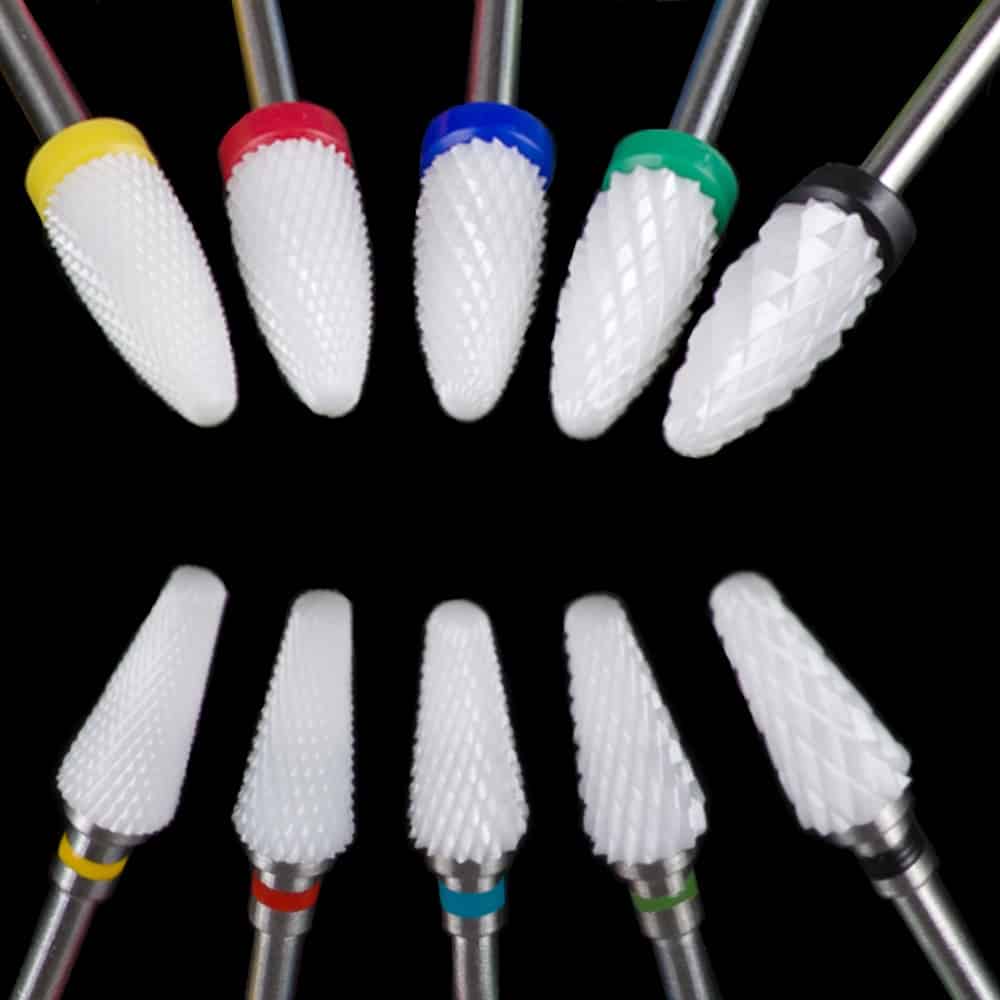
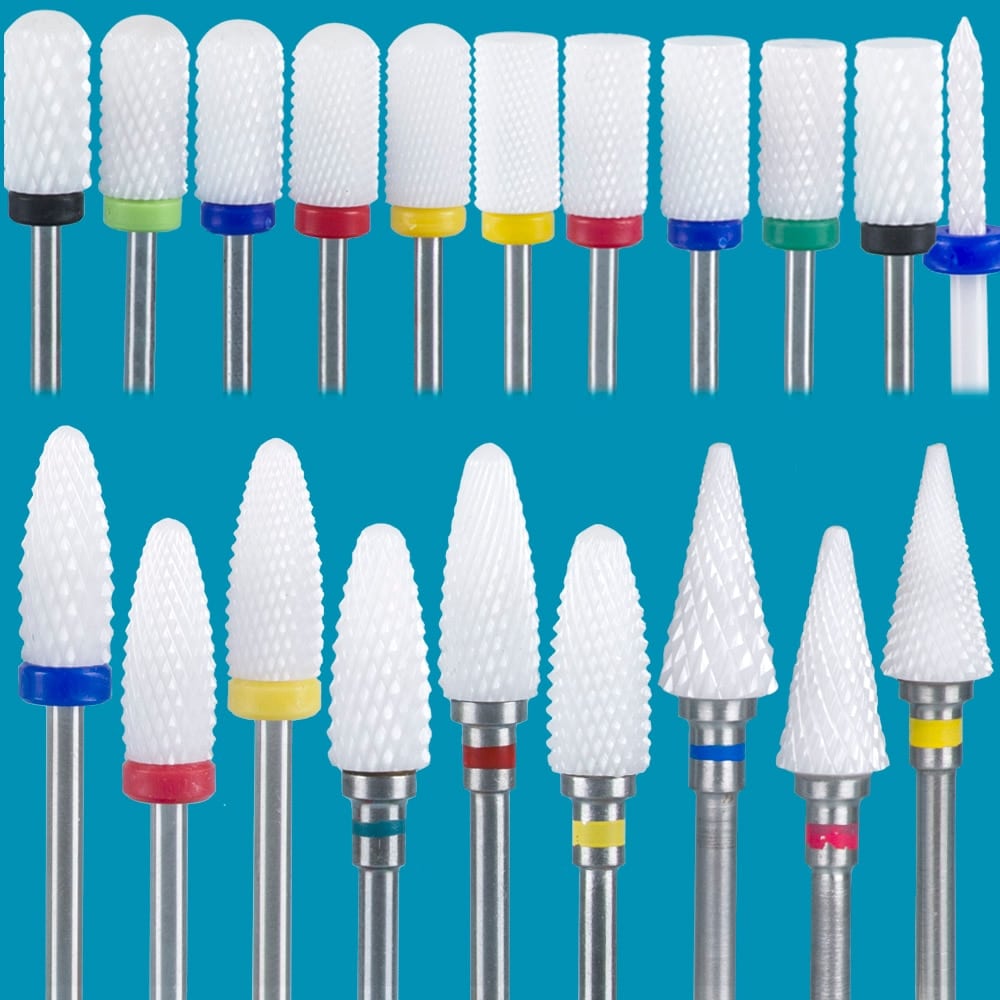
Our Ceramic Nail Drill Bits Set has a perfect five-star rating from customers for good reason. These colour-coded bits give you great control when preparing nails for art. They’re made of ceramic, so they stay cool while you use them, preventing heat damage to your nail bed. They also last longer than metal bits that wear down quickly.
For those who like tools that look good and work well, the Colourful Ceramic Nail Drill Bits combine performance with a fun, colourful design. With different grits shown by rainbow colours, these bits make nail preparation both effective and fun. Their high rating from customers shows their quality and ease of use, even for people new to electric nail filing.
Besides drill bits, a good nail art toolkit should include: fine-tipped brushes in different sizes for detailed work, dotting tools for creating perfect circles, striping tape for clean lines, and maybe some stamping plates for complex designs. These tools help you recreate the designs in our nail art collection with more precision and less frustration than trying to use makeshift tools.
Good preparation is the foundation of long-lasting nail art. Before applying any design, make sure your nails are clean, properly shaped, and gently buffed. Our ceramic drill bits are great at removing excess cuticle and smoothing the nail surface without causing damage, creating the perfect canvas for your art.
If you’re just starting with nail art, begin with basic tools and add more as your skills grow. Even simple tools can give impressive results when used correctly and with patience. The more you practice with different tools, the more confident you’ll become, eventually developing your own style.
Perfect Polish: The Foundation of Great Nail Art
The quality of your nail polish is the basis of any good nail art design. Better formulas give better coverage, more accurate colour, and longer wear – all important when creating detailed nail art that takes time to complete.
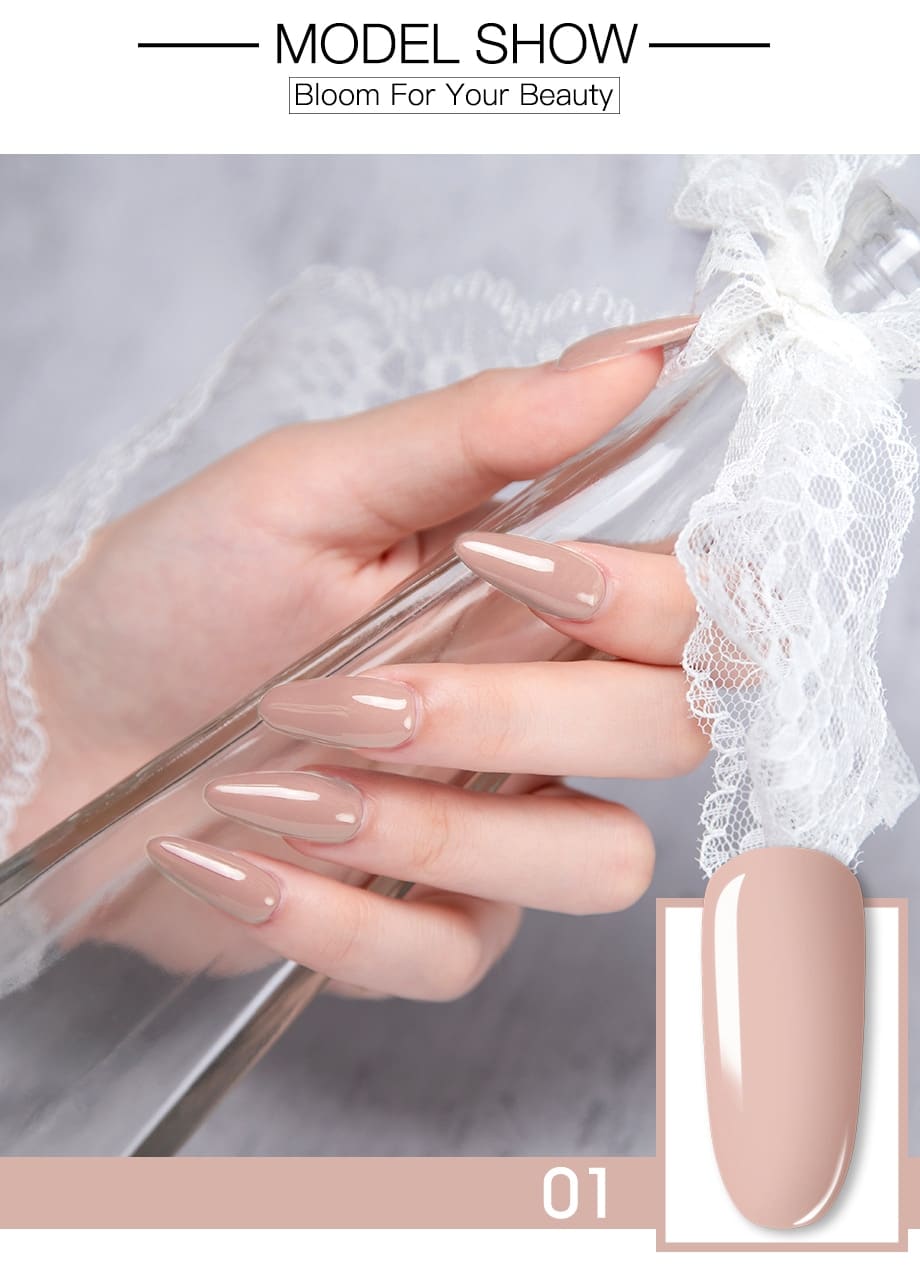
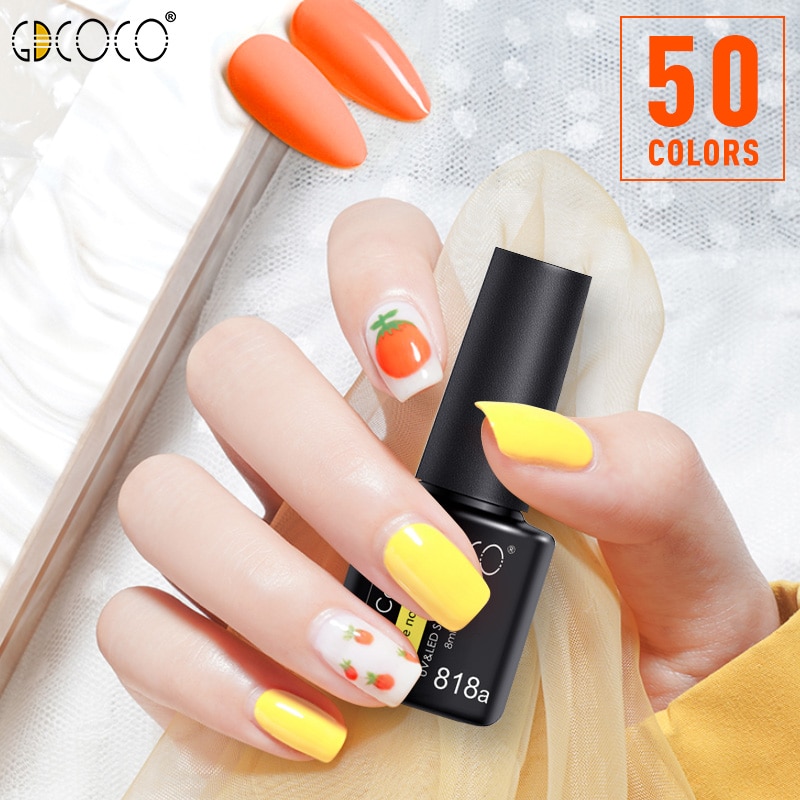
Our Rosalind Pure Colour Nail Polish has a great reputation from customers who love its rich, creamy formula that works better than many more expensive brands. Each bottle gives rich, saturated colour in every stroke, making a perfect base for both simple manicures and detailed nail art. The rich colour means you need fewer coats for full coverage, giving a smoother finish that shows your artwork better.
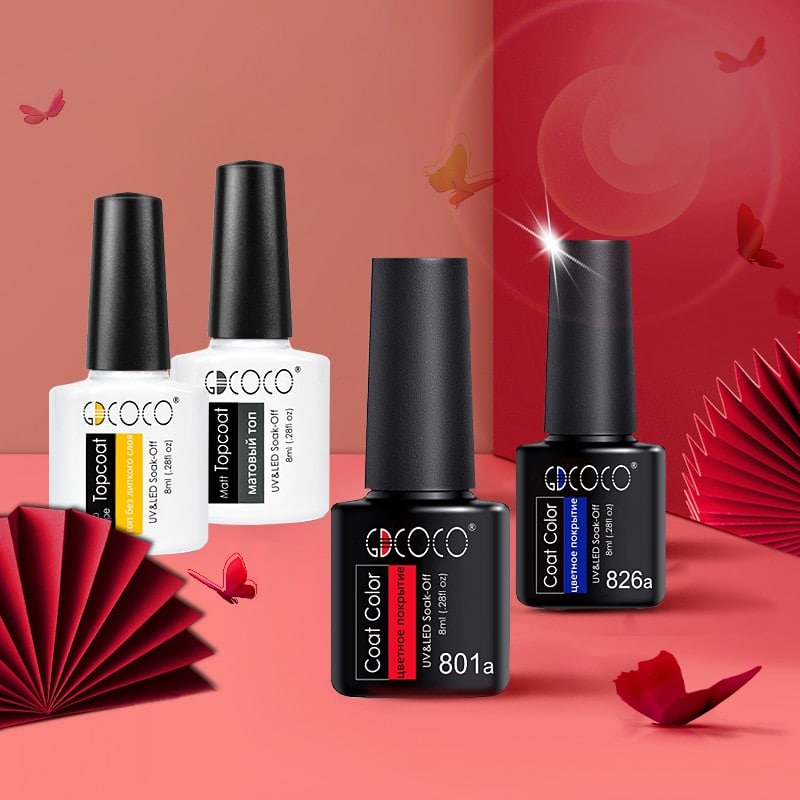
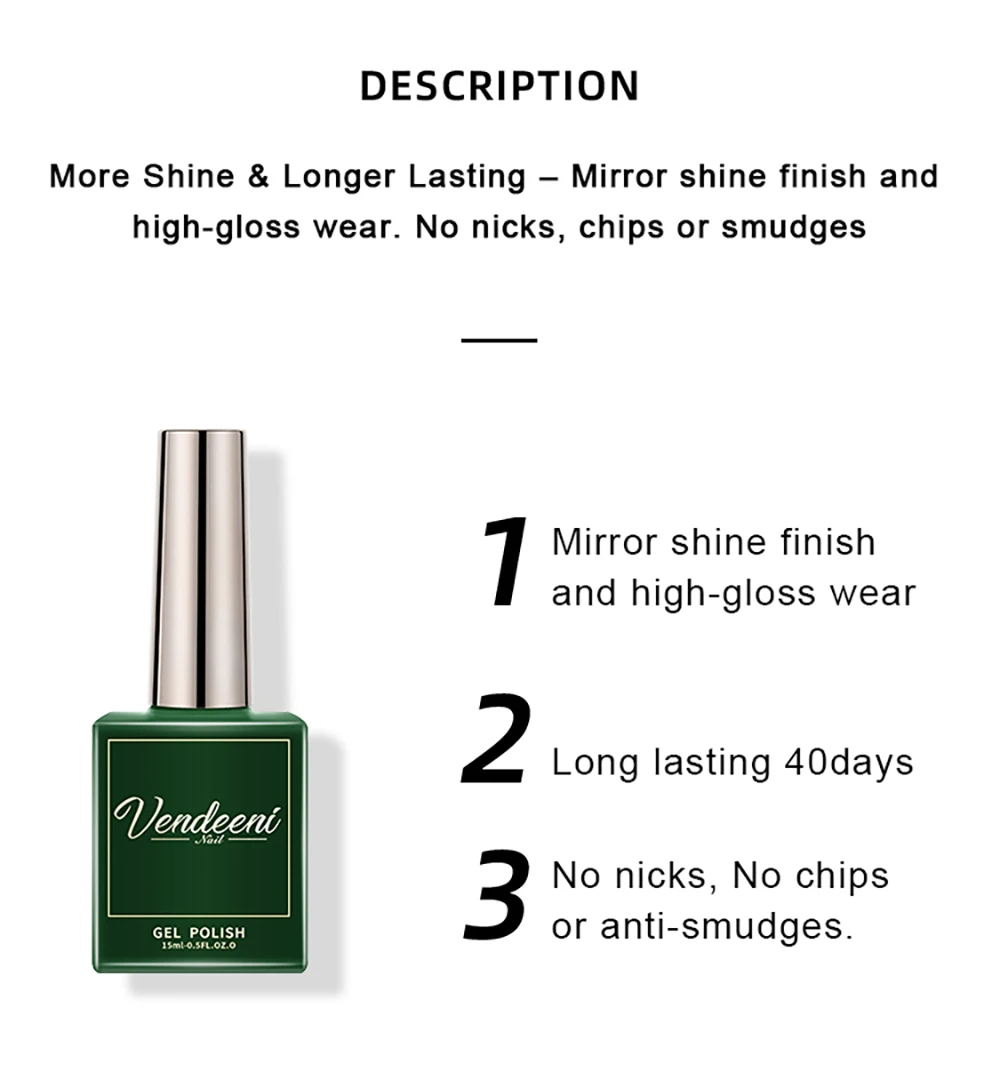
For those who want their polish to last longer, our Soak Off Gel Nail Polish is perfect for busy lives and special events. This formula combines the glossy, long-lasting benefits of professional gel polish with the convenience of at-home removal. It’s a favourite among customers who want their nail art to last through daily tasks – from typing to household chores – without chipping or fading.
When choosing polish for nail art, think about both the colour and the finish. Cream finishes give a smooth canvas for detailed work, while metallics add dimension through light reflection. For watercolour effects, semi-sheer formulas blend better with other colours, creating that soft, diffused look that mimics real watercolour painting.
How you apply the polish matters too. For best results, apply thin, even coats, letting each layer dry completely before adding the next element or colour. This prevents bubbling, smudging, and bleeding that can ruin even the most beautiful design.
Remember that good top coats are just as important as the colour beneath. A good top coat seals your artwork, adds shine, and protects against chips and scratches. For designs like our Flower Set Nail Art, consider using a slightly thicker top coat that can cover raised elements for a smoother, more durable finish.
Seasonal Nail Art Inspiration
As seasons change throughout the year, nail art designs and colours change too. Adapting your manicure to match the seasons keeps your look fresh and lets you express your connection to nature’s changes in a creative way.
Spring
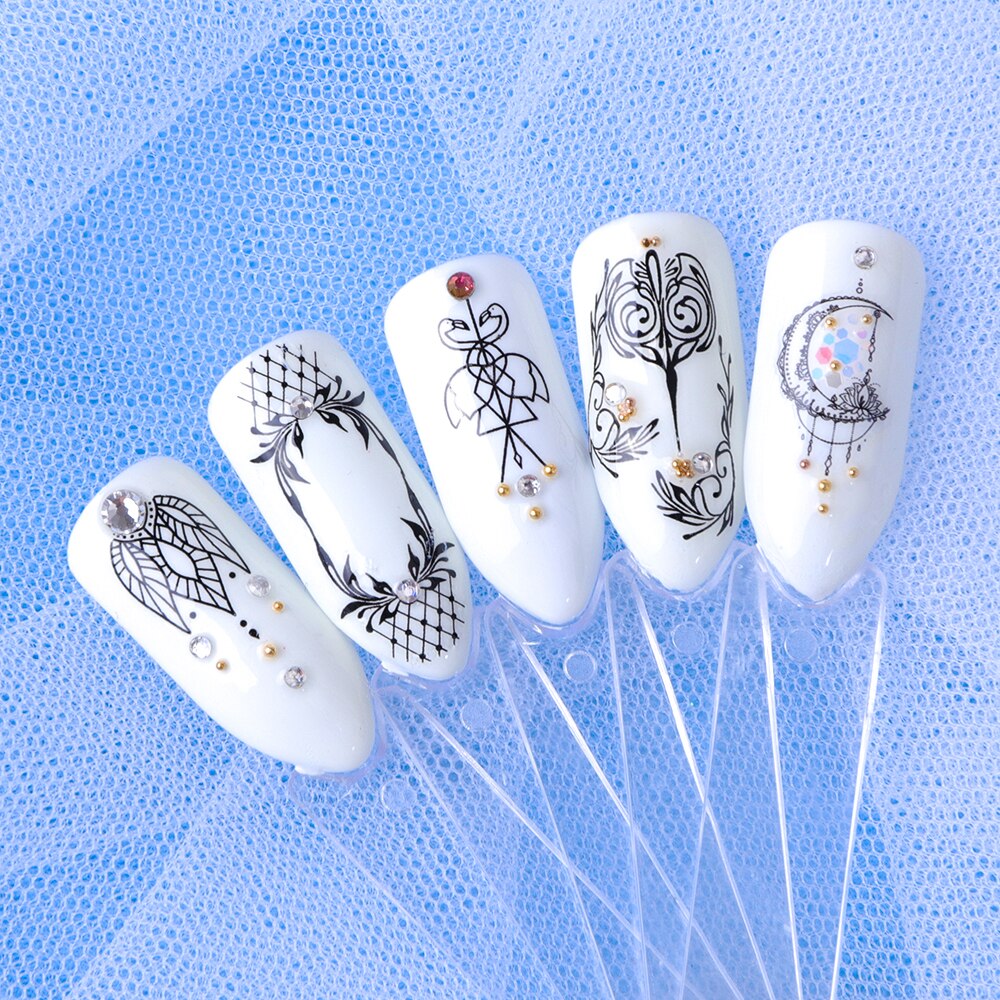
Spring is about new beginnings, making it perfect for floral watercolour designs that capture the season’s fresh energy. Our Floral Watercolour Nail Art shows spring perfectly with soft, delicate pastel flowers that seem to float across the nail, like the first flowers after winter. Try these designs with fresh mint greens, cherry blossom pinks, or soft lavenders from our Rosalind Pure Colour Nail Polish collection for a truly spring-like look.
Summer
Summer nail art uses bold, bright colours and fun designs that match the carefree spirit of the season. Try electric blues like tropical waters, bright corals like exotic flowers, or sunny yellows like perfect beach days. Add tropical designs, fruit patterns, or abstract designs inspired by ocean waves. Our Soak Off Gel Nail Polish is especially good during active summer months, as it stands up to swimming, gardening, sports, and other activities that would damage regular polish.
Autumn
As leaves change colour, your nail art can change too, reflecting autumn’s rich, warm colours and cosy feel. This season inspires manicures with burgundy wines, mustard yellows, pumpkin oranges, and deep forest greens that match the changing landscape. Try abstract designs like falling leaves, gradient effects between fall colours, or subtle metallic accents. The variety in our nail art collection offers lots of autumn inspiration that can be adapted using these earthy tones.
Winter
Winter nail art often features cooler, more dramatic colours and festive elements that capture both the season’s beauty and its holidays. Icy blues like frozen landscapes, silver and gold metallics like holiday decorations, and classic deep reds all work well for winter nail designs. Try delicate snowflake patterns, geometric designs in cool colours, or holiday-specific art. Glitter topcoats can add a frosty, sparkly effect that captures winter’s magical quality.
The nice thing about seasonal nail art is that it’s temporary – just as the seasons change, so can your manicure, letting you constantly change your look. Our Ceramic Nail Drill Bits Set helps make these seasonal changes easier by helping you properly prep your nails for each new design.
Minimalist Magic: Simple Yet Striking Designs
While detailed nail art has its place, minimalist designs are becoming more popular. These simple, refined designs prove that sometimes less is more, offering elegant looks through carefully placed simple elements, strategic empty space, and limited colour palettes.
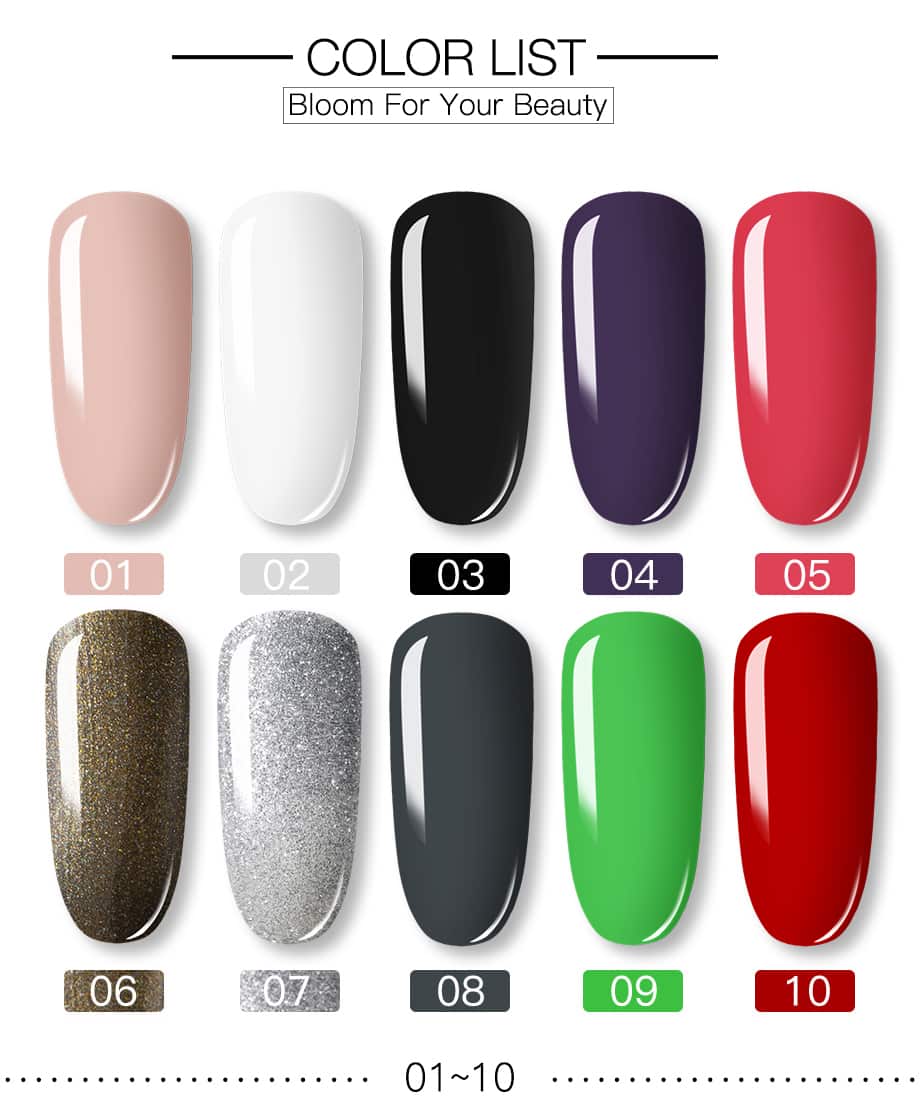

Minimalist nail art focuses on clean lines, subtle accents, and carefully chosen colour combinations that create a big impact with small elements. A single thin metallic stripe across a neutral base, tiny geometric shapes on empty space, or a modern take on the French manicure using unexpected colours from our Rosalind Pure Colour Nail Polish collection – these simple designs make a strong statement without being too much.
What makes minimalist nail art so popular is how versatile and wearable it is. These refined designs complement rather than compete with your clothes and accessories, making them perfect for work environments, formal events, or any situation where subtle style is appreciated. They’re also easier to maintain, with chips and nail growth being less noticeable than with more complex designs.
Creating good minimalist nail art requires precision and attention to detail – ironically, simpler designs often need more skill to execute perfectly. Our Ceramic Nail Drill Bits Set helps achieve the smooth, flawless surface needed for these designs, while fine-tipped brushes allow for the precise lines and clean edges that make minimalist designs work.
Colour choice is especially important in minimalist nail art, where each shade must be carefully selected. While neutrals like beige, pale pink, and white are classic foundations, don’t be afraid to try muted seasonal colours or unexpected combinations that create subtle contrast. Even within minimalist designs, there’s room for personal expression through thoughtful colour selection.
For those new to nail art or looking for designs that work in conservative settings, minimalist designs offer an accessible starting point with sophisticated results. They need fewer specialised tools and techniques than more elaborate styles while still looking intentional and polished. Browse our nail art collection for inspiration that can be simplified to match your minimalist vision.
Advanced Techniques for Nail Art Enthusiasts
Once you’ve mastered basic nail art skills and feel confident with simple designs, exploring advanced techniques can take your manicures to truly impressive levels. These fancy methods need practice, patience, and sometimes special tools, but they reward your efforts with unique, eye-catching designs.
Gradient and Ombré Effects
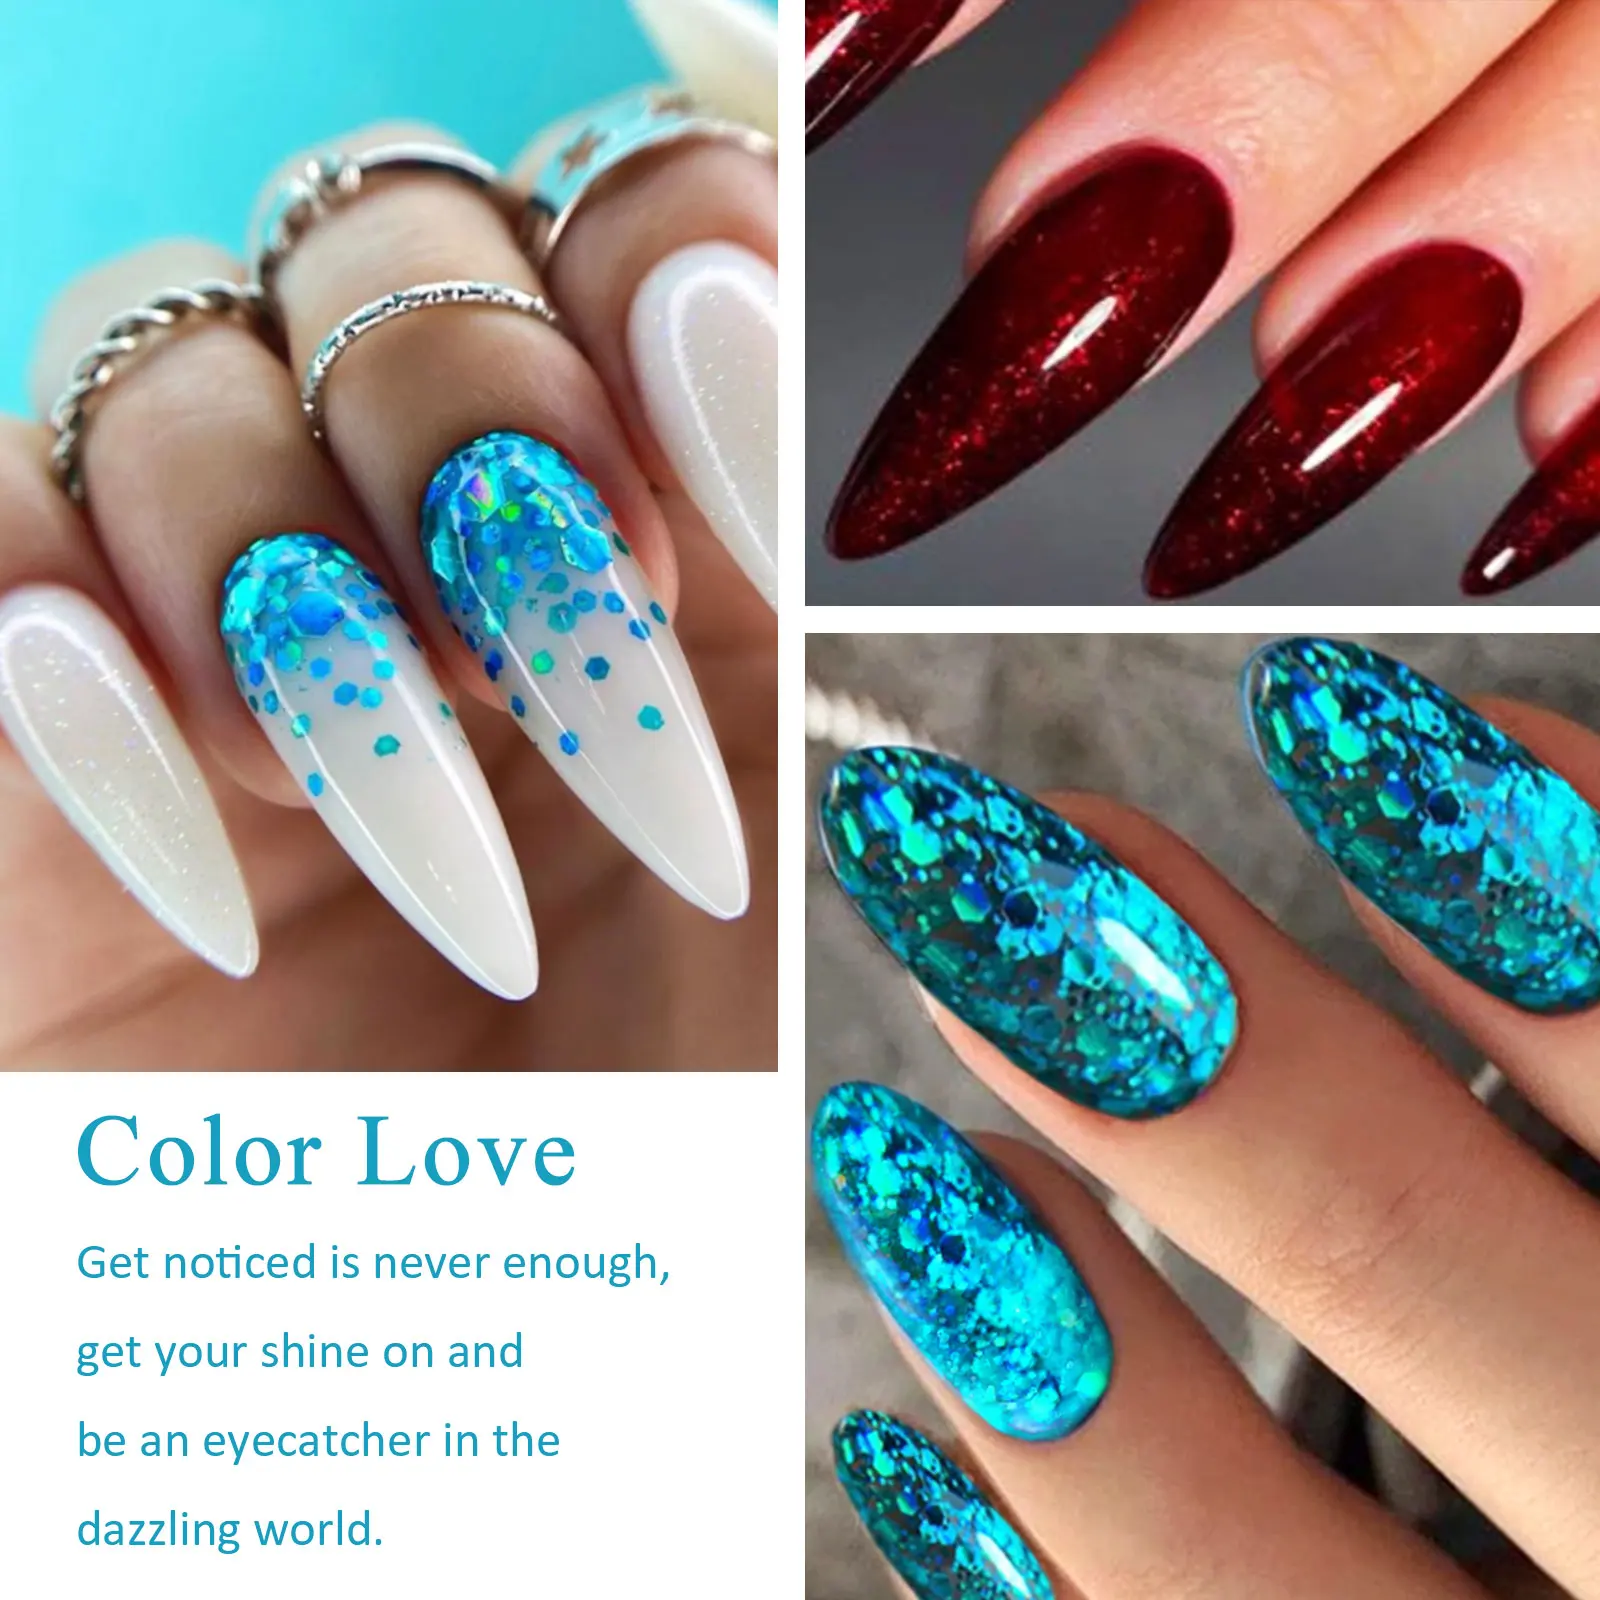
Creating smooth color transitions needs good blending skills and the right tools. Our Rosalind Pure Colour Nail Polish collection offers colours that blend beautifully for gradient effects. Using a makeup sponge to dab overlapping colours creates a perfect ombré effect, while the watercolour technique in our Floral Watercolour Nail Art shows how gradients can be part of more complex designs.
3D Elements and Texture
Advanced nail art often includes raised elements or textured finishes that make flat nails into mini sculptures with an interesting feel. Our Soak Off Gel Nail Polish works really well for creating 3D effects, as its thick formula can be built up in layers and shaped before curing under a lamp. For the most accurate application of raised elements, our Colourful Ceramic Nail Drill Bits help prepare the perfect foundation, ensuring good sticking and strength for 3D designs.
Stamping and Transfer Techniques
Nail stamping is a revolutionary technique that allows for incredibly detailed patterns with perfect precision across all nails. This method transfers elaborate designs from special metal plates onto your nails using stamping polish and a silicone stamper. While it needs specific tools, stamping makes it possible to create detailed patterns like lace, mandalas, or geometric designs that would be almost impossible to create by hand. These transferred designs can then be enhanced with additional hand-painted elements from our nail art collection for truly customised results.
Encapsulated Designs
This fancy technique involves sealing delicate elements – like dried flowers, fine glitter, crushed shells, or thin metallic foils – between clear layers of polish or gel. The result creates a 3D display case effect that preserves these decorative elements. Our Soak Off Gel Nail Polish in clear formulas works perfectly for this, creating a glass-like finish with exceptional clarity that beautifully showcases your encapsulated art while providing the durability needed for long-term wear.
When trying these advanced techniques for the first time, patience and realistic expectations are important for a good experience. Professional nail artists suggest practising on nail tips or practice wheels before trying on your actual nails. Remember that even the most skilled nail technicians developed their expertise through years of practice. With dedication and quality products like our Ceramic Nail Drill Bits Set for precise preparation and our premium polishes for smooth application, you’ll see your skills improve with each manicure you create.
Nail Art for Special Occasions
Special events call for special nail art that matches the occasion’s unique feel and your carefully chosen outfit. From weddings to holiday gatherings, the right manicure adds that perfect finishing touch to your celebration style.
Wedding Manicures
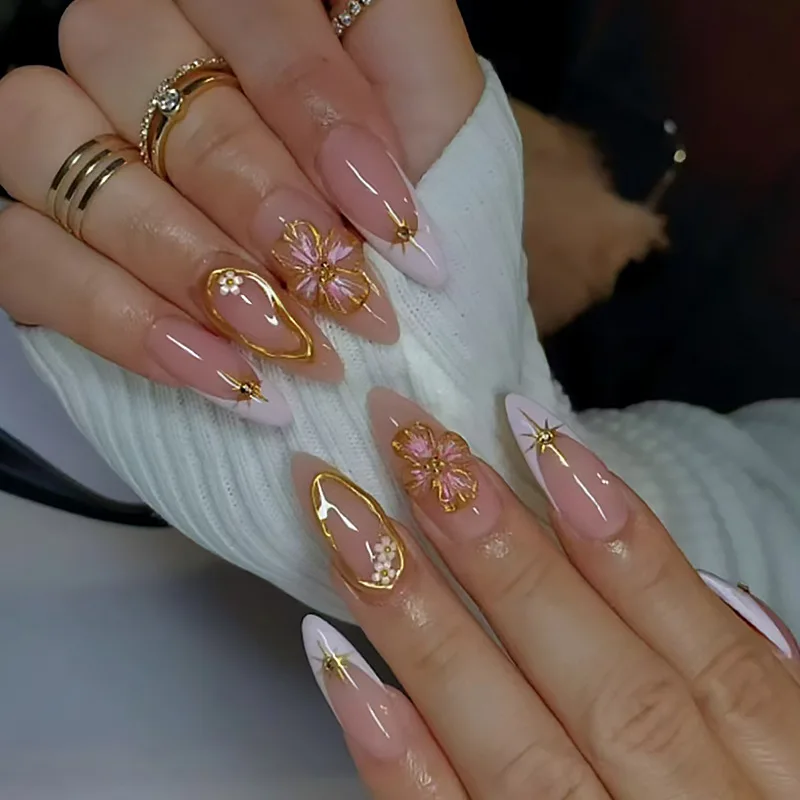
Bridal nail art usually features romantic elements and subtle sophistication that complement the wedding gown. Our Floral Watercolour Nail Art creates the perfect wedding day manicure with its delicate, dreamy look that photographs beautifully in ring shots. For something more structured but equally romantic, the Flower Set Nail Art offers small blooms that match bridal bouquets. Both designs can be customised with pearl accents, tiny rhinestones, or subtle shimmer to match wedding colours while keeping the timeless elegance needed for such an important day.
Holiday Celebrations
Each holiday has its signature colours and symbols that can be shown through nail art that enhances the festive spirit. Christmas might inspire red and green designs with snowflake accents or gold details, while Halloween could feature orange and black gradients with playful, spooky elements. Our Rosalind Pure Colour Nail Polish collection includes festive shades perfect for holiday-themed manicures, while our Soak Off Gel Nail Polish ensures your celebration nails remain perfect throughout holiday gatherings and activities.
Birthday and Anniversary Celebrations
Personal milestones deserve celebratory nails that make you feel special. Consider including your birthstone colour, zodiac symbol, or lucky number in your design for a subtle reference to the celebration’s meaning. Metallic accents and carefully placed glitter using our premium polishes can add that festive touch that says “celebration” while keeping sophisticated elegance that works for upscale birthday dinners or anniversary events.
Professional Events
For important job interviews, business presentations, or formal work functions, sophisticated nail art that enhances your polished appearance rather than distracts is important. Subtle designs using neutral tones from our Rosalind Pure Colour Nail Polish line, perhaps with a single accent nail featuring a minimal geometric pattern, strike the perfect balance between personal style and professional appropriateness.
When planning occasion-specific nail art, consider not only the event but also your complete outfit, accessories, venue, and the overall look you’re aiming for. For the most harmonious results, bring fabric samples, colour swatches, or event invitation designs when selecting your nail art from our nail art collection to ensure perfect coordination. Remember that thorough preparation using our Ceramic Nail Drill Bits Set ensures your special occasion manicure looks flawless from every angle and in photographs that will preserve the memory of your special day.
DIY Nail Art: Tips for Beginners
Creating salon-quality nail art at home is possible, even for complete beginners with limited artistic experience. With the right tools, basic techniques, and a realistic approach to learning, you can develop impressive nail art skills that express your personal style without the expense of regular salon visits.
Start with the Right Tools
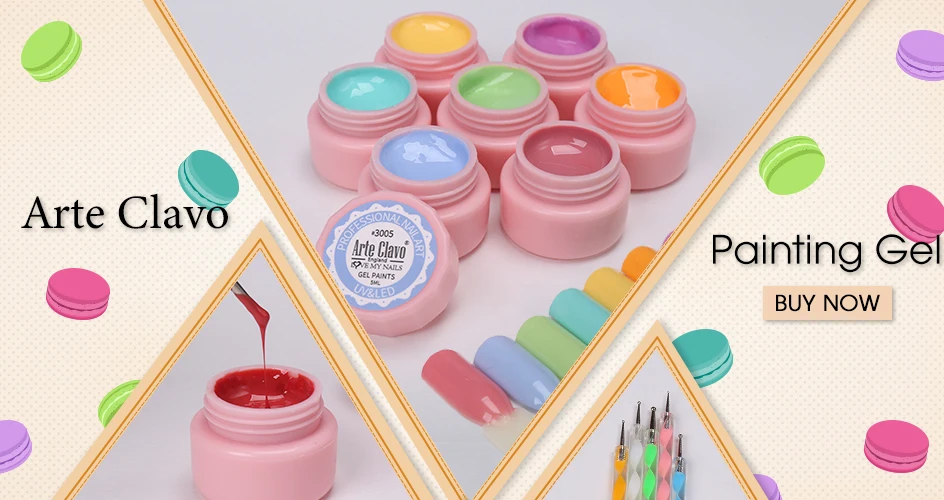
Building a basic nail art kit doesn’t need to be expensive. Begin with quality, highly-pigmented polishes like our Rosalind Pure Colour Nail Polish, which provides excellent coverage and colour even for beginners. Add a few essential tools: fine-tipped brushes in 2-3 sizes for details, dotting tools for perfect circles, and perhaps some striping tape for clean lines. Our Ceramic Nail Drill Bits Set is valuable for beginners who want to properly prep their nails without causing damage, as the ceramic construction prevents overheating, and the colour-coding makes selecting the right bit intuitive even for those new to electric filing.
Master Basic Techniques First
Before trying complex designs like our Floral Watercolour Nail Art, focus on mastering fundamental techniques. Start with simple dots of consistent size, straight lines at various angles, and basic shapes like triangles. Once you’re comfortable with these basics, you can begin combining them in more complex patterns. Remember that even our most intricate designs are basically combinations of these basic elements arranged in creative ways.
Practice on Artificial Surfaces
Perfecting your technique is much easier when you’re not worried about mistakes on your actual nails. Try practising on nail wheels, cheap press-on nails, or even plastic sandwich bags placed over paper. This low-pressure approach lets you experiment freely before committing to your actual nails, helping you learn much faster.
Embrace Beginner-Friendly Designs
Some nail art styles are naturally more forgiving for beginners. Abstract patterns with irregular shapes, simple gradients created with makeup sponges, and basic geometric designs don’t require the precise control that detailed work demands. Even our popular Flower Set Nail Art can be adapted for beginners by using dotting tools to create simplified flower shapes – five dots arranged around a central dot creates a cute flower that doesn’t require advanced brush control.
Use Guides and Stencils
Creating perfectly straight lines and consistent shapes freehand is challenging even for experienced nail artists. Beginners can achieve professional-looking results by using tools that guide placement. Striping tape can create perfect straight lines when placed on the nail before applying polish, then carefully removed while the polish is still slightly wet. Similarly, nail stencils offer another way to achieve precise shapes without advanced freehand skills.
Take Your Time and Be Patient
Rushing through nail art leads to smudges, mistakes, and frustration. Set aside plenty of time for your nail art sessions, working in a well-lit space with a stable surface for resting your hands. Allow each layer to dry completely before adding the next – patience is really the secret to beautiful nail art, especially for beginners still developing their skills.
Remember that every professional nail artist started as a complete beginner facing the same learning curve you’re experiencing. With consistent practice and quality products from our nail art collection, you’ll develop increasingly refined skills. Many beginners find it motivating to take photos of their progress – you’ll likely be surprised by how quickly your abilities improve with regular practice and the right tools.
Caring for Your Nail Art: Extending the Life of Your Manicure
Creating beautiful nail art is just the beginning – proper care ensures your artistic manicure stays looking fresh and chip-free for as long as possible. These care techniques help protect your investment of time and materials while maintaining the look of your design.
Proper Sealing is Essential
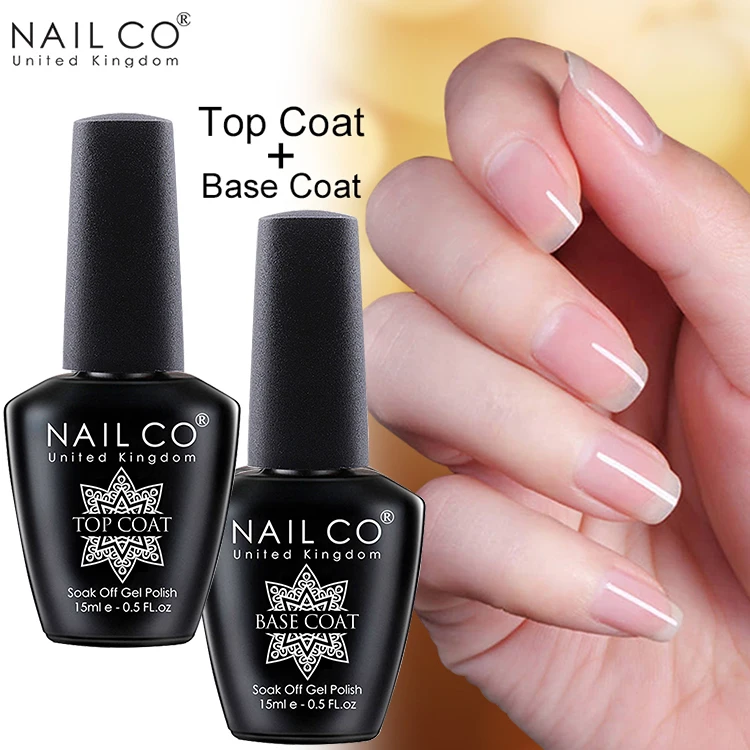
Always finish your nail art with a good top coat, applying it carefully over the entire nail to fully seal and protect your design. For textured or raised designs like our Flower Set Nail Art, applying two or three thin layers of top coat ensures all raised elements are completely covered for maximum durability. Reapplying a fresh layer of top coat every 2-3 days can significantly extend your manicure’s life by refreshing the protective shine and reinforcing the seal against moisture and environmental factors.
Gloves Are Your Best Friend
Household chores involving water, harsh cleaning chemicals, or rough surfaces are the most common causes of nail art damage. Wearing rubber gloves while cleaning, washing dishes, gardening, or handling any materials that could damage your manicure significantly extends your design’s life. This simple habit protects both regular polish designs and our more durable Soak Off Gel Nail Polish creations from unnecessary wear and chemical exposure.
Moisturize Regularly
Dry cuticles and nail beds are more likely to crack and peel, which can damage even the most perfectly applied nail art from the edges inward. Apply cuticle oil daily (especially before bed) and hand cream several times throughout the day, paying special attention to the area around your nails. Proper hydration maintains flexibility in both the nail and surrounding skin, preventing the brittleness that commonly leads to chips and lifting at the edges of your design.
Avoid Harsh Chemicals When Possible
Acetone-based products, alcohol-heavy hand sanitisers, and harsh cleaning agents can gradually damage nail polish and your artwork through repeated exposure. When using these products is unavoidable, try to minimise direct contact with your nails or wear protective gloves when practical. After unavoidable chemical exposure, reapply a fresh layer of top coat as soon as possible to restore the protective barrier.
Address Minor Damage Promptly
Small chips or edge wear can quickly grow into larger problems if left unfixed. Keep matching polish colours and top coat handy for quick touch-ups at the first sign of damage. For intricate, multi-colour designs like our Floral Watercolour Nail Art, focus on carefully sealing the damaged area with clear top coat if matching the exact design is difficult – this stops further chipping while maintaining the overall look of your nail art until you can do a complete repair.
Use Proper Removal Techniques
When it’s time for a design change, resist the temptation to pick or peel off your nail art, as this removes layers of your natural nail along with the polish, creating weakness that affects future manicures. For regular polish designs, use a gentle, acetone-free remover when possible, working patiently rather than scrubbing hard. For our Soak Off Gel Nail Polish, follow the specific removal instructions carefully to preserve nail health. Between manicures, use our Ceramic Nail Drill Bits Set to gently prepare your nails for their next artistic transformation without causing damage.
Best Nail Brushes for Precision Nail Art
Synthetic vs Natural Nail Brushes: What’s Best?
Further reading
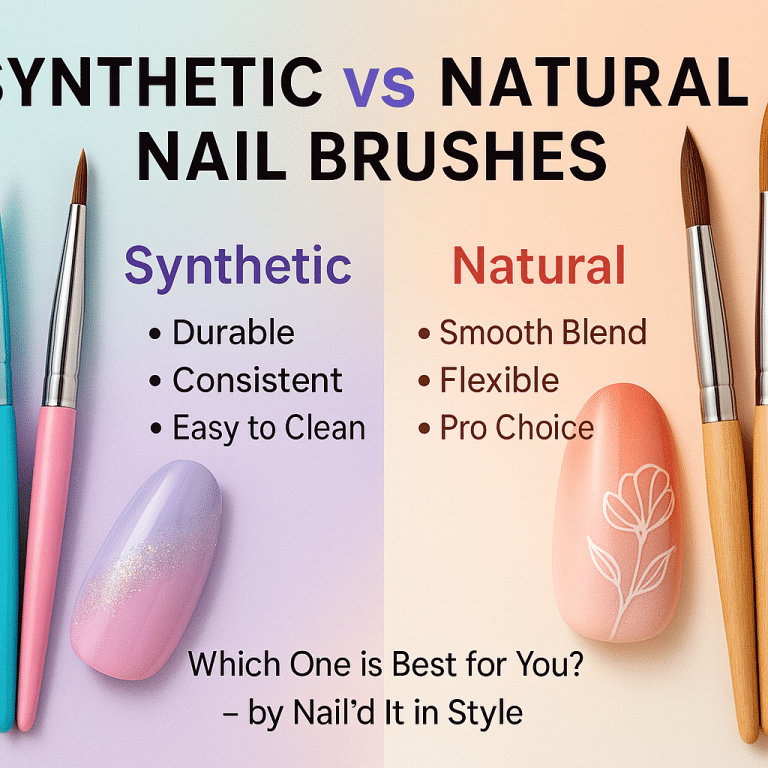
Synthetic vs Natural Nail Brushes: What’s Best?
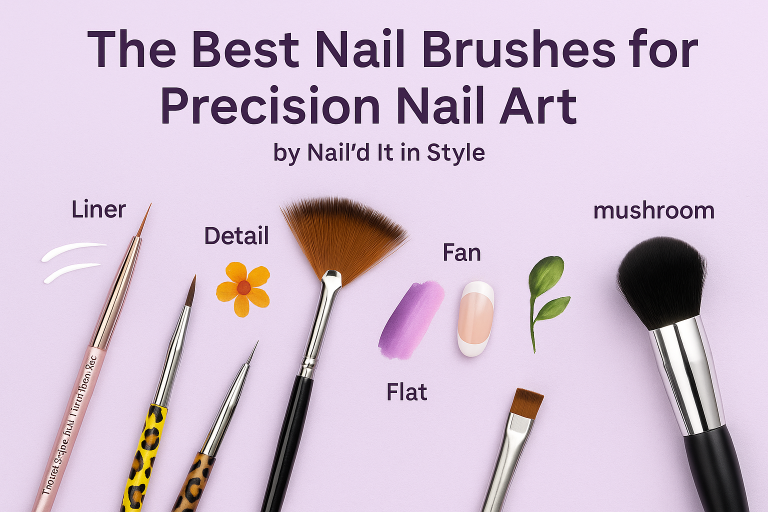
Best Nail Brushes for Precision Nail Art
Leave a comment